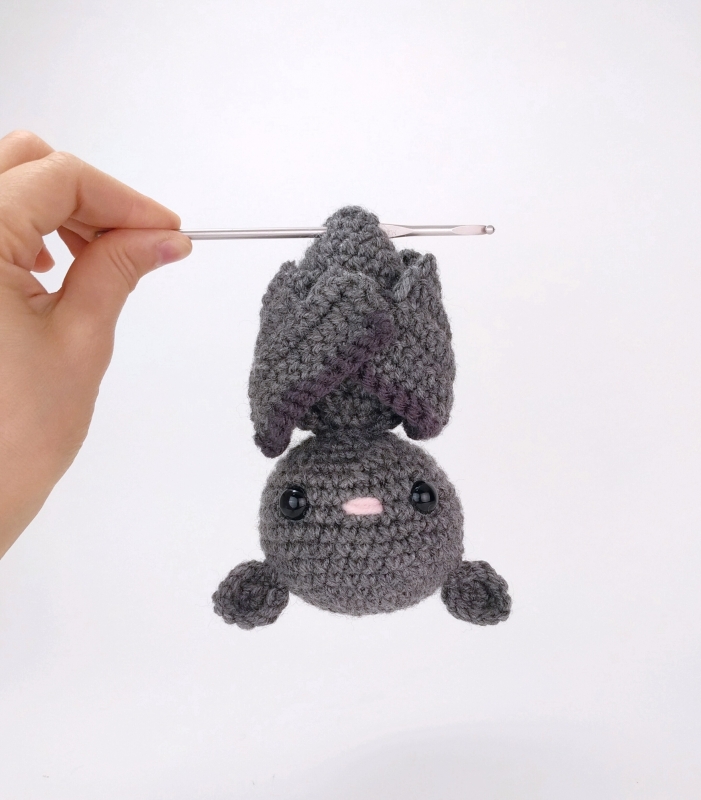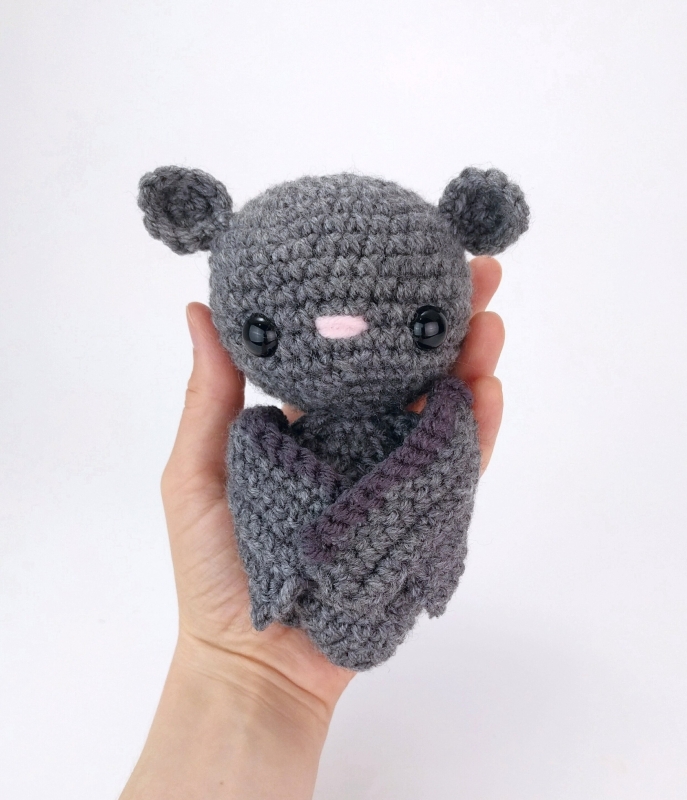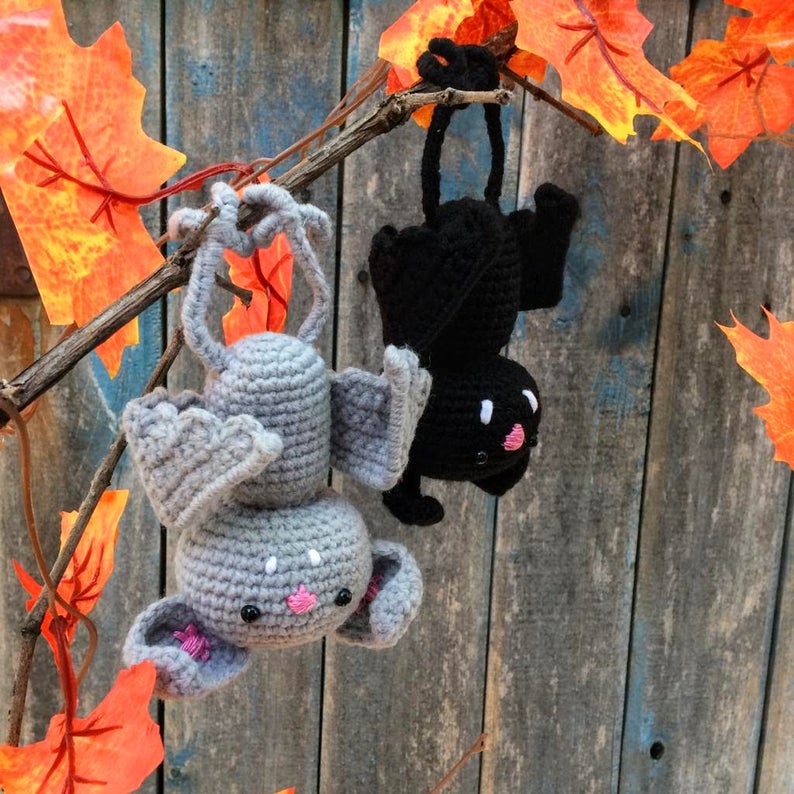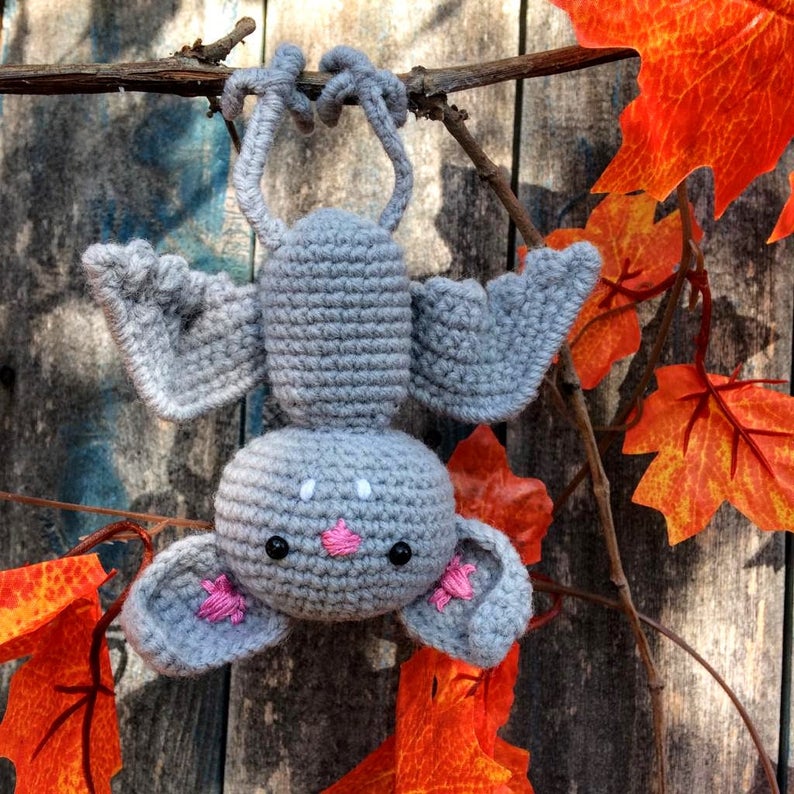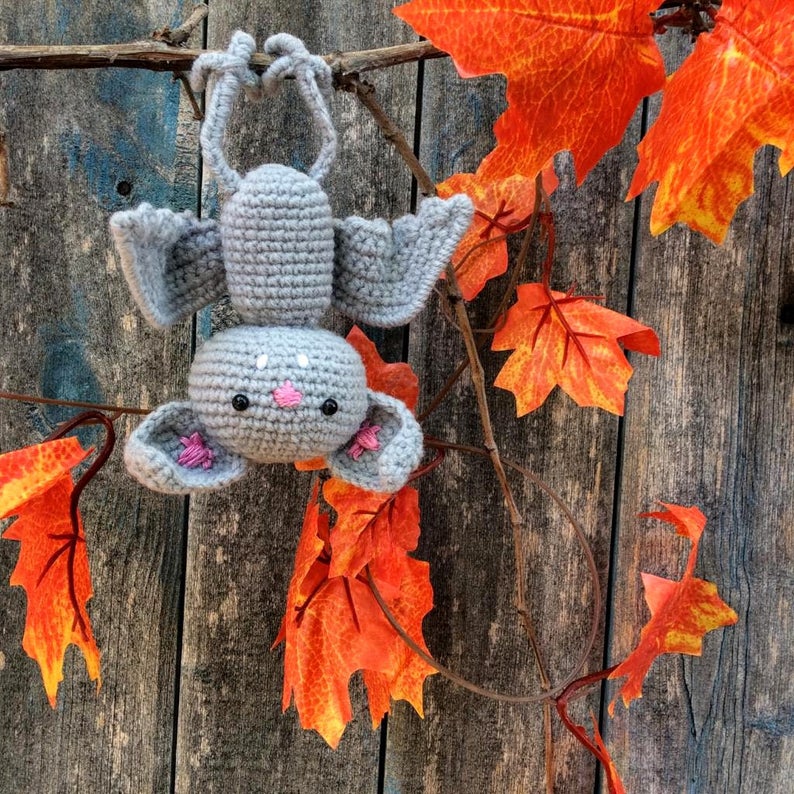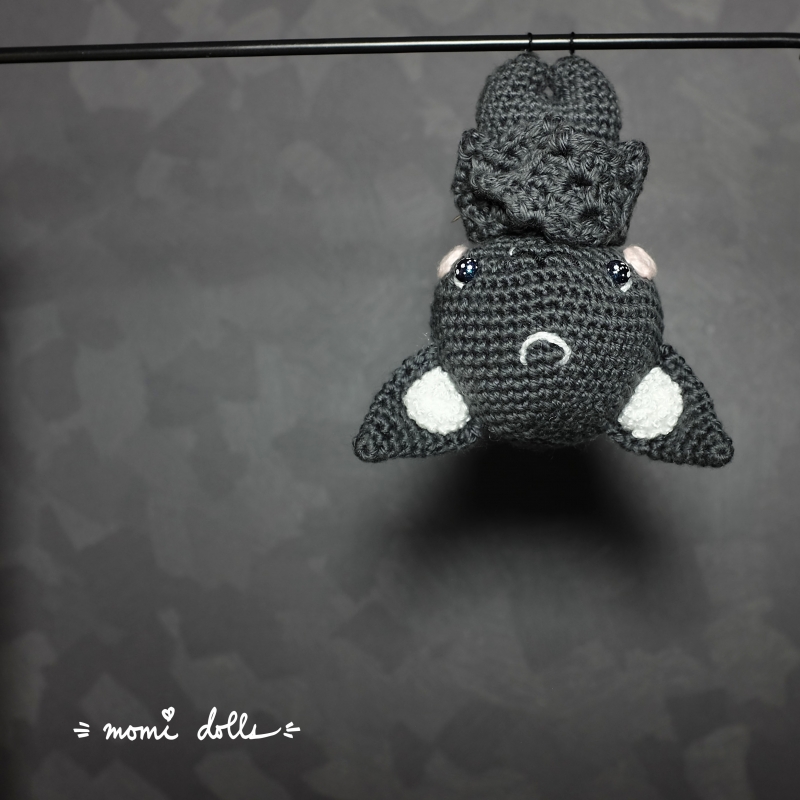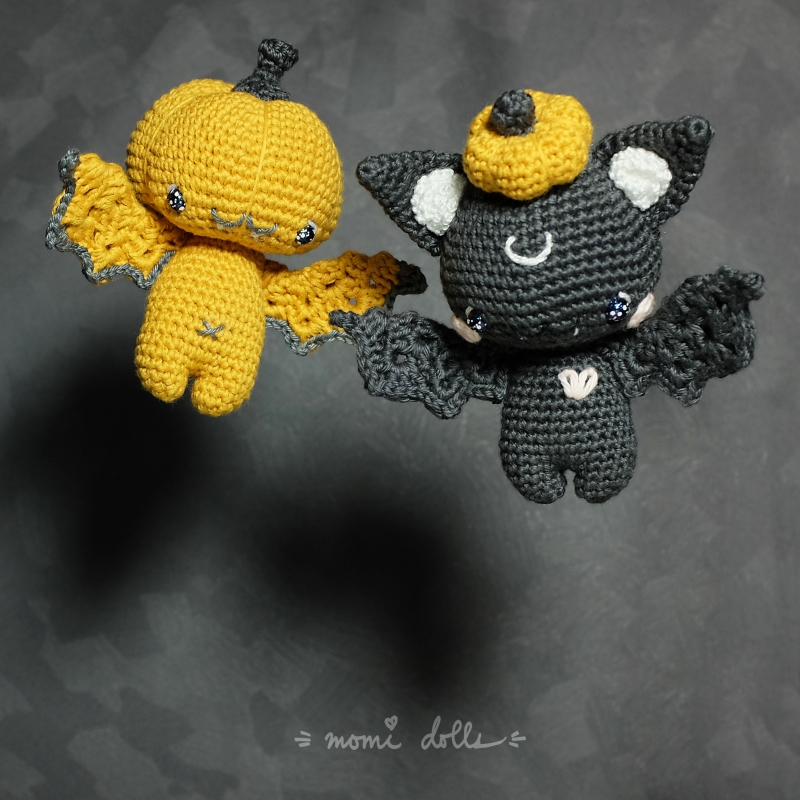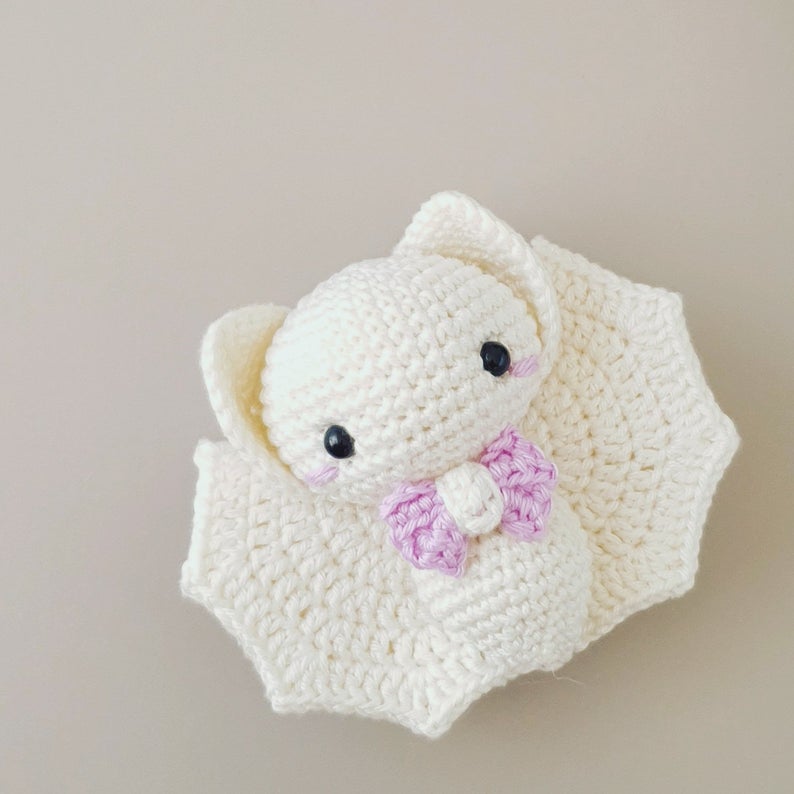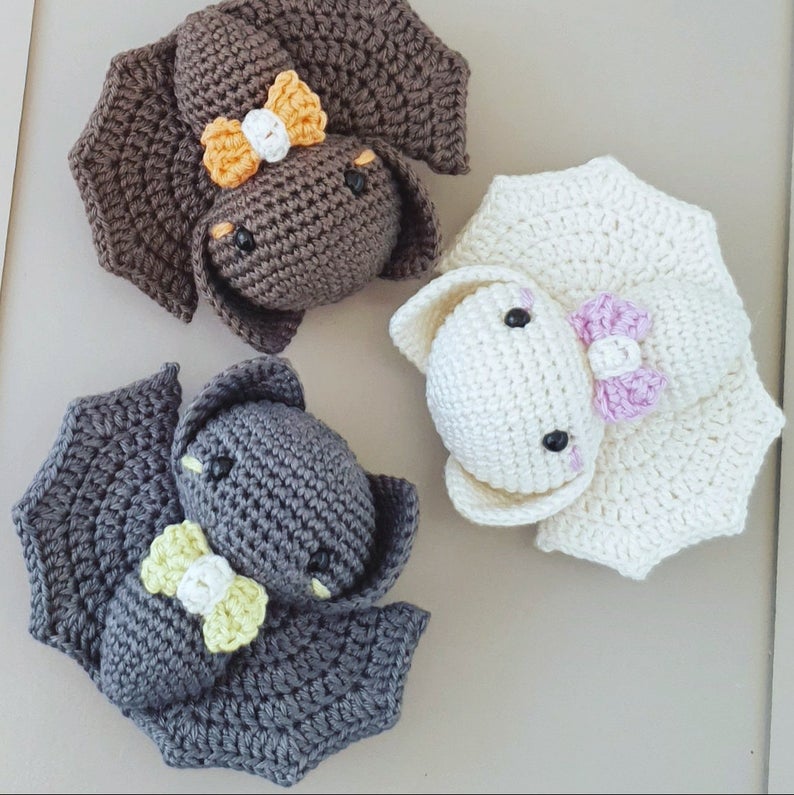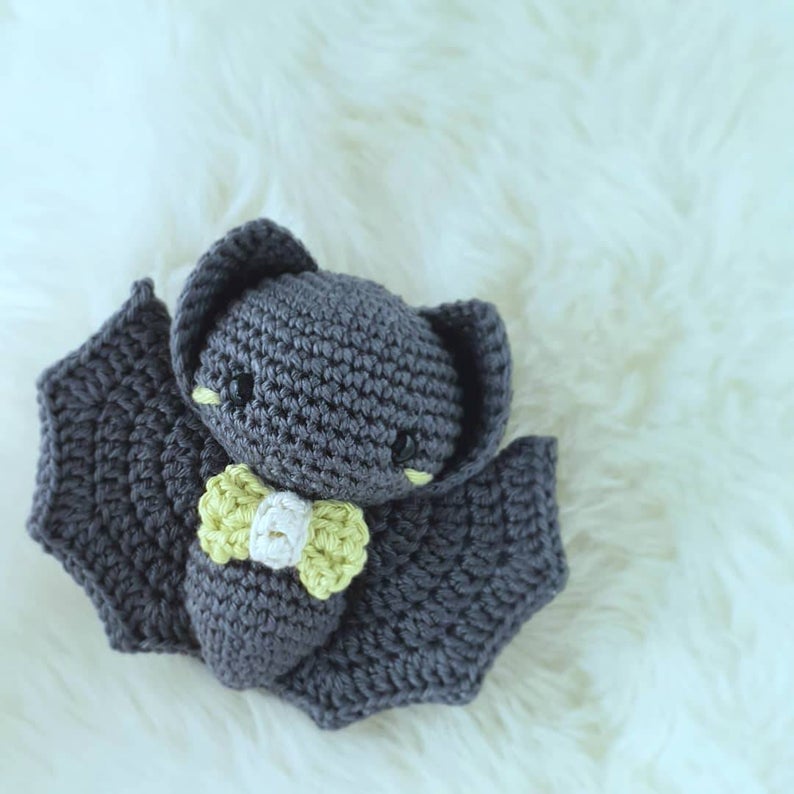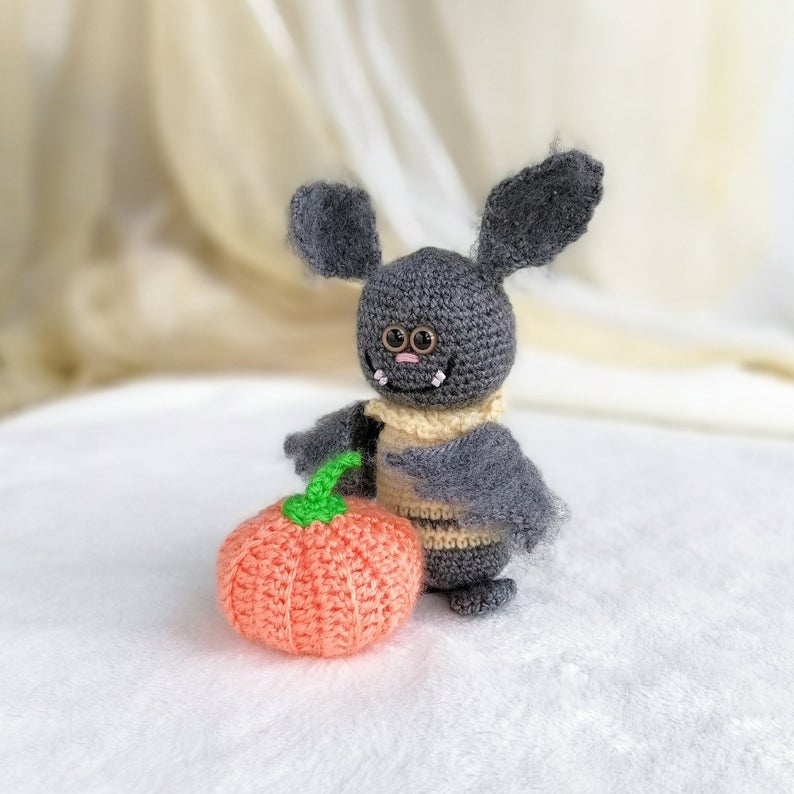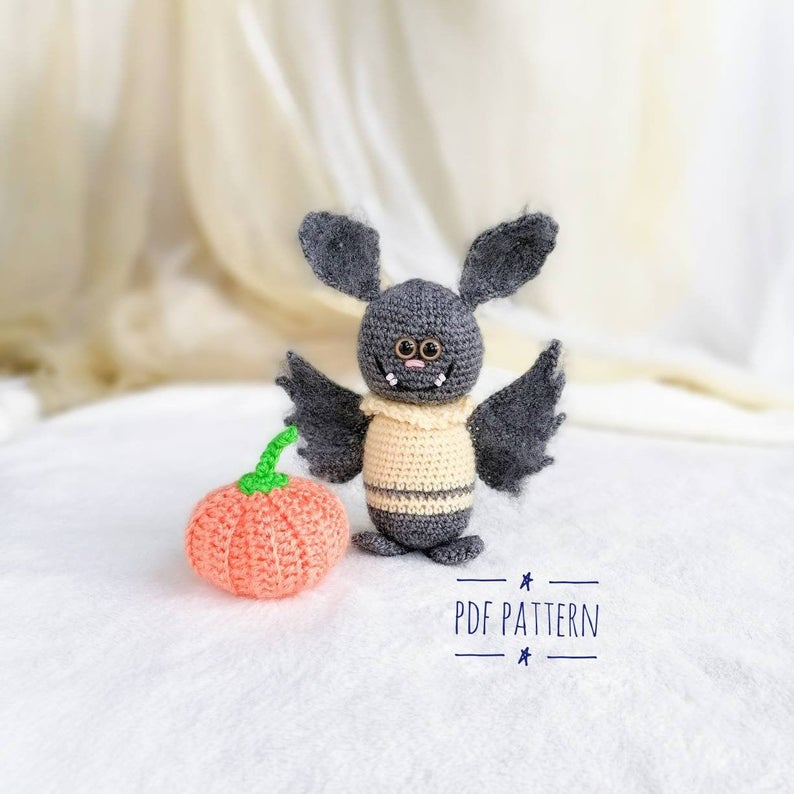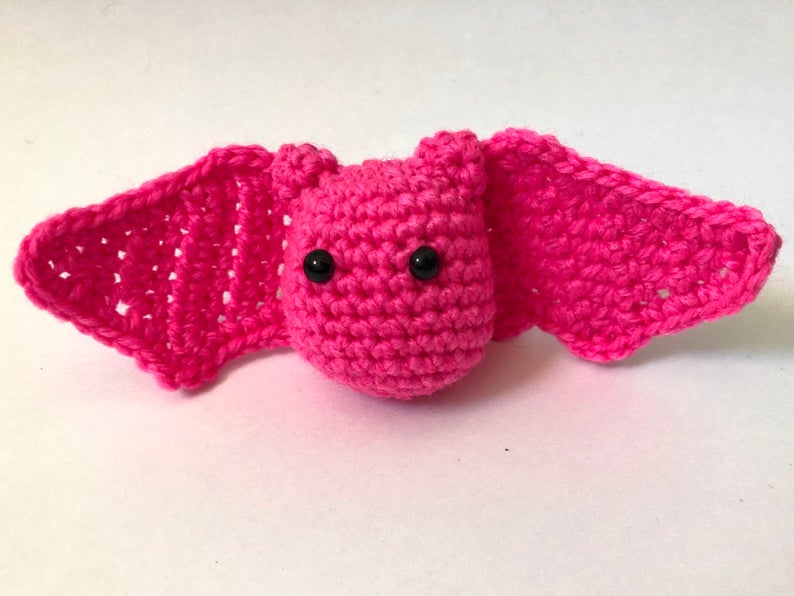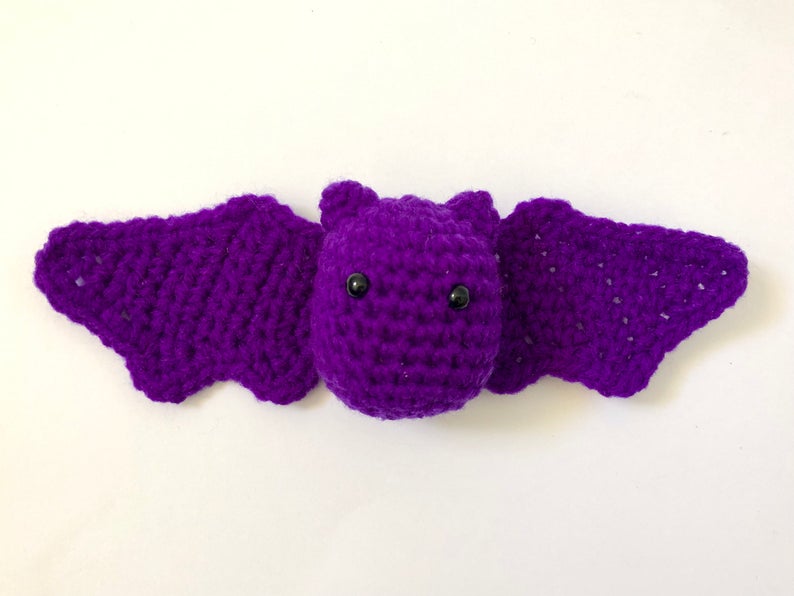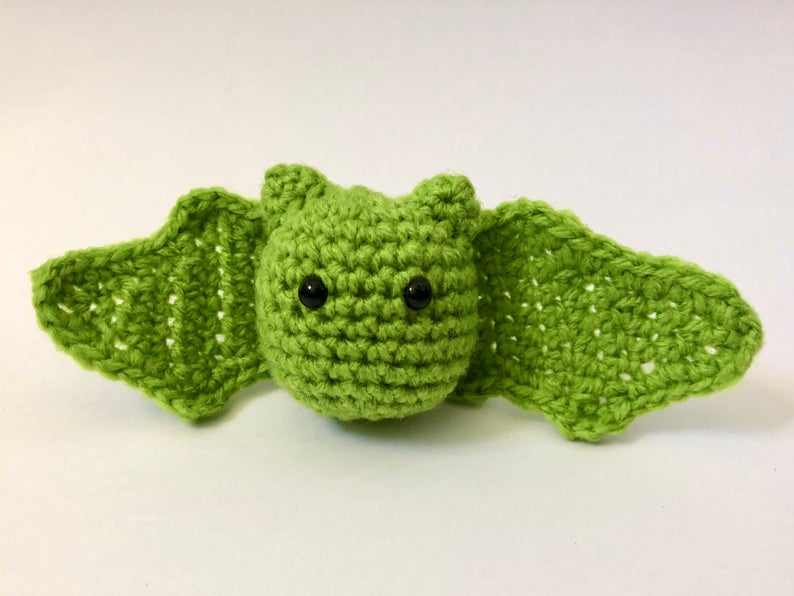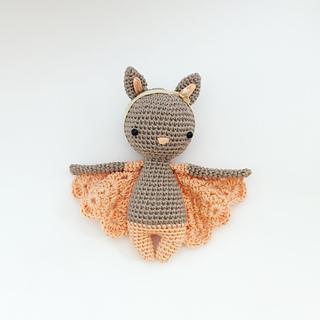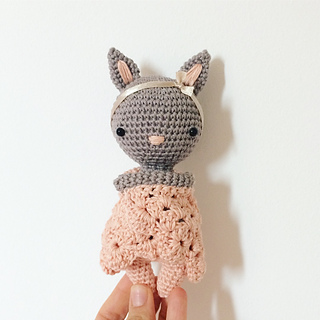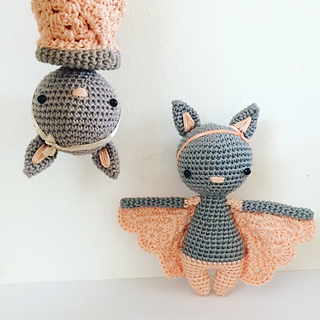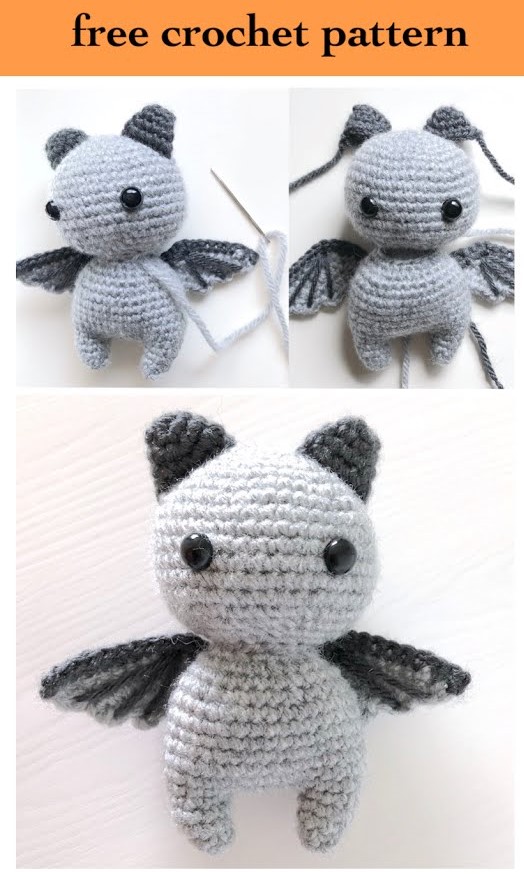
Amigurumi Cute Bat Free Crochet Patterns
Hello dear visitors, I am here again with new amigurumi molds for you. I am sharing amigurumi patterns for you here for free. You can make your children happy by making these patterns. Amigurumi toys are very popular lately and are the most beautiful toys that don’t harm your kids. Your kids will love them. Let’s move on to our pattern and give them this gift.
You will need
Worsted medium weight (4) yarn in light grey and dark grey
2.75mm crochet hook
Fiberfill stuffing
Pair of 10mm plastic safety eyes
Yarn needle
Scissors
Abbreviations
MR: magic ring
Ch: chain
Sl st: slip stitch
Sc: single crochet
Inc: increase
Dec: decrease
Hdc: half double crochet
Fhdc: foundation hdc
Head
Start with the main color (light grey).
R1: 6 sc in magic ring. (6 sts)
R2: Inc around. (12 sts)
R3: (Sc, inc) x 6. (18 sts)
R4: (Sc 2, inc) x 6. (24 sts)
R5: (Sc 3, inc) x 6. (30 sts)
R6: (Sc 4, inc) x 6. (36 sts)
R7: (Sc 5, inc) x 6. (42 sts)
R8-R14: Sc around. (42 sts)
R15: (Sc 5, dec) x 6. (36 sts)
R16: (Sc 4, dec) x 6. (30 sts)
R17: (Sc 3, dec) x 6. (24 sts)
R18: (Sc 2, dec) x 6. (18 sts)
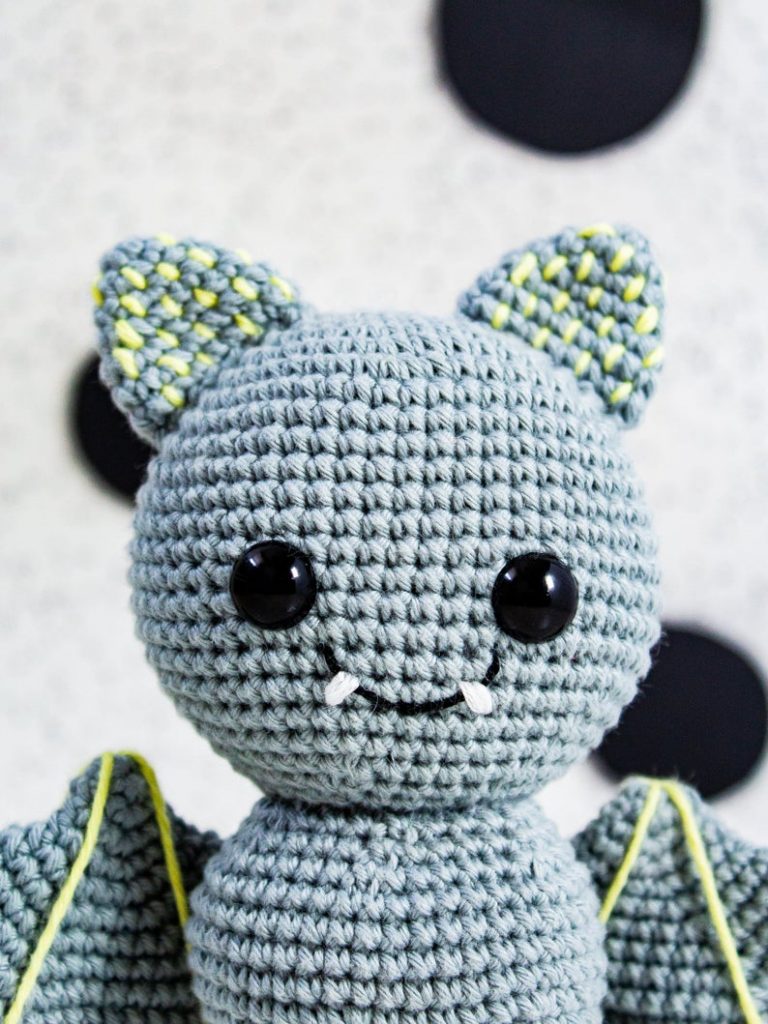
Fasten off. Attach 10mm plastic safety eyes between R11 and R12, 8 sts apart. Stuff the head firmly but be carful not to stretch the stitches.
Ears (x2)
Start with the contrast color (dark grey).
R1: 6 sc in magic ring. (6 sts)
R2: (Sc, inc) x 3. (9 sts)
R3: (Sc 2, inc) x 3. (12 sts)
R4: (Sc 3, inc) x 3. (15 sts)
Fasten off with a long tail for sewing to the head.
Wings(x2)
Notes:
[1] The starting “Ch 2” does not count as a stitch.
Start with the main color (light grey).
R1: Ch 2. Fhdc 8. (8 fhdc)
R2: Ch 2, turn. Hdc 7. (7 hdc)
R3: Turn. Sl st in each of next 2 sts. Ch 2, hdc in same st. Hdc 5. (6 hdc)
Switch to the contrast color (dark grey).
Sc across the side edge and top edge of the wing.
Fasten off and weave in the ends. Then, use dark grey yarn and a yarn needle to sew lines to each of the three wing points.
Legs and Body (crocheted in one piece)
START WITH THE LEGS (x2)
Start with the main color (light grey).
R1: 6 sc in magic ring. (6 sts)
R2: (Sc 2, inc) x 2. (8 sts)
R3: (Sc 3, inc) x 2. (10 sts)
R4: Sc around. (10 sts)
Fasten off for the first leg, but do not fasten off for the second leg. Continue with ‘Joining Row’ below to crochet the body.
CONTINUE WITH BODY
R1 [Joining Row]: Ch 5, join with a sc to the other leg. Sc 9 around that leg (total of 10 sc so far). Sc 5 across one side of the chain. Sc 10 around the original leg. Sc 5 across the other side of the chain. (30 sts)
R2: (Sc 4, inc) x 6. (36 sts)
R3-R8: Sc around. (36 sts)
R9: (Sc 4, dec) x 6. (30 sts)
Stuff the little legs and lower body. Continue stuffing as you crochet.
R10: Sc around. (30 sts)
R11: (Sc 3, dec) x 6. (24 sts)
R12: (Sc 2, dec) x 6. (18 sts)
Fasten off with a long tail for sewing to the body. Finish stuffing the body.
Finishing Instuctions
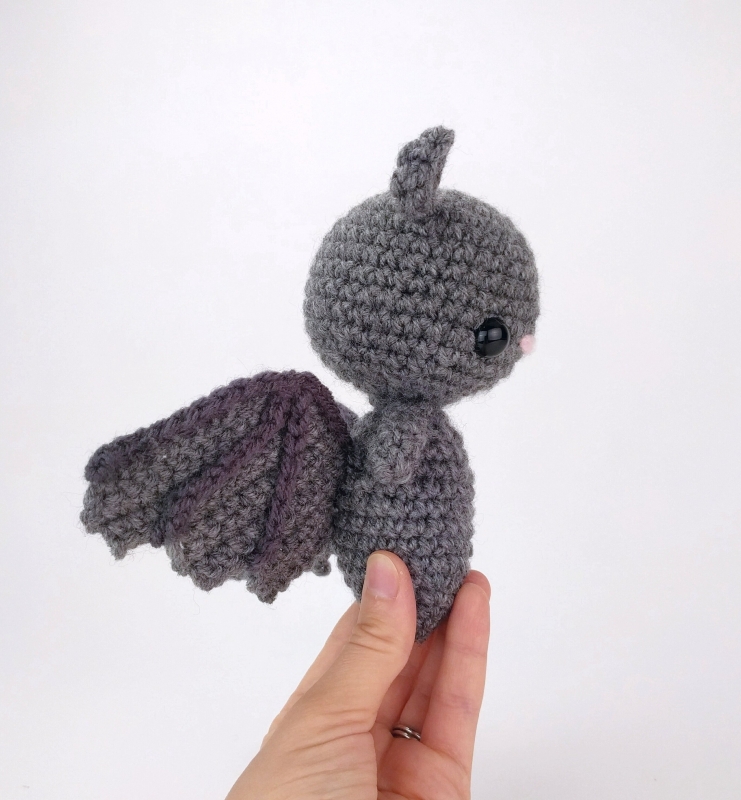
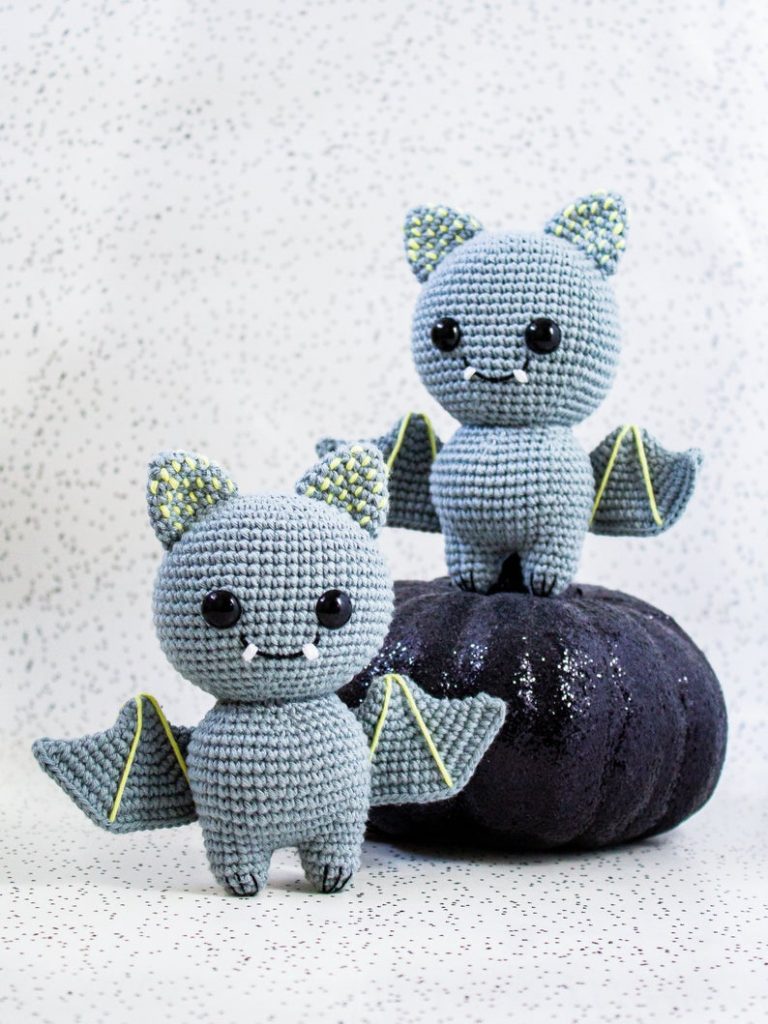
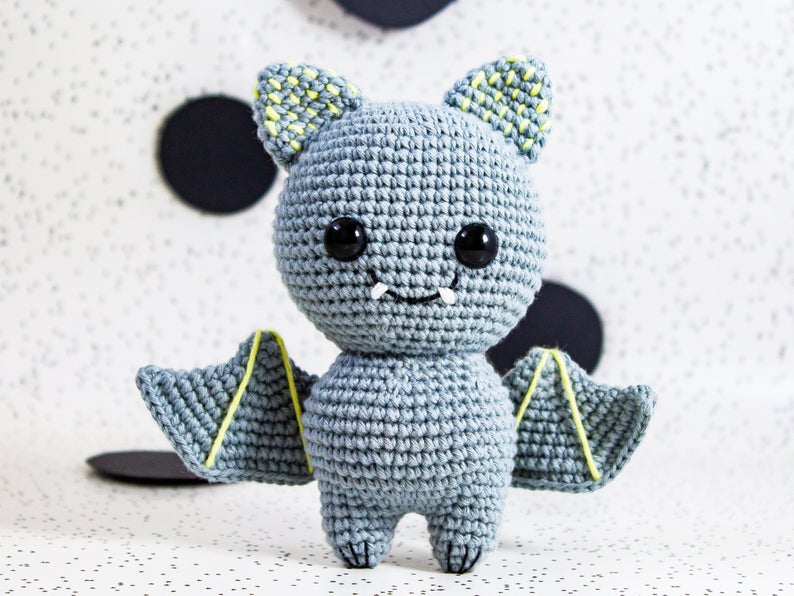
1.Using a yarn needle and yarn tails from the ears, sew the ears onto the head.
2.Sew the wings to the back of the body.
3.Finally, make sure the head and body are stuffed well, then sew them together.
