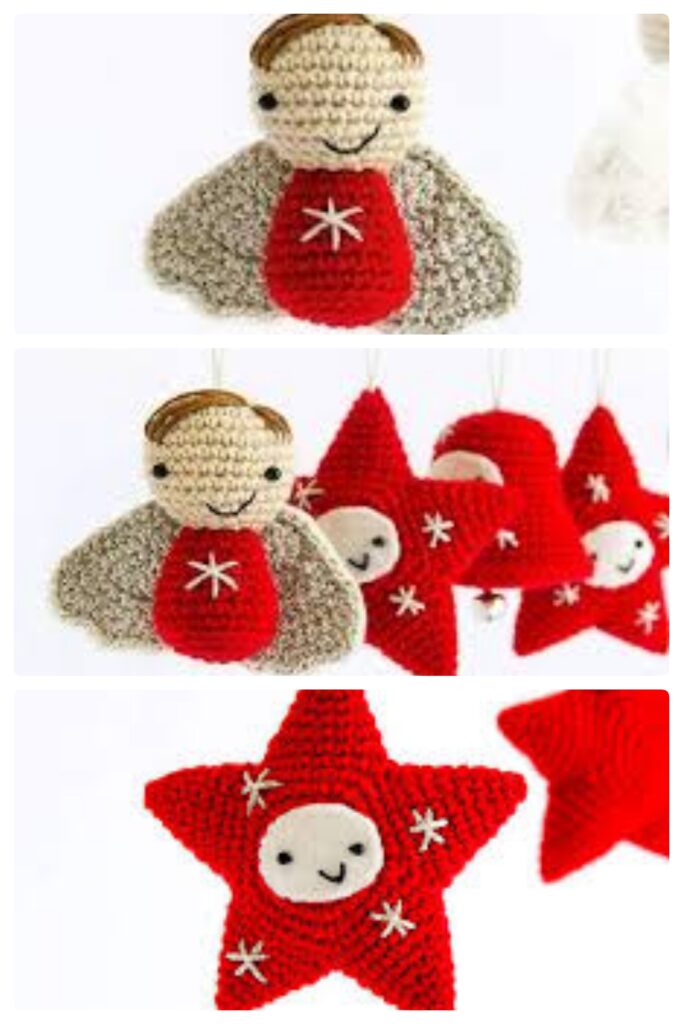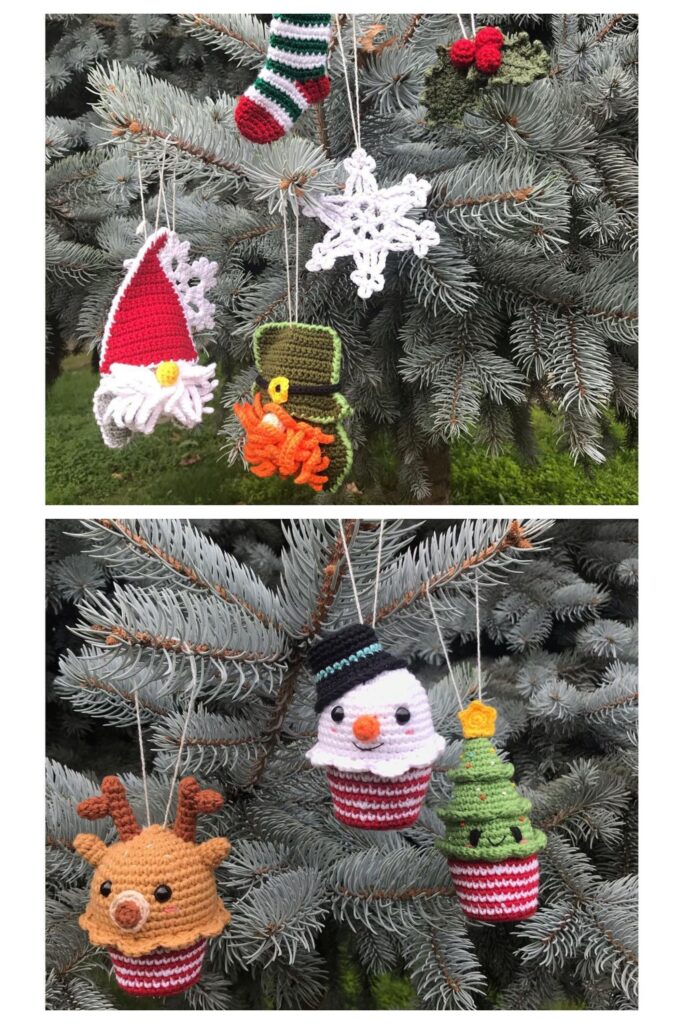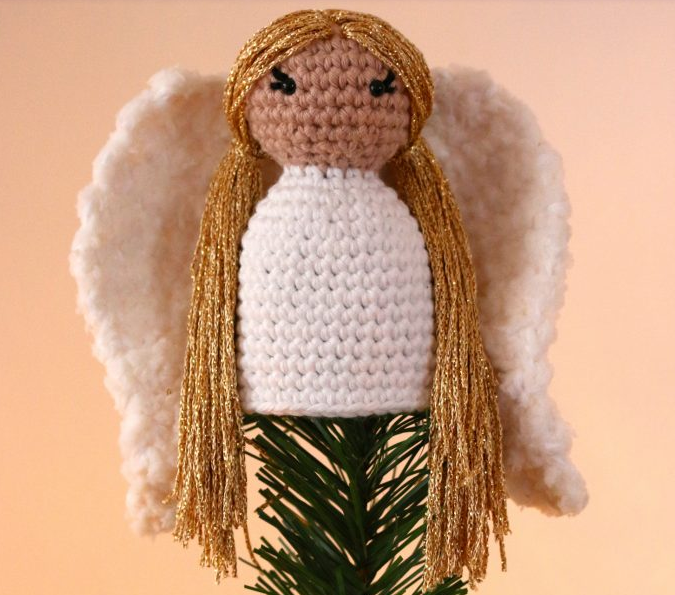
Amigurumi Angel Christmas Tree Ornament Free Crochet Patterns
Hello dear visitors, I am here again with new amigurumi molds for you. I am sharing amigurumi patterns for you here for free. You can make your children happy by making these patterns. Amigurumi toys are very popular lately and are the most beautiful toys that don’t harm your kids. Your kids will love them. Let’s move on to our pattern and give them this gift.
You will need
Aran/worsted weight cotton yarn in white for the dress and the wings
Aran/worsted weight cotton yarn in skin tone of choice for the face
Fluffy yarn in white or cream for the wings
Yarn for the hair (I use which is a 4-ply/sport weight)
1 pair of 4mm black safety eyes
Black embroidery thread
Toy stuffing (for the head only)
3.5mm/E crochet hook
Yarn needle
Stitch marker
Scissors
Abbreviations
Ch = chain
St(s) = stitch(es)
Sl st = slip stitch
Sc = single crochet
2sc = single crochet 2 in same st
Inv dec = invisible decrease: Insert hook in front loops of next 2 sts, yarn over, pull through both front loops, yarn over, pull through 2 remaining loops
C1 = skin tone of choice
C2 = white
C3 = fluffy yarn for wings
C4 = hair color of choice (I used Twilleys Goldfingering)
Rd = round
R = row
Head
Rd 1: sc 6 in magic ring
Rd 2: 2sc 6 (12)- [sc 1, 2sc 1]*6 (18)
Rd 3: [sc 2, 2sc 1]*6 (24)
Rd 4: [sc 3, 2sc 1]*6 (30)
Rd 5 to 8: Sc 30 (30)
Rd 9: [sc 3, inv dec 1]*6 (24)
Rd 10: [sc 2, inv dec 1]*6 (18)
Rd 11: [sc 1, inv dec1]*6 (12)
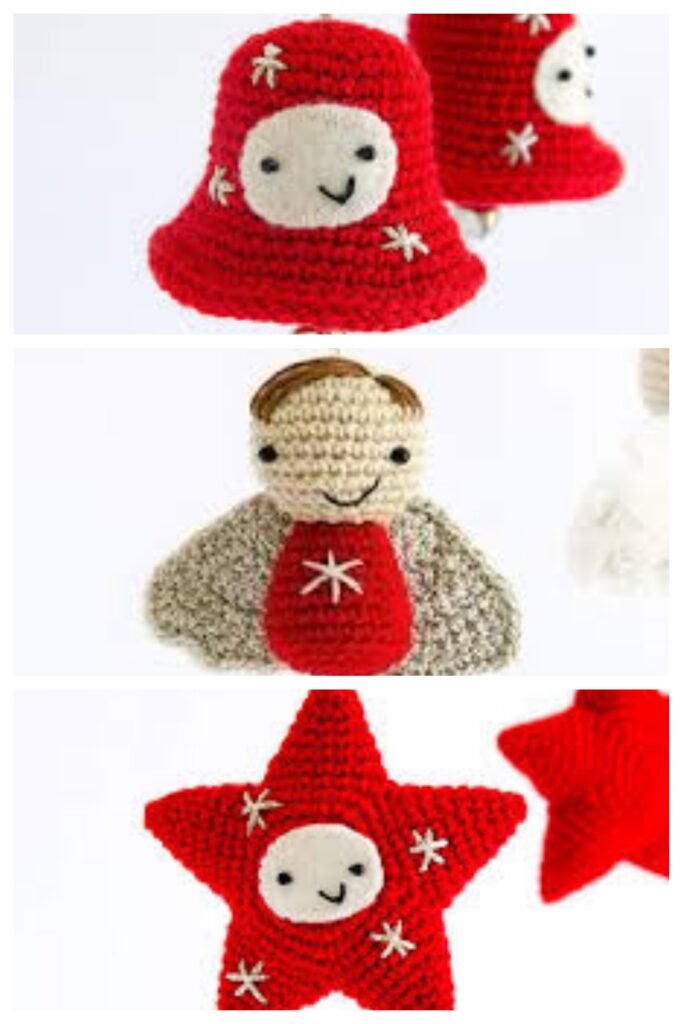
Secure your stitch with a stitch marker. Decide where you’d like the eyes to go. Embroider the eyelashes with black embroidery thread, attach the eyes.
Angel’s Hair
Make the crochet angel’s hair with C4
Cut the yarn you chose for the hair in approx. 30cm/12″ long strings. Thread your yarn needle with 3 strings at a time and attach them to the head as shown in the picture below. I used 4ply/ sport weight yarn for the hair. If your yarn is thicker 1 to 2 strings at a time will be enough.
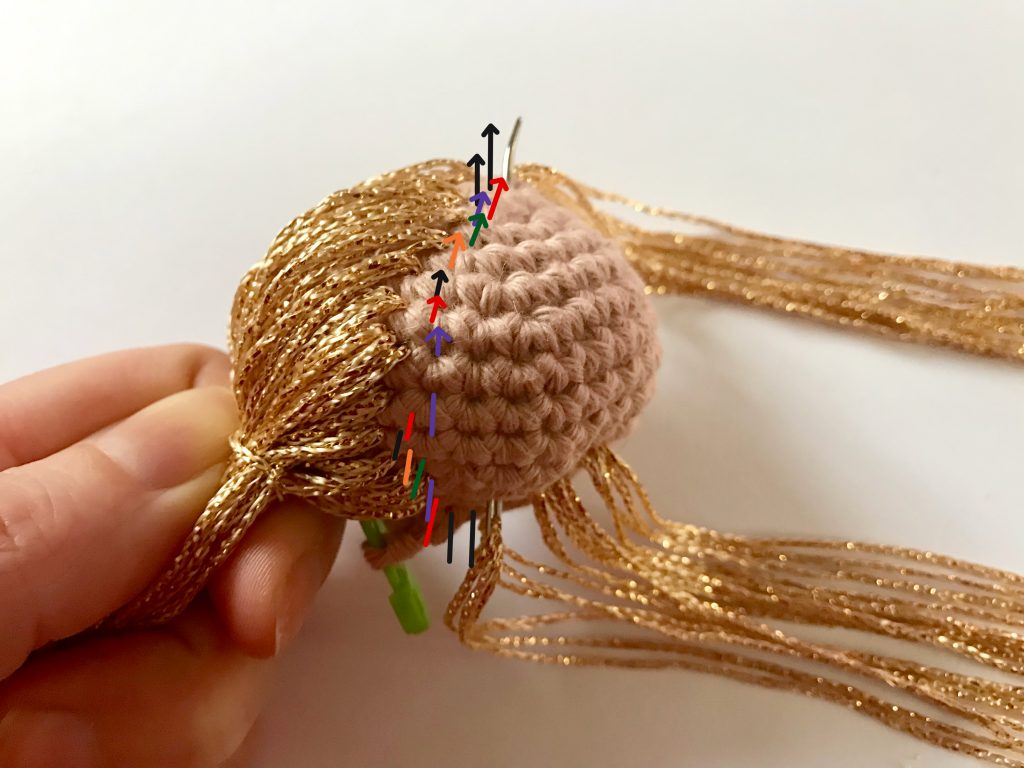
Of course you can attach and style the hair anyway you like. I gave my angel a middle parting and two ponytails.
Before you continue with the body, fill the head with plenty of toy stuffing.
Body
Crochet the body in C2
Change color to C2.
Rd 1: Sc 12- [sc 1, 2sc 1]*6 (18)
Rd 2: [sc 2, 2sc 1]*6 (24)
Rd 3: [sc 3, 2sc 1]*6 (30)
Rd 4 to 12: Sc 30 (30)
Rd 13: Sc 29, sl st 1 (30)
Break yarn, pull through, sew in.
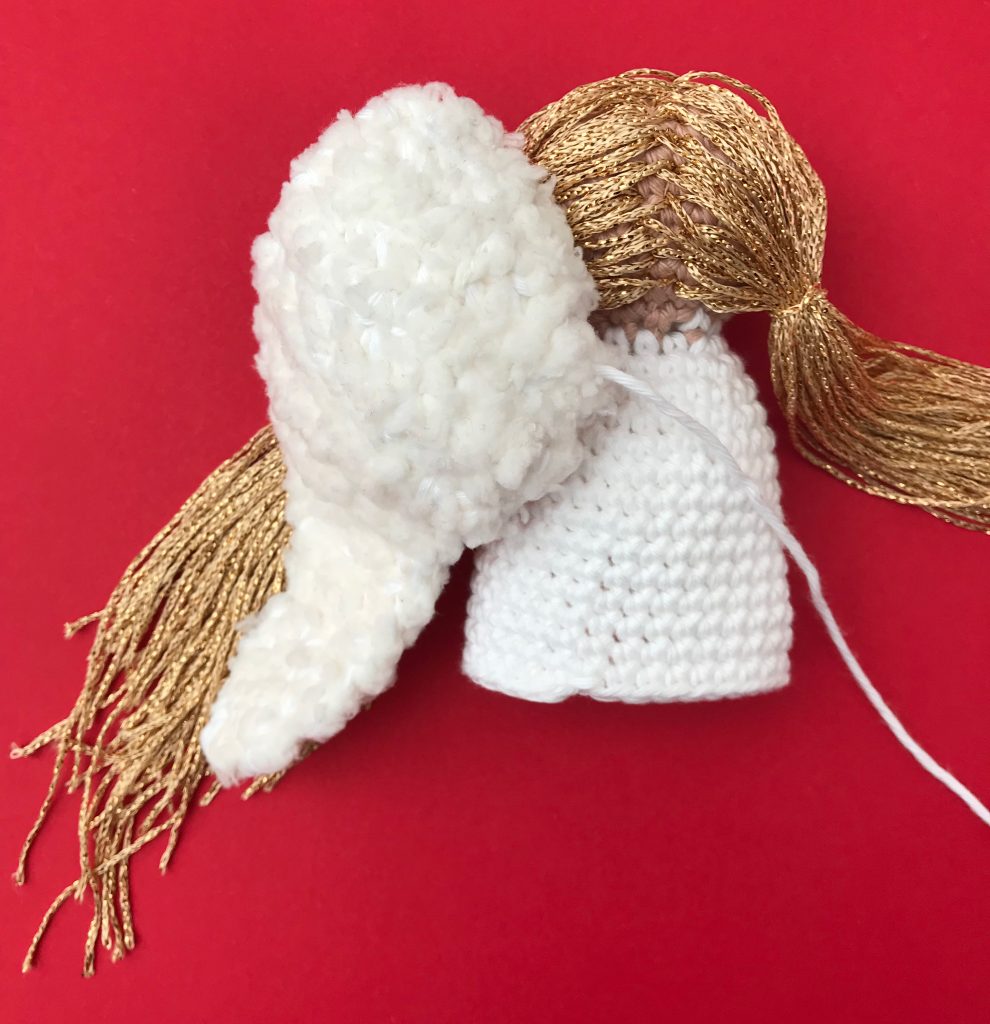
Angel’s Wings
Crochet the angel’s wings in C2 and C4
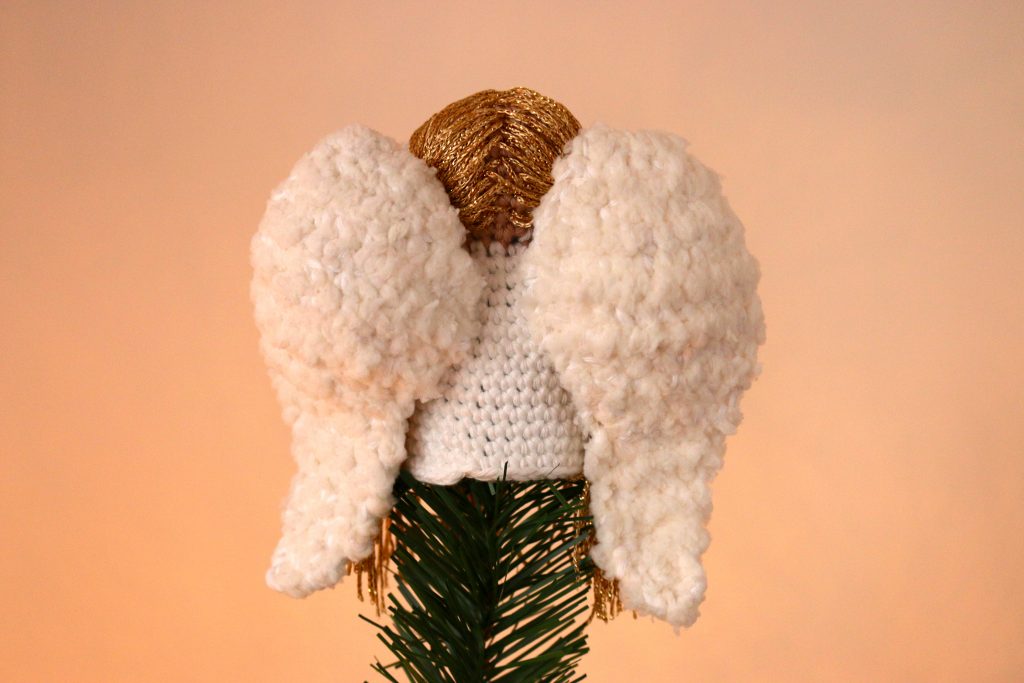
Crochet the wings with your white cotton yarn and fluffy yarn together as shown in the picture. The cotton yarn will make it easier to see the stitches you made, and will make the wings more thick and sturdy.

Make the right wing
Leaving a long end ch 4
R1: 2sc in 2nd from hook, 2sc 2 (6)
R2: Ch 1, turn, sc 6 (6)
R3: Ch 1, turn, (sc 1, 2sc 1) *3 (9)
R4: Ch 1, turn, sc 9 (9)
R5: Ch 1, turn, (sc 2, 2sc 1)*3 (12)
R6: Ch 1, turn, sc 12 (12)
R7: Ch 1, turn, sc 12 (12)
R8: Ch 1, turn, sc 1, sk 1, sc 10 (11)
R9: Ch 1, turn, sc 9, sk 1, sc 1 (10)
R10: Ch 1, turn, sc 1, sk 1, sc 8 (9)
R11: Ch 1, turn, sc 1, sk 1, sc 5, sk 1, sc 1 (7)
R12: Ch 1, turn, 2sc 1, sc 4, sk 1, sc 1 (7)
R13: Ch 1, turn, sc 1, sk 1, sc 5 (6)
R14: Ch 1, turn, 2sc 1, sc 3, sk 1, sc 1 (6)
R15: Ch 1, turn, sc 1, sk 1, sc 4 (5)
R16: Ch 1, turn, 2sc 1, sc 2, sk 1, sc 1 (5)
R17: Ch 1, turn sc 1, sk 1, sc 2, 2sc 1 (5)
R18: Ch 1, turn, sc 3, sk 1, sc 1 (4)
R19: Ch 1, turn, sc 1, sk 1, sc 2 (3)
R20: Ch 1, turn, sc 1, sk 1, sc 1 (2)
R21: Ch 1, turn, sk 1, sl st 1 (1)
Break yarn, pull through.
Make the left wing
Leaving a long end ch 4
R1: 2sc in 2nd from hook, 2sc 2 (6)
R2: Ch 1, turn, sc 6 (6)
R3: Ch 1, turn, (2sc 1, sc 1) *3 (9)
R4: Ch 1, turn, sc 9 (9)
R5: Ch 1, turn, (2sc 1, sc 2)*3 (12)
R6: Ch 1, turn, sc 12 (12)
R7: Ch 1, turn, sc 12 (12)
R8: Ch 1, turn, sc 10, sk 1, sc 1 (11)
R9: Ch 1, turn, sc 1, sk 1, sc 9 (10)
R10: Ch 1, turn, sc 8, sk 1, sc 1 (9)
R11: Ch 1, turn, sc 1, sk 1, sc 5, sk 1, sc 1 (7)
R12: Ch 1, turn, sc 1, sk 1, sc 4, 2sc 1 (7)
R13: Ch 1, turn, sc 5, sk 1, sc 1 (6)
R14: Ch 1, turn, sc 1, sk 1, sc 3, 2sc 1 (6)
R15: Ch 1, turn, sc 4, sk 1, sc 1 (5)
R16: Ch 1, turn, sc 1, sk 1, sc 2, 2sc 1 (5)
R17: Ch 1, turn 2sc 1, sc 2, sk 1, sc 1 (5)
R18: Ch 1, turn, sc 1, sk 1, sc 3 (4)
R19: Ch 1, turn, sc 2, sk 1, sc 1 (3)
R20: Ch 1, turn, sc 1, sk 1, sc 1 (2)
R21: Ch 1, turn, sk 1, sl st 1 (1)
Break yarn, pull through. Sew in the ends at the tips of the wings. Then sew in the long ends towards the upper, inner middle of each wing, so they peak out exactly where you want to sew them onto the angel’s back.
Firmly attach the wings sewing downwards a few stitches, and sewing back upwards again. Weave in the ends and hide them inside the body/dress.
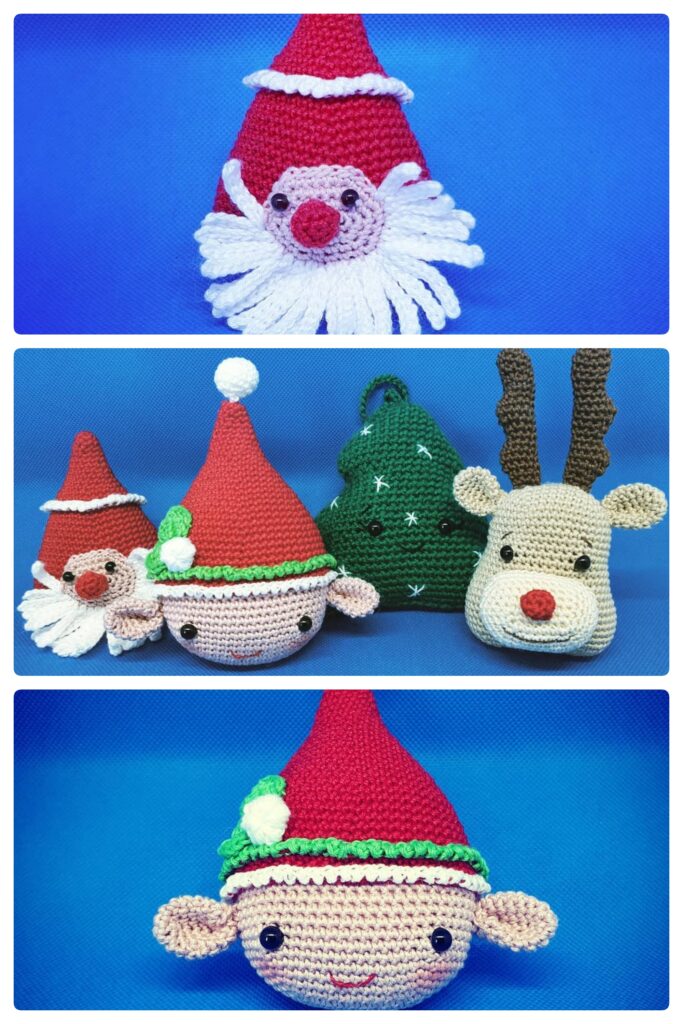
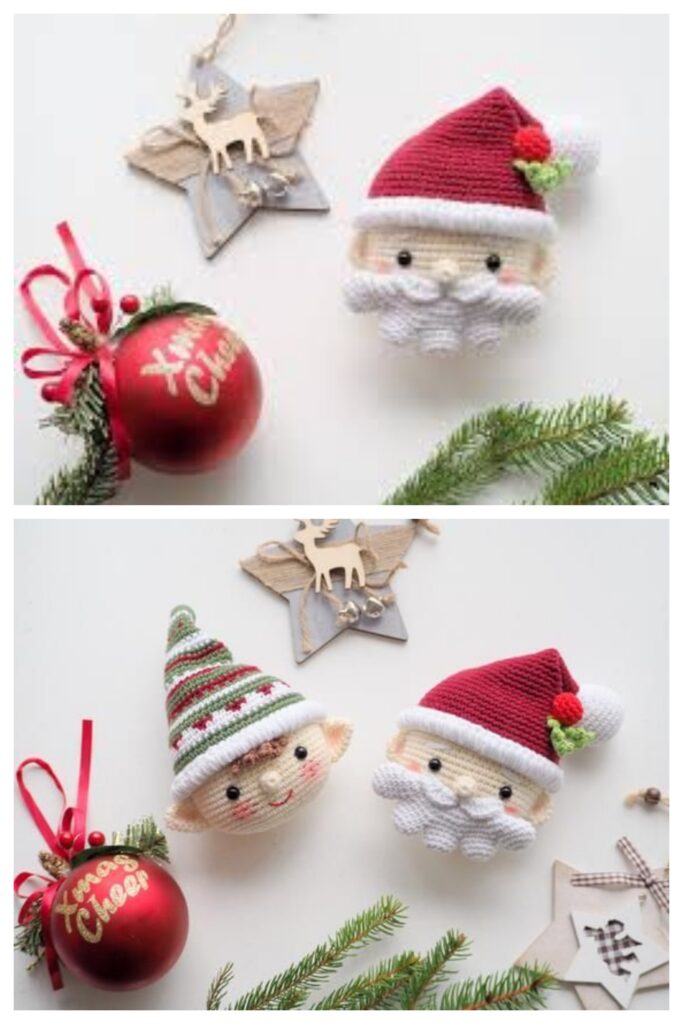
More Amigurumi Christmas Tree Ornament Ideas