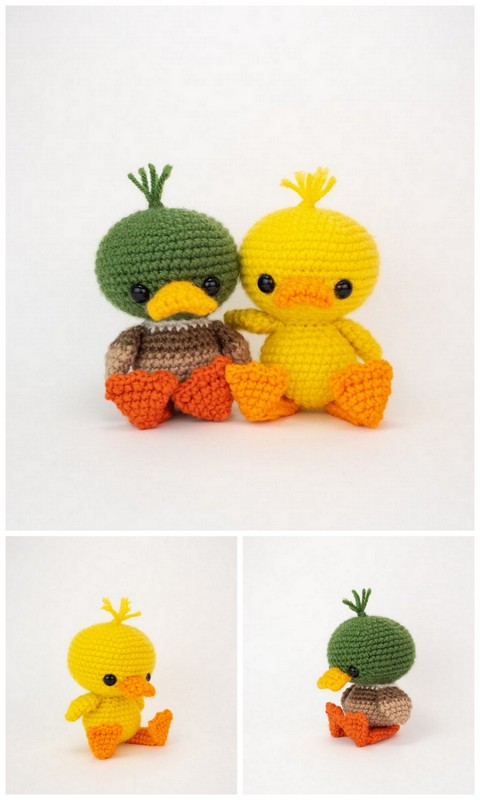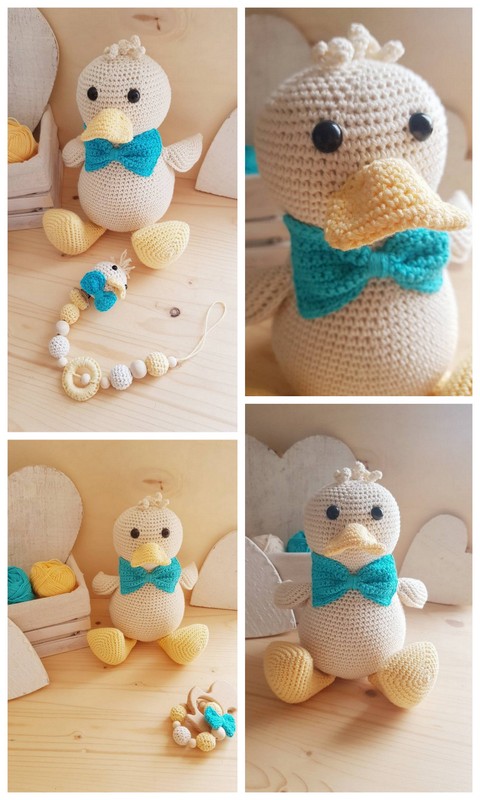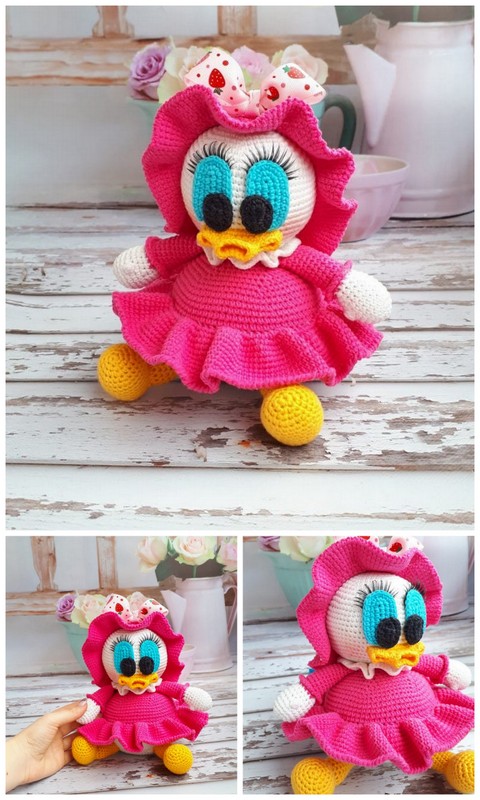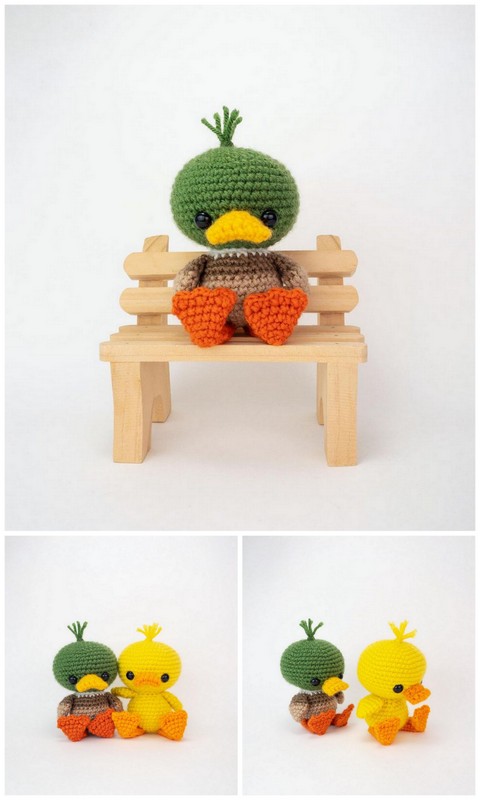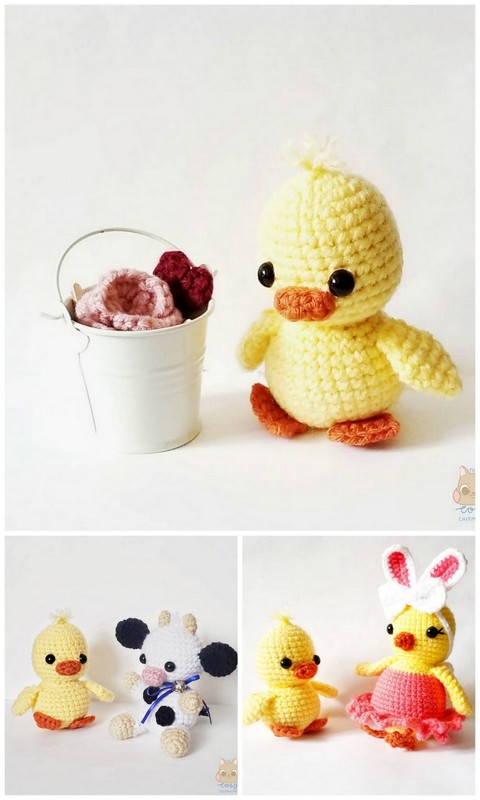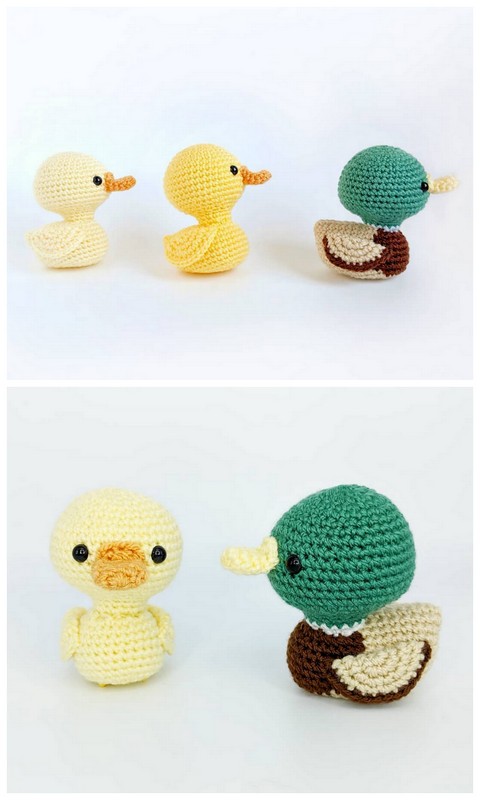
Amigurumi Baby Duck Free Crochet Patterns
Hello dear visitors, I am here again with new amigurumi molds for you. I am sharing amigurumi patterns for you here for free. You can make your children happy by making these patterns. Amigurumi toys are very popular lately and are the most beautiful toys that don’t harm your kids. Your kids will love them. Let’s move on to our pattern and give them this gift.
You will need
Cotton and Acrylic mix yarn (Alize Cotton Gold Hobby, YarnArt Jeans; weight: Sport/Fine);
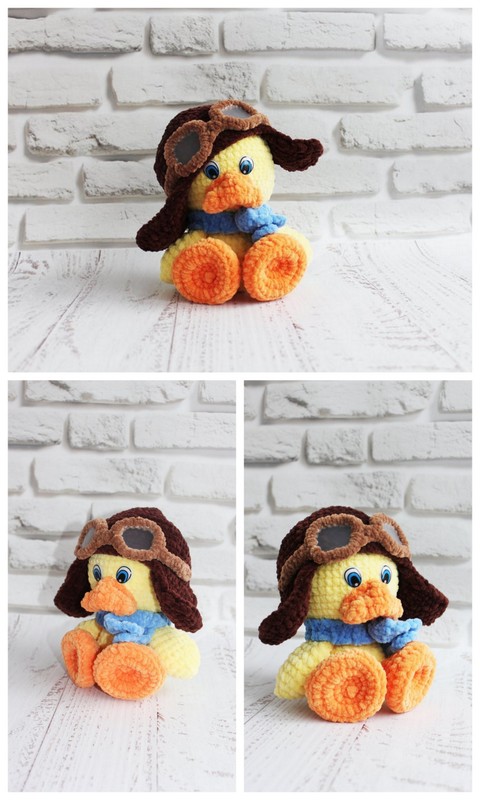
Colors: Yellow, Light orange
2 black safety eyes (6 or 8 mm), white felt for the eye patches
Crochet hook size 2,5 mm
Stitch marker
Polyester fibrefill for stuffing
Darning needle for sewing the parts together
Bubble Pins
Scissors
Abbreviations
Mr – Magic Ring
Rnd – Round
Ch – Chain
St – Stitch
Sc – Single crochet
Dc – Double crochet
Inc – Increase
Dec – Decrease
Sl St – Slip stitch
() – Repeat everything in the brackets for the round
Head and Body
The head and the body are crocheted as one piece. Use yellow colour yarn.
Work in continuous rounds and use the stitch marker.
1r. 6 sc in m. r. (6)
2r. Inc in every st (12)
3r. (1 sc, Inc) (18)
4r. (2 sc, Inc) (24)
5r. (3 sc, Inc) (30)
6r. (4 sc, Inc) (36)
7r. (5 sc, Inc) (42)
8r. (6 sc, Inc) (48)
9r.–13r. Sc in every st around (48)
14r. (6 sc, Dec) (42)
15r. – 16r. Sc in every st around (42)
17r. (5 sc, Dec) (36)
18r. – 19r. Sc in every st around (36)
20r. (4 sc, Dec) (30)
21r. – 23r. Sc in every st around (30)Before finishing the head, you have to attach the safety eyes. First stuff a little bit the head/body.
Cut two felt circles (approximately 1cm in diameter). Pin the safety eyes through the felt eyepatches. Then attach the eyepatches to the head.
The safety eyes pass between 19 and 20 row of the head/body.It is very important that the safety eyes pass through not only the eyepatches but also the head itself.
Tip! Using white thread and sewing needle, sew the eyepatches before you finish the body
Continue crocheting and stuffing.
24r. (3 sc, Dec) (24)
25r. (2 sc, Dec) (18)
Stuff the head nice and firm
26r. (1 sc, Dec) (12)
27r. (1 sc, Dec)
Finish with a slip stitch. Leave a long end and with cotton darning needle tighten all stitches. Cut the yarn, hiding the end inside the head
Peak
Use light orange colour yarn.
Chain 8, Inc in the second chain st, sc in the next 5 stitches, 4 sc in the last chain st, working on the other side – sc in the next 5 stitches, 2 sc in the last chain (18)
Put the stitch marker and crochet sc in every st around (18)
(4sc, Dec) (15)
Finish with a slip st. Do not stuff the beak.
Wings (Make 2)
Work in continuous rounds using the stitch marker. Use yellow colour yarn.
1r. 6 sc in magic ring (6)
2r. Inc in every st (12)
3r. (1 sc, Inc) (18)
4r. (2sc, Inc) (24)
5r. (3sc, Inc) (30)
Flatten the wing and working through both layers close it crocheting sc.
Legs (Make 2)
Work in continuous rounds using the stitch marker.
Use light orange colour yarn:
1r. 6 sc in magic ring (6)
2r. Inc in every st (12)
3r. (3 sc, Inc) (15) Slip st, chain 3, 2 dc in the same st, sl. st, 3 dc in the next st, sl. st, 3 dc in the next st, sl st
Tail
Work in continuous rounds using the stitch marker. Use yellow yarn.
1r. 6 sc in magic ring (6)
2r. (1 sc, Inc) (9)
3r. (2 sc, Inc) (12)
4r. (3 sc, Inc) (15)
5r. (4 sc, Inc) (18)
6r. (5 sc, Inc) (21)
7r. (6 sc, Inc) (24)
Finish with a sl. st. and stuff a little bit.
Assembly
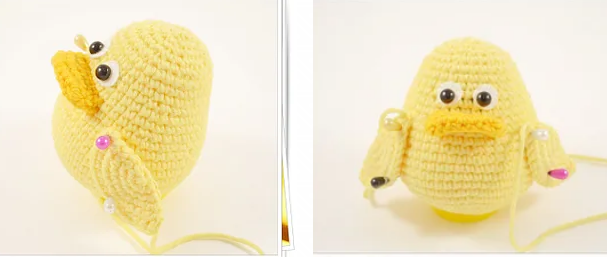
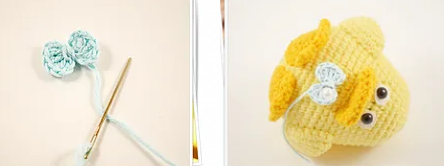
Using bubble pins position the beak just below the eyes. Then using darning needle sew it to the head/body
Continue with the wings. Position them symmetrically on the body (approximately between 10th and 17th row).
Then with the darning needle sew only the half as shown on the pictures.
You are almost done. Now using bubble pins position the legs at the bottom of the body (approximately between 4th and 8th row). Make sure they are at the same distance, and then sew them to the body.
Finally using bubble pins position the tail at the bottom part of the back and then sew it to the body
Do not forget to hide the ends of every piece inside the body after you finish sewing it.
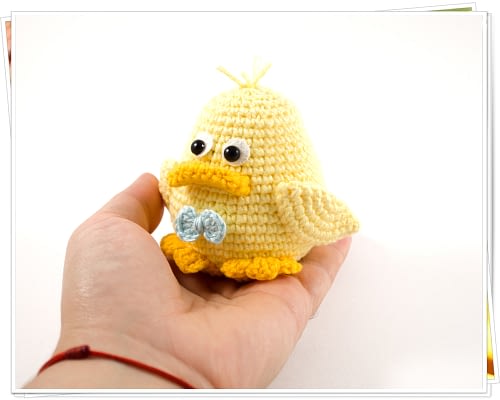
Now it is time for final touches!
Use blue colour thinner yarn and crochet a bow:
Make a m.r. and chain 3, 3 dc, chain 3, sl st, chain 3, 3 dc, chain 3, sl. st
Pull the yarn tail to tighten the loop and leave enough yarn.
Use this tail to wrap it around the centre of the bow. Secure the end with a knot.
Then using darning needle sew it below the beak.
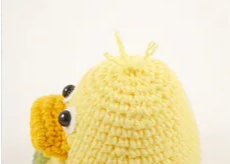
Using few pieces left of the yellow yarn knot them to the head (using darning needle). Cut a little bit the ends