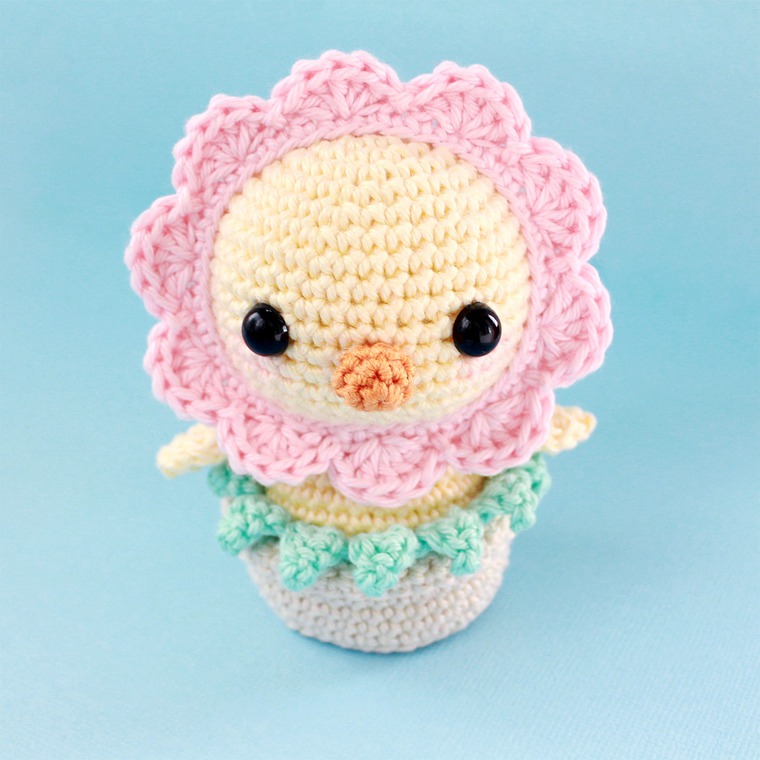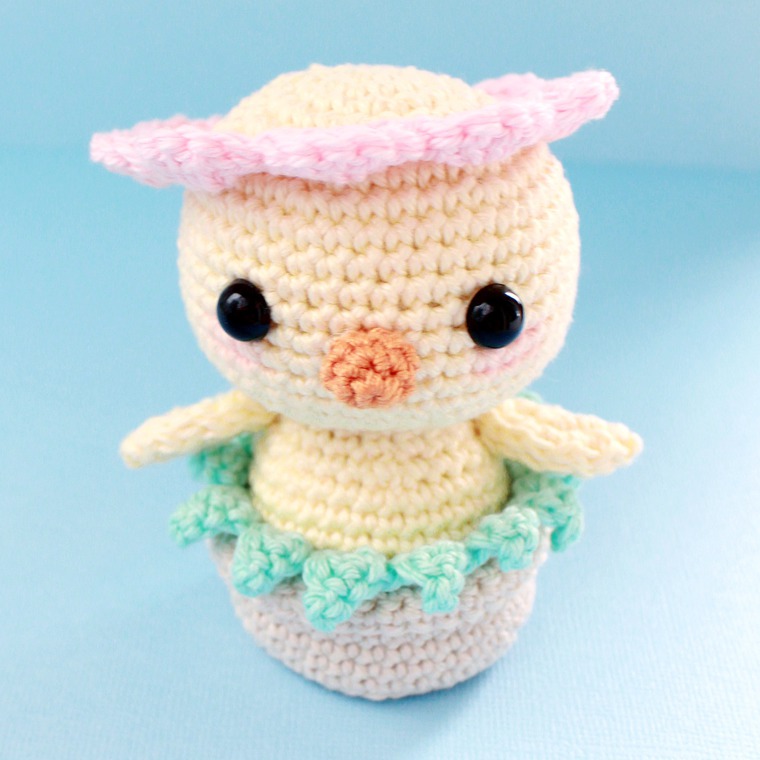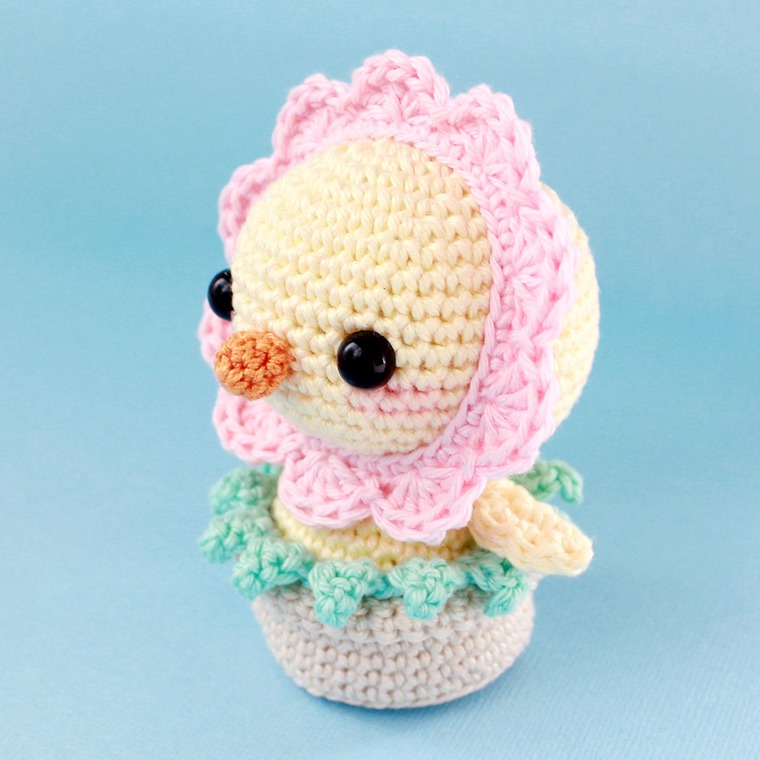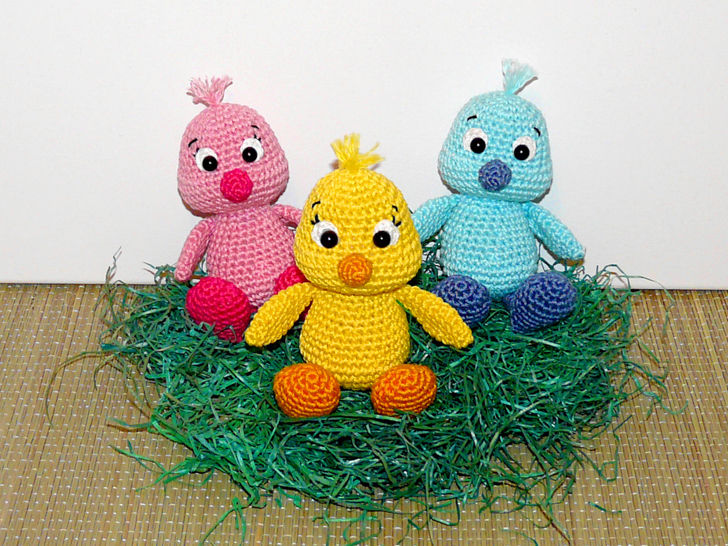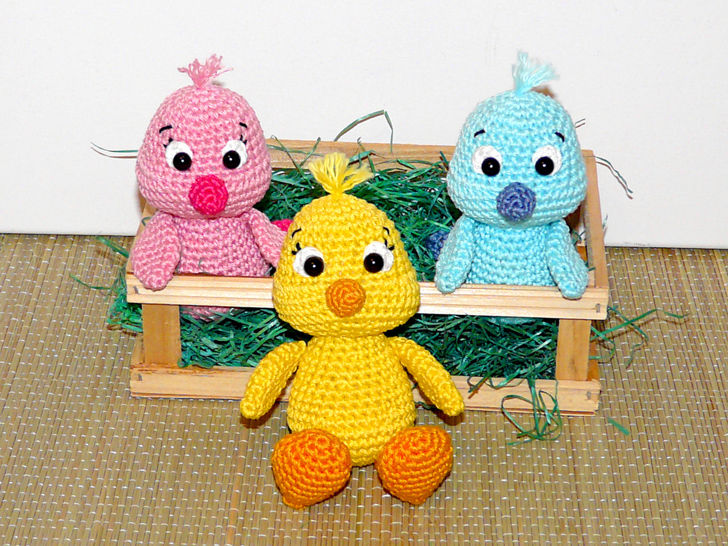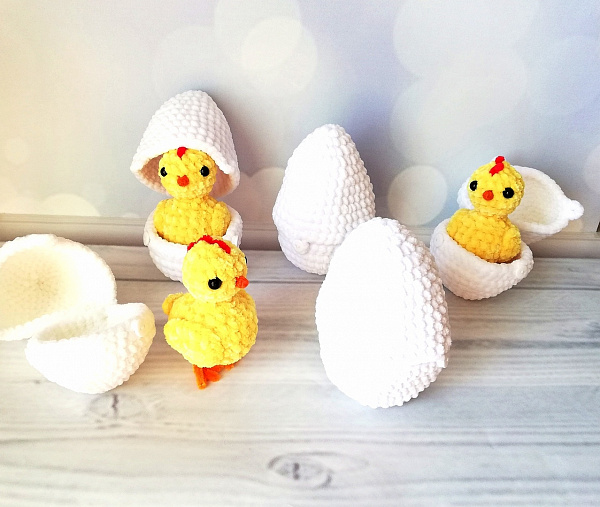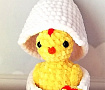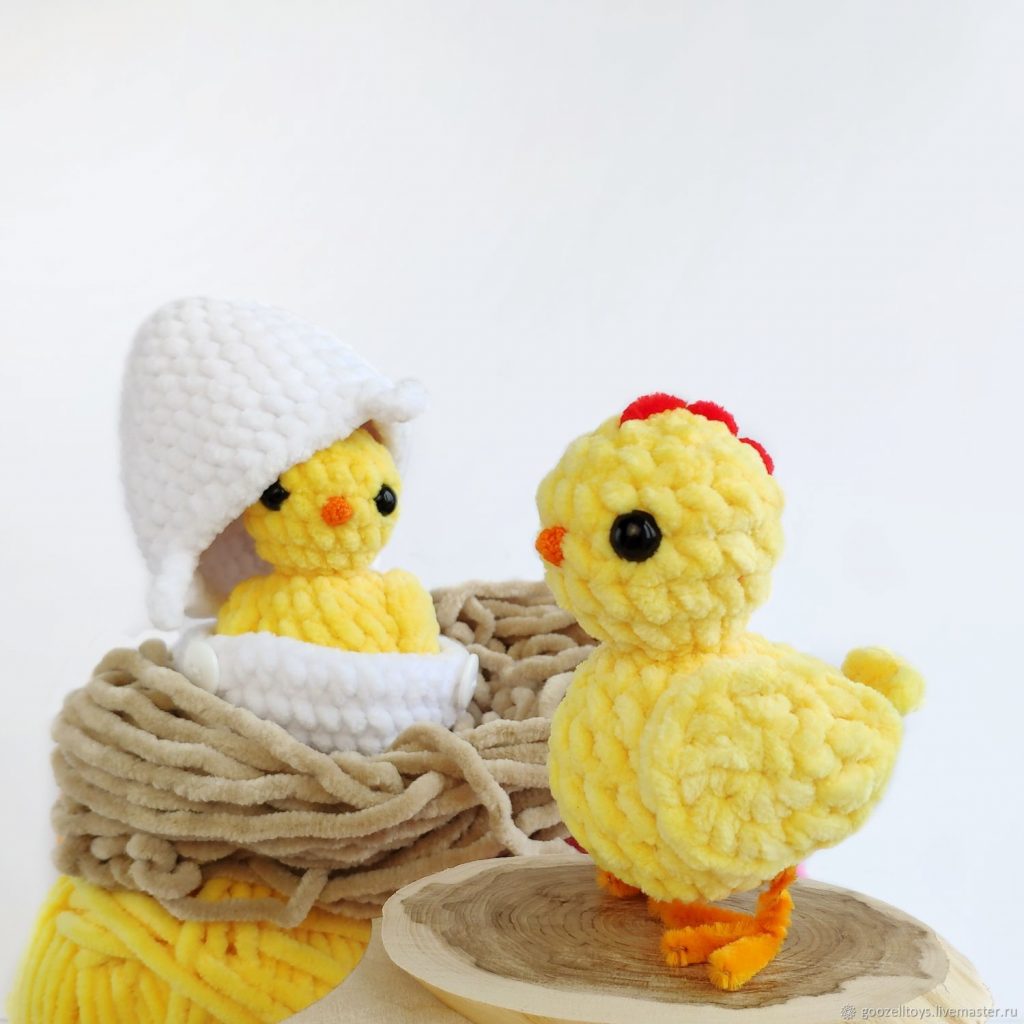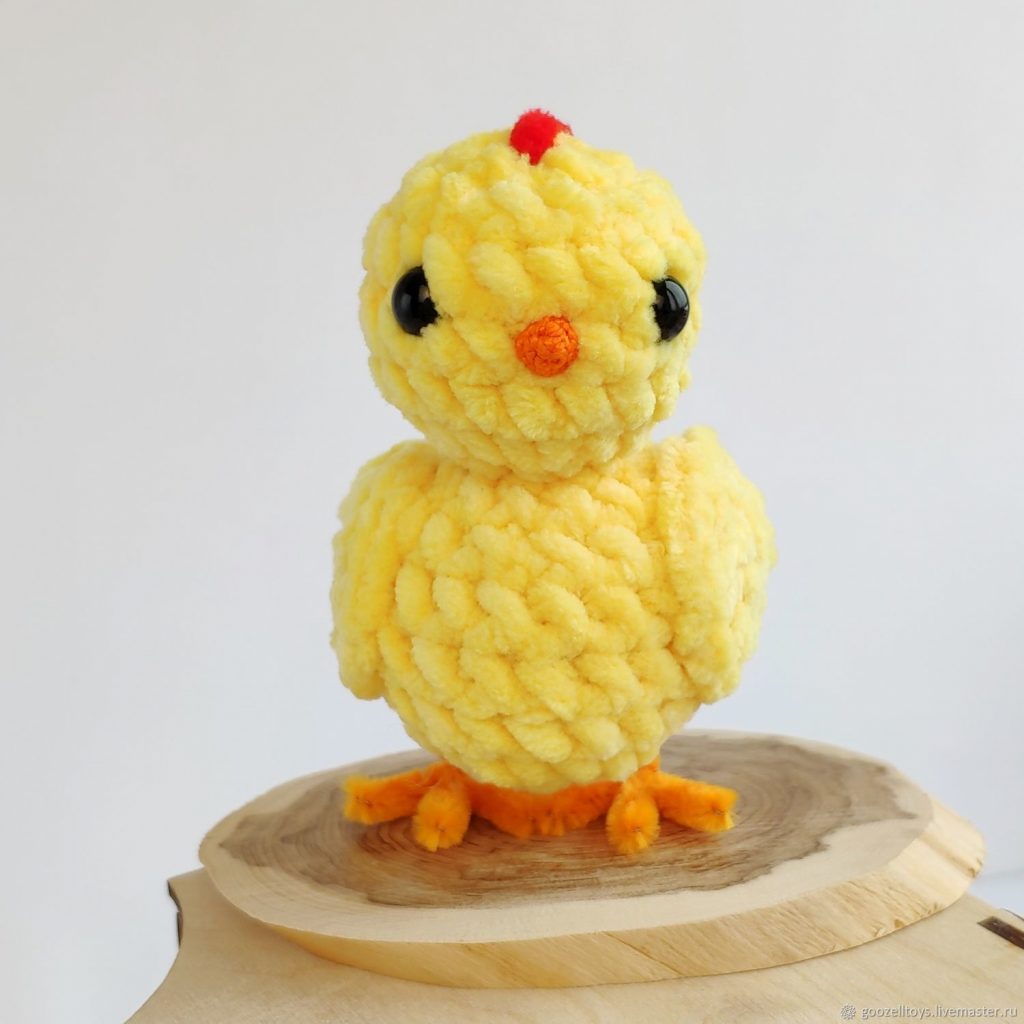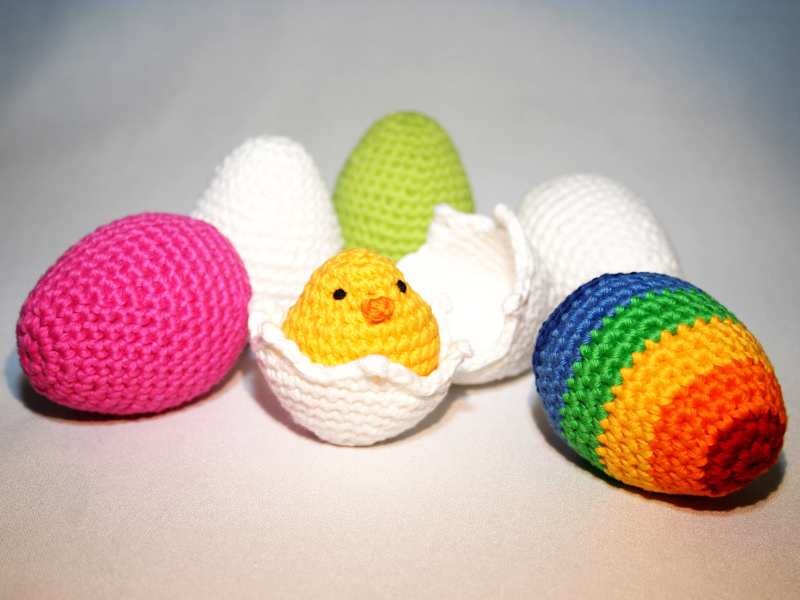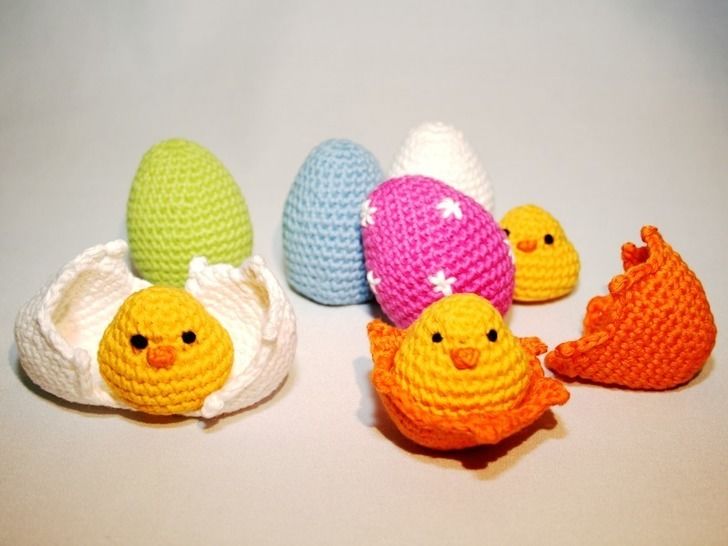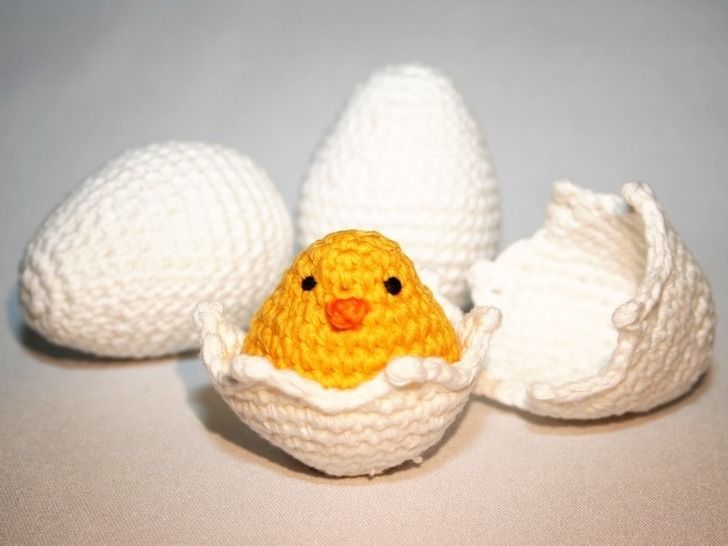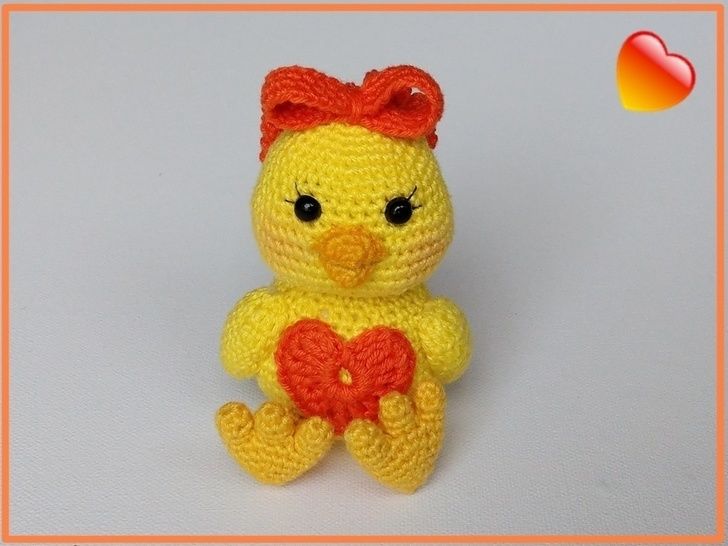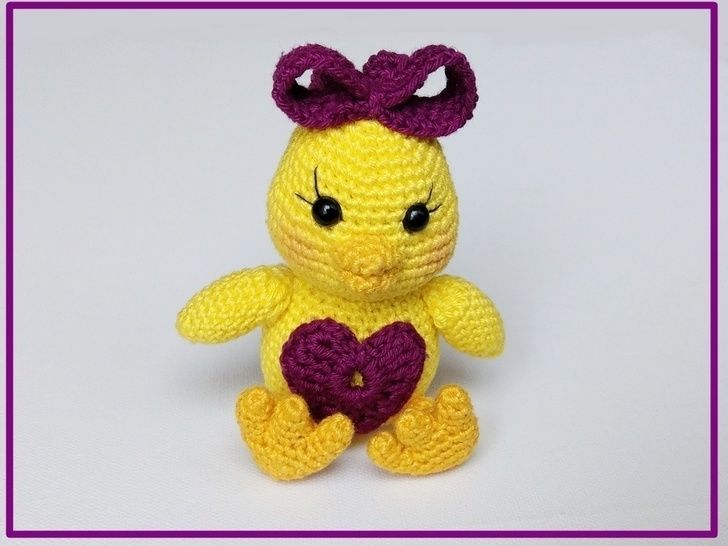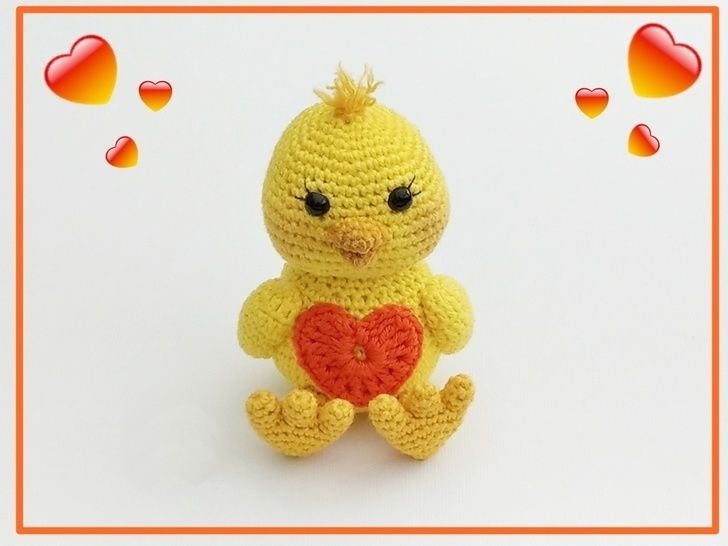
Amigurumi Chick Free Crochet Patterns
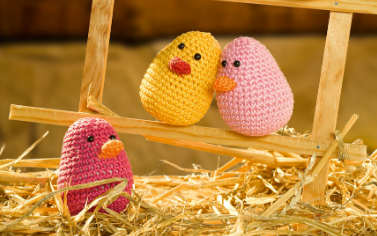
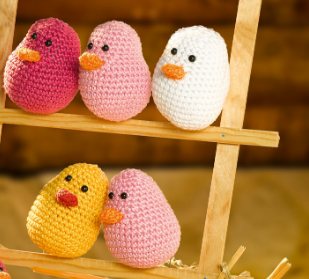
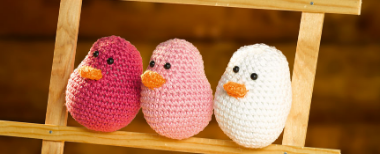
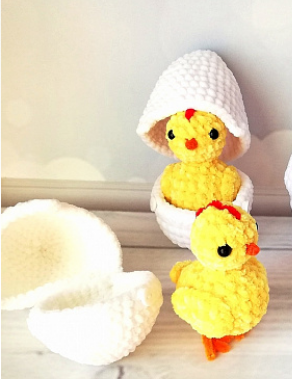
Hello dear visitors, I am here again with new amigurumi molds for you. I am sharing amigurumi patterns for you here for free. You can make your children happy by making these patterns. Amigurumi toys are very popular lately and are the most beautiful toys that don’t harm your kids. Your kids will love them. Let’s move on to our pattern and give them this gift.
You will need
Aran / worsted weight cotton or acrylic yarn in yellow
Tiny amount of Aran / worsted weight cotton or acrylic yarn in orange
3.5mm / E-4 hook
Fiberfill
Black embroidery floss
Yarn needle
Stitch marker
Scissors
Abbreviations
Rnd(s) = round(s)
St(s) = stitch(es)
Ch = chain
Sl st = slip stitch
Sc = single crochet
Inc = single crochet 2 in same st
Dec = invisible decrease: Insert hook in front loops of next 2 sts, yarn over, pull through both front loops, yarn over, pull through 2 remaining loops
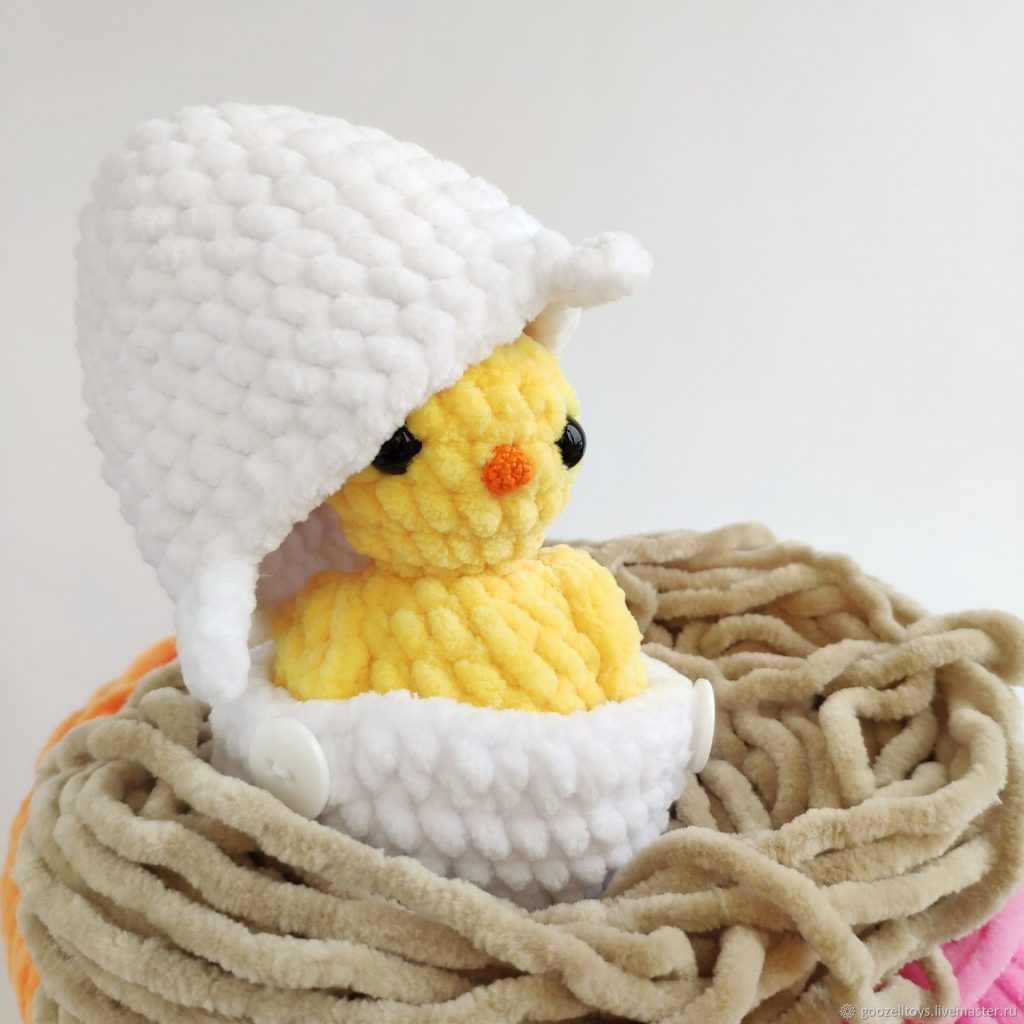
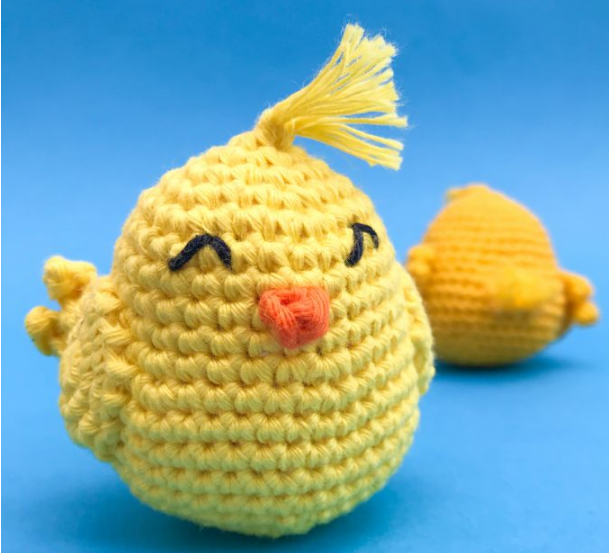
Head (Yellow)
Rnd 1: Sc 6 in magic ring (6)
Rnd 2: Inc in all 6 st (12)
Rnd 3: [sc in next st, inc in next st] repeat 6 times (18)
Rnd 4: [sc in next 2 st, inc in next st] repeat 6 times (24)
Rnd 5: [sc in next 3 st, inc in next st] repeat 6 times (30)
Rnd 6 – 9 (4 rnds): Sc in all 30 st (30)
Rnd 10: [sc in next 4 st, inc in next st] repeat 6 times (36)
Rnd 11: [sc in next 5 st, inc in next st] repeat 6 times (42)
Rnd 12 – 15 (4 rnds): Sc in all 42 st (42)
Rnd 16: [sc in next 5 st, dec] repeat 6 times (36)
Rnd 17: [sc in next 4 st, dec] repeat 6 times (30)
Rnd 18: [sc in next 3 st, dec] repeat 6 times (24)
Secure your stitch with a stitch marker.
Beak (Orange)
Ch 2 leaving a 4” long end
R 1: Sc 1 in 2nd ch from hook
Fasten off, leaving a 4”/10cm long end.
Sew the beak on the head, between rnd 7 and 8 across the width of 2 stitches.
Tie the yarn ends together inside the head.
Eyes (Black)
Embroider the eyes in upside down V-shapes on rnd 6 with 4 stitches space in between.
Tie the yarn ends together inside the head.
Assembly Head and Tail
Cut the 21”/53cm long piece of yarn in 7 x 3”/8cm pieces.
Attach 2 of these pieces of yarn to rnd 1 at the head.
Attach 5 pieces of yarn to rnd 13 across the width of 3 stitches at the back of the chick.
Fill the head and body generously with fiberfill.
Body
Rnd 19: [sc in next 2 st, dec] repeat 6 times (18)
Rnd 20: [sc in next st, dec] repeat 6 times (12)
Rnd 21: Dec 6 times (6)
Fasten off by stitching through the FLO of all 6 stitches and then through the middle of the last round to the back of the chick.
Wings (Yellow)
Crochet the right wing
Rnd 1: Sc 6 in a magic ring (6)
Rnd 2: Inc in all 6 st (12)
Rnd 3: [sc in next st, inc in next st] repeat 6 times (18)
Rnd 4: Ch 4, sc in next 3 ch (starting in 2nd ch from hook), sl st in next st of rnd, ch 3, sc in next 2 ch (starting in 2nd ch from hook), sl st in next st of rnd
Fasten off leaving a long yarn end for sewing.
Crochet the left wing
Rnd 1: Sc 6 in a magic ring (6)
Rnd 2: Inc in all 6 st (12)
Rnd 3: [sc in next st, inc in next st] repeat 6 times (18)
Rnd 4: Ch 3, sc in next 2 ch (starting in 2nd ch from hook), sl st in next st of rnd, ch 4, sc in next 3 ch (starting in 2nd ch from hook), sl st in next st of rnd
Fasten off leaving a long yarn end for sewing.
Sew the wings on
Sew the wings on each side of the amigurumi chick on rnd 8 to 13 with about 14 st space across the chest in between.