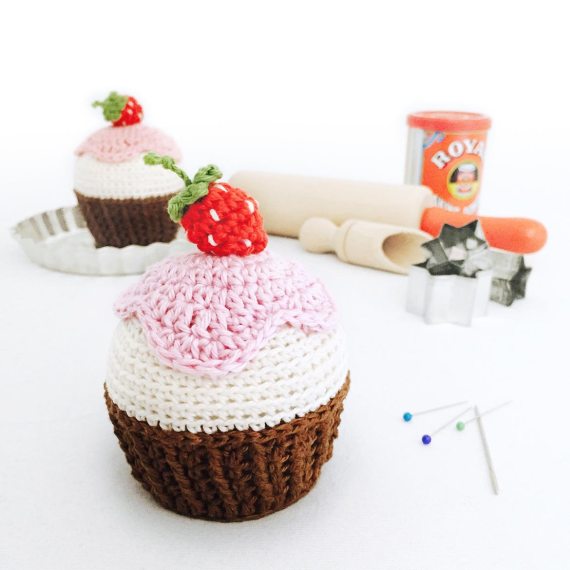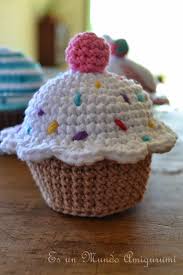
Amigurumi Cupcake Free Crochet Pattern
Hello dear visitors, I am here again with new amigurumi molds for you. I am sharing amigurumi patterns for you here for free. You can make your children happy by making these patterns. Amigurumi toys are very popular lately and are the most beautiful toys that don’t harm your kids. Your kids will love them. Let’s move on to our pattern and give them this gift.
You will need
• tapestry needle
• a crochet hook matching your yarn
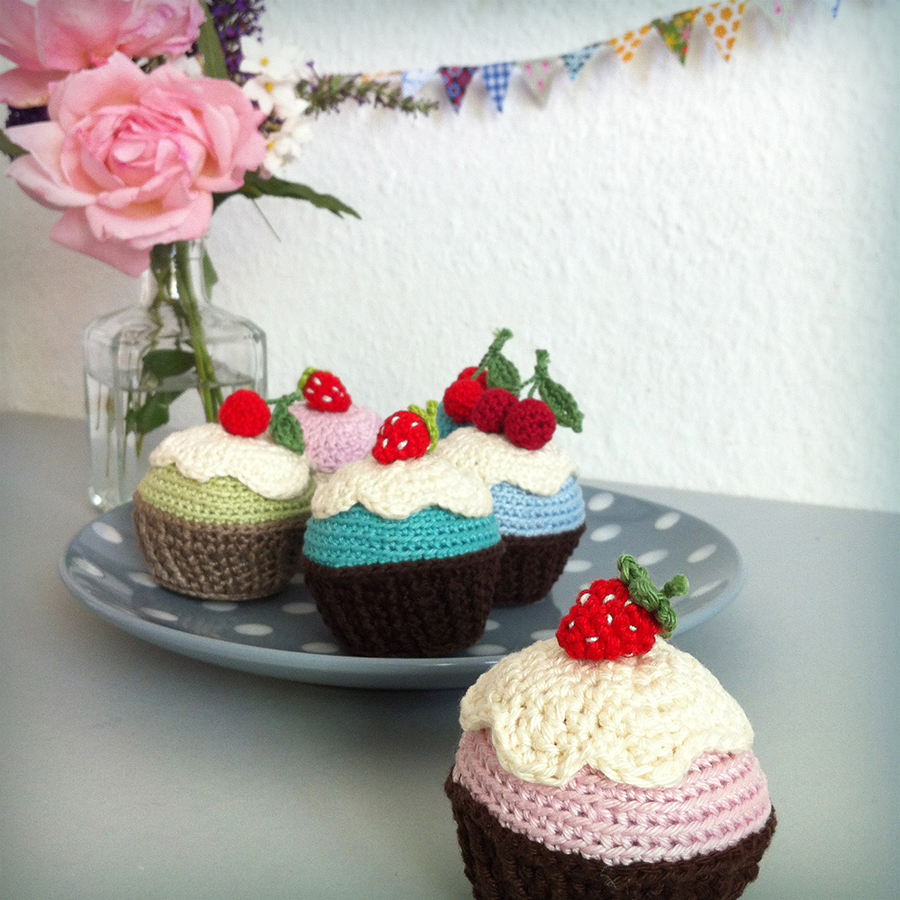
• some yarn in brown, creme, red, green and any other color you like
You can use any yarn weight you prefer!
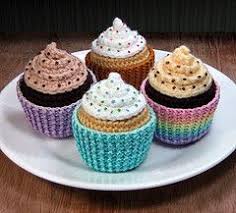
bigger yarn = larger cupcakes
Abbreviations
ch = chain stitch
dc = double crochet stitch
dc-inc = dc increase (crochet 2 dc in indicated stitch)
dec = decrease (sc together the next 2 stitches)
FPhdc = front post half double crochet stitch (how-to-video)
hdc = half double crochet stitch
hdc-inc = hdc increase – hdc in indicated stitch 2 times
inc = increase (work 2 sc in indicated stitch)
rnd(s) = round(s)
sc = single crochet stitch
sctbl = sc through back loop only
sctfl = sc through front loop only
sk = skip
slst = slip stitch
st(s) = stitch(es)
tr = treble crochet stitch / triple crochet stitch
[…] …x = repeat instructions in brackets … times
(…) = number of stitches after this round
Cup For The Cake
Make a magic loop using the BROWN yarn.
For the bottom of the cup you’ll work in spirals without joining the rounds.
- [sc] 6x in the yarn loop and tighten the loop (6)
- [inc] 6x (12)
- [sc, inc] 6x (18)
- sc, inc, [sc2, inc] 5x, sc (24)
- [sc 3, inc] 6x (30)
From now on you won’t work in spirals anymore, but in closed rounds. The 2 chain stiches the next rounds start with always count as 1 hdc, slip stitches are not included in the total number of stitches which you can find written in round brackets. - slst, ch 2, hdc 2, hdc-inc, [hdc 4, hdc-inc] 5x, hdc, close the round with a slst into the 2nd ch at the beginning of the round (36)
For the 7th round you insert the hook into the LOOP BEHIND THE BACK LOOP (= back bar or bump of the stitch) of the stitches of the previous round: - ch 2, hdc 35, close rnd with a slst into the top of the first hdc (36)
- ch 2, FPhdc around the post of the first hdc, sk 1, hdc into next stitch, [FPhdc around the next post, sk 1, hdc into the next st] 16x, FPhdc, slst into the top of the first hdc (36)
- repeat rnd 08 (36)
- repeat rnd 08 (36)
- ch 2, FPhdc around the post of the first hdc, sk 1, °hdc 2° into next stitch, [FPhdc around the next post, sk 1, °hdc 2° into the next st] 16x, FPhdc, slst into the top of the first hdc (53)
- ch 2, FPhdc around the post of the first hdc, sk 1, hdc 2, [FPhdc around the next post, sk 1, hdc 2] 16x, FPhdc (53)
BREAK THE YARN AND THAT INTO THE TOP OF THE FIRST HDC
The Cake
For the following rounds all stitches will be worked ONLY TROUGH THE BACK LOOPS (tbl) of the last rounds stitches!
- [sctbl] across (52)
- repeat rnd. 14 (52)
- [dec, sctbl 11] 4x (48)
- [sctbl] across (48)
- sctbl 3, dec, [sctbl 6, dec] 5x, sctbl 3 (42)
- [dec, sctbl 5] 6x (36)
- sctbl 2, dec, [sctbl 4, dec] 5x, sctbl 2 (30)
- [dec, sctbl 3] 6x (24)
FILL IN THE SOFT STUFFING befor you continue crocheting the decrease rounds! - sctbl, dec, [sctbl 2, dec] 5x, sctbl (18)
- [dec, sctbl] 6x (12)
- [dec] 6x (6)
- dec to end
Break the yarn and weave in the ends.
The Cream
Start a magic loop using the CREME-COLORED yarn.
- ch 2 (counts as 1st hdc), hdc 9 in the yarn loop and tighten the loop, slst into the top of the 1st hdc to close rnd (9)
- ch 2 (counts as 1st hdc), [hdc-inc] 9x, slst into the top of the 1st hdc to close rnd (18)
- ch 2, [hdc-inc, hdc] 9x (27)
Do NOT join the round with a slst this time – instead go ahead in spirals: - hdc into the top of the first hdc, dc-inc, hdc, sc 2, hdc, dc 2, hdc, sc, slst, sc, hdc 2, dc-inc, dc, hdc 2, sc, hdc, dc-inc, dc, hdc, slst, hdc, dc, hdc (30)
- slst 2, hdc-inc, sc, slst 2, sc, hdc, hdc-inc, slst 3, hdc 2, dc-inc 2, hdc, slst 2, sc 2, hdc-inc 2, slst 3, hdc, dc-inc, hdc, slst (37)
- slst, sc, hdc, hdc-inc, slst 3, sc 2, hdc, hdc-inc, hdc, sc, slst 3, sc, hdc, dc-inc 2, hdc, sc, slst 2, sc 2, hdc-inc, hdc, sc, slst 3, hdc, hdc-inc, hdc, sc, slst (43)
The Strawberry
Start a magic loop using the RED yarn.
- [sc] 6x in the yarn loop and tighten the loop (6)
- [inc] 6x (12)
- [sc] across (12)
- repeat rnd 03
- [sc 2, dec] 3x (9)
Fill in a little SOFT STUFFING before working the last 2 rounds! - [dec] 3x (6)
- dec, sk, slst break the yarn and weave in the ends
Rosette
Take your GREEN yarn now and start a magic loop.
[ch 2, sc in the 2nd chain from hook, slst into the loop] 5x
Now you have to tighten the yarn loop and slst into the very first st of the circle.
Break the yarn and pull the yarn tails through the center of the rosette. Twist both threads together to form a little stem. Fix the twisted yarn with a knot.
Fix the ROSETTE with some little sewing stitches (use green sewing thread) onto the top of the strawberry.
Take some white sewing thread and STITCH LITTLE SEEDS onto the strawberry.
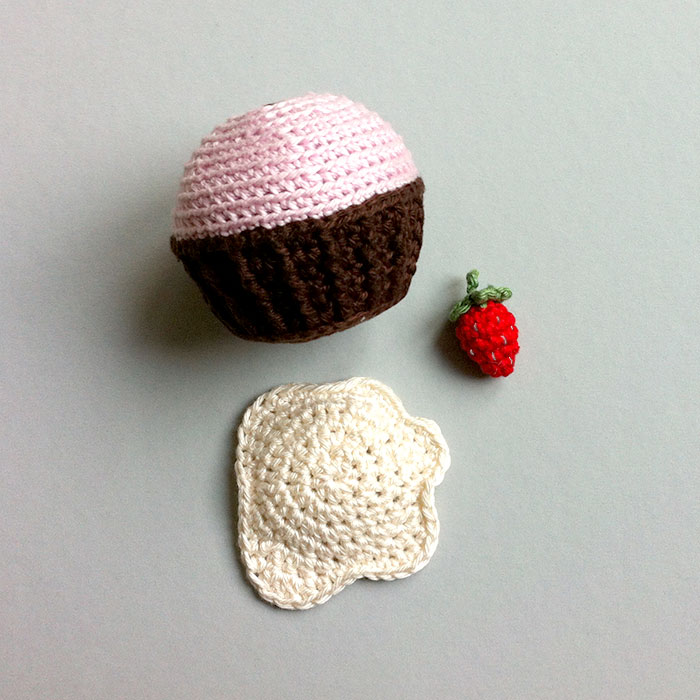
Assamble:Place the cream onto the top of the cake and sew it in place.
Put the topping strawberry onto the top of the cream and sew it in place too.