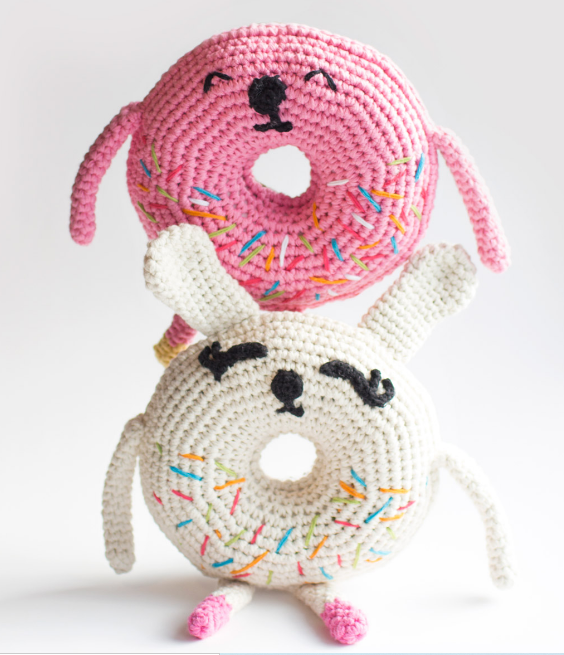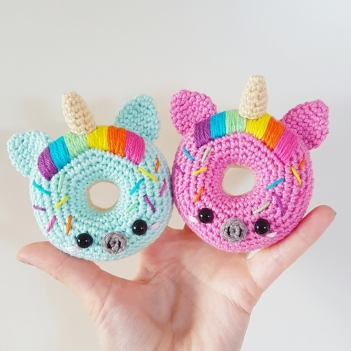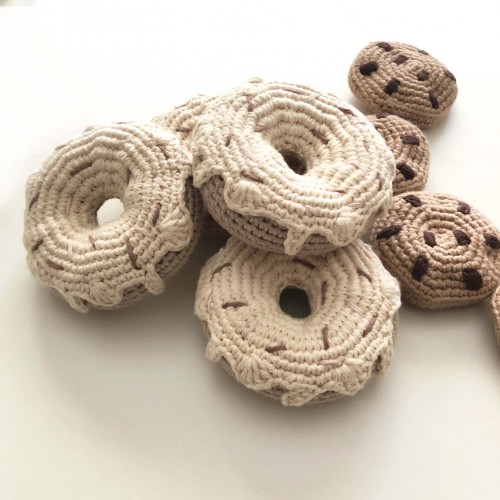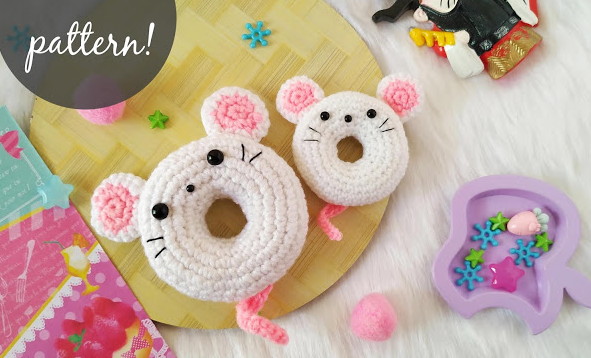
Amigurumi Donut Mouse Free Crochet Patterns
Hello dear visitors, I am here again with new amigurumi molds for you. I am sharing amigurumi patterns for you here for free. You can make your children happy by making these patterns. Amigurumi toys are very popular lately and are the most beautiful toys that don’t harm your kids. Your kids will love them. Let’s move on to our pattern and give them this gift.
You will need
Worsted weight Acrylic yarn in white and pink colour.
3.5mm crochet hook.
8mm safety eyes.
4mm flatback black beads for nose.
Tapestry needle.
Poly fibre fill.
Black embroidery thread.
Abbreviations
ch- chain.
St – stitch
sc – single crochet.
sl st – slip stitch.
Inc – sc increase (2sc in same stitch).
Dec – sc decrease (sc 2 together).
( ) – total number of stitches in a row.
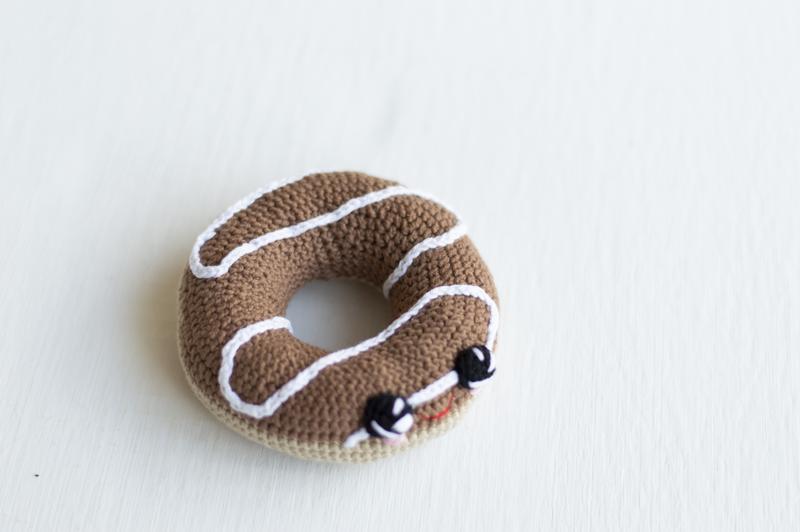
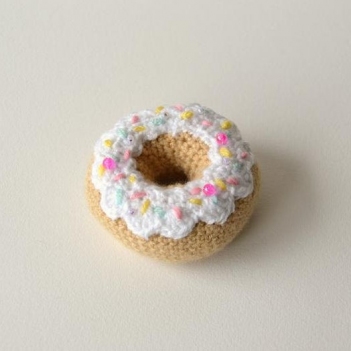
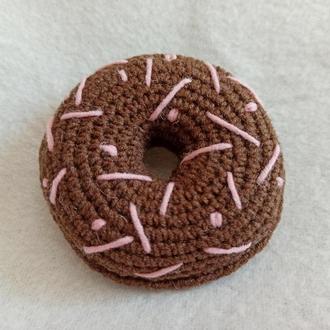
Donut
With white yarn,
Chain 18 and sl st to the first chain to form a ring.
R1: sc in each st (18).
R2: [ sc, inc, sc ] x 6 (24).
R3: [ sc in next 3 st, inc ] x 6 (30).
R4: [ sc, sc, inc, sc, sc ] x 6 (36).
R5: [ sc in next 5 st, inc ] x 6 (42).
R6-10: sc in each st (42).
R11: [ sc in next 5 st, dec ] x 6 (36).
R12: [ sc, sc, dec, sc, sc ] x 6 (30).
R13: [ sc in next 3 st, dec ] x 6 (24).
R14: [ sc, dec, sc ] x 6 (18).
Fasten off leaving a long tail for sewing.
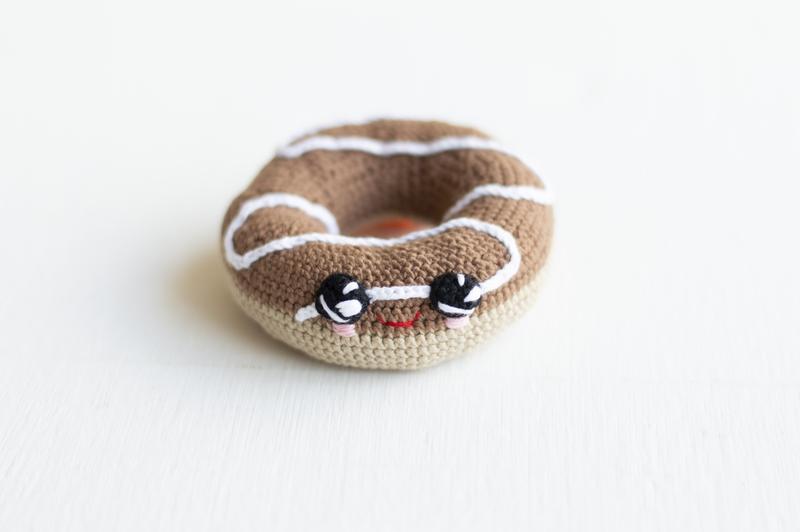
Insert 8mm safety eyes between R4 and R5 with 7 stitches in between.
Bring R1 and R18 together and make a whip stitch to close the ends. Stuff the donut as you go.
Stick 4mm flatback bead for nose. You can also embroider the nose with black thread.
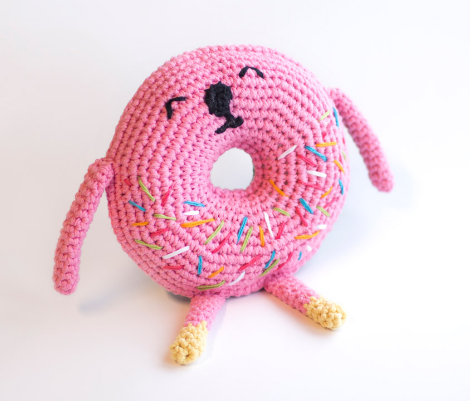
Ears (Make 2)
With pink colour yarn,
R1: 6 sc in magic ring.
R2: 2 sc in each st (12). Fasten off.
With white colour yarn,
R1: 6 sc in magic ring.
R2: 2 sc in each st (12). Do not fasten off the yarn
Place the pink and white round that we made with wrong sides together and insert the hook through both the pieces and we will work row 3 as below.
R3: [sc in next st, inc] x 6 (18).
Tail
With pink colour yarn,
chain 12, sl st in second chain from hook and sl st in next 2 st, sc in each of the remaining chains and fasten off leaving a long tail for sewing.
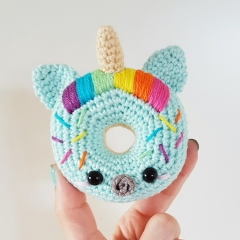
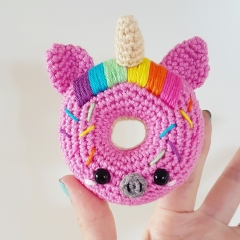
Assembly
Add in whiskers on either side just below the eyes.
Attach the ears on either side of the donut.
Finally attach the tail at the back side bottom of the donut.