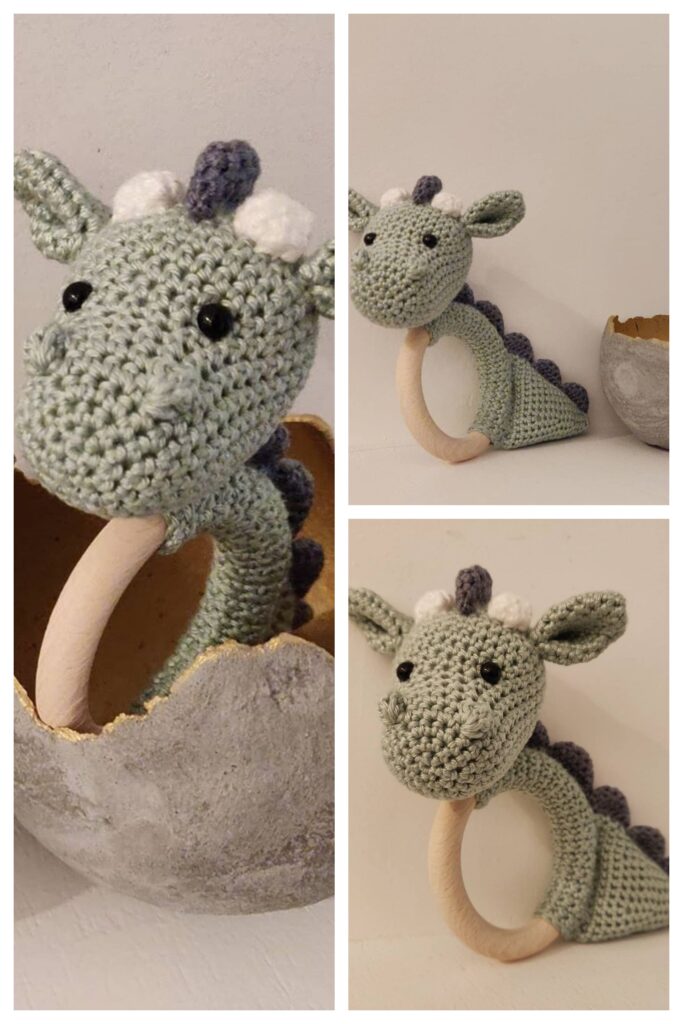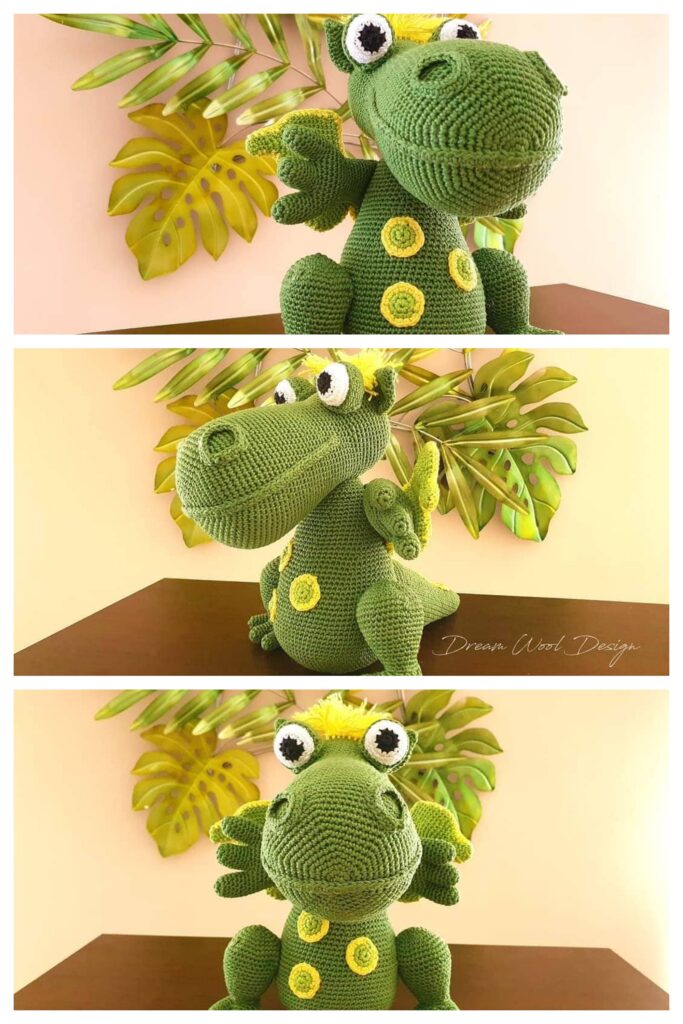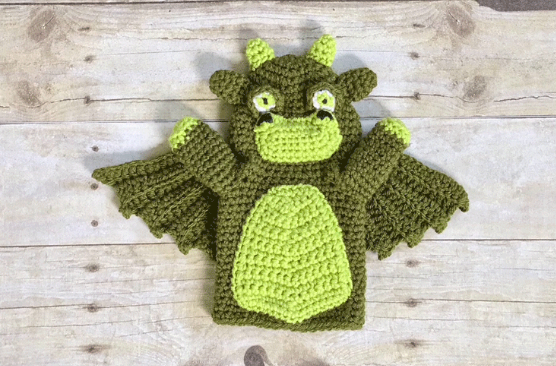
Amigurumi Dragon Hand Puppet Free Crochet Patterns
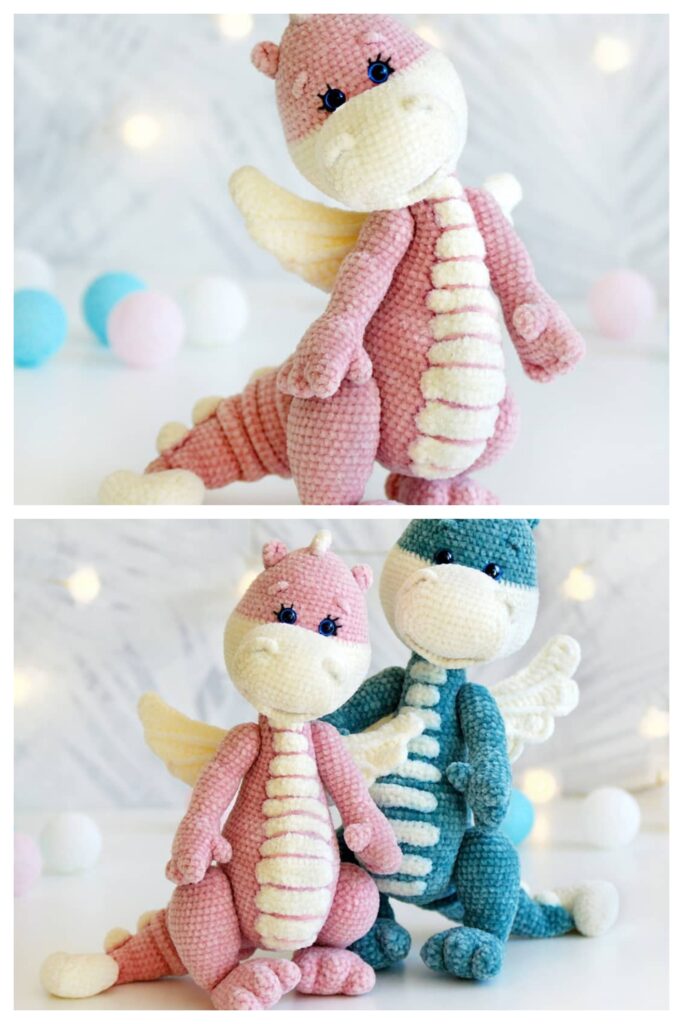
Hello dear visitors, I am here again with new amigurumi molds for you. I am sharing amigurumi patterns for you here for free. You can make your children happy by making these patterns. Amigurumi toys are very popular lately and are the most beautiful toys that don’t harm your kids. Your kids will love them. Let’s move on to our pattern and give them this gift.
You will need
Olive-green :approximately 118 yrds
Radiant Lime – approximately 25 yrds
Small amount of worsted weight white and black yarn for the eyes and nostrils.
Crochet hook size G – 4.25mm
Tapestry needle
Abbreviations
Magic ring
Rnd, rnds – round, rounds
St, sts – stitch, stitches
Sl st – slip stitch
Sk – skip
Sc – single crochet
Hdc – half double crochet
Dc – double crochet
Inc – increase, 2 sts in same st
BLO – back loop only
Dec over 3 sts – Decrease 3 sts into 1 st
1-Insert hook into next st and pull up a loop.
2-Sk next st
3-Insert hook into next st and pull up a loop.
4-Yarn over and pull through all 3 loops on hook.
Invsc2tog – invisible single crochet 2 together; this is essentially a decrease, but done in such a way as to make the continuous stitching smoother, and the decrease not as noticeable.
1-Insert hook into front loop only of next stitch, DO NOT yarn over.
2-Insert hook into front loop of second stitch.
3-Yarn over. Pull through 2 loops.
4-Yarn over and pull through last 2 loops.
NOTE
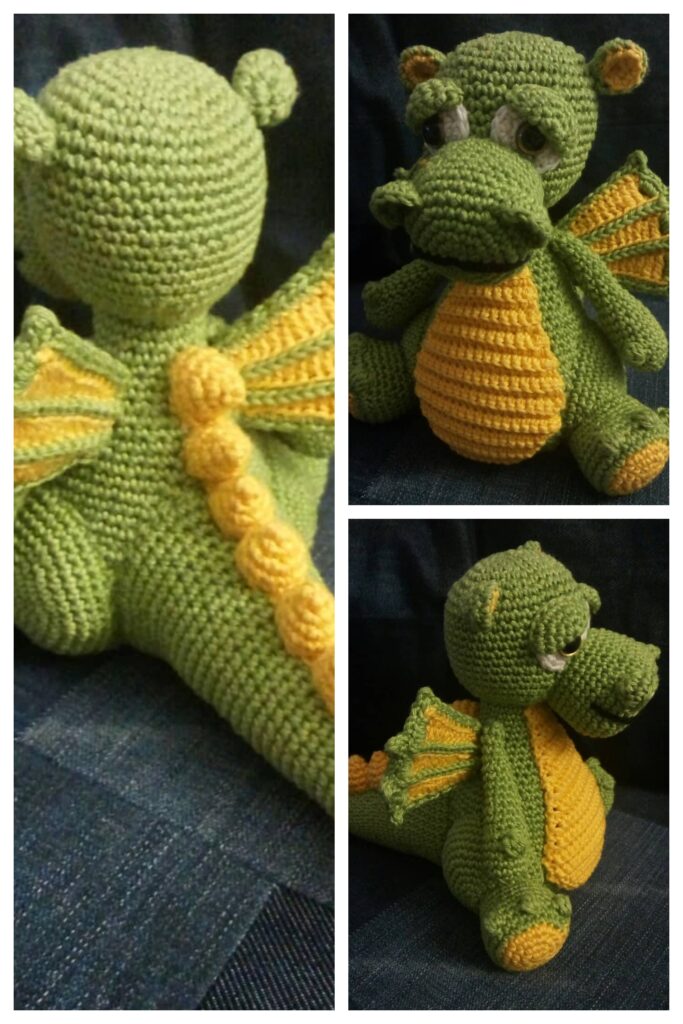
The body is worked from the top down, in the rnd, with no joining. The arms, snout, ears, horns, eyes, and wings are made separately and sewn on. The nostrils are embroidered on with black worsted weight yarn.
Body
Olive green
Begin with a magic ring.
Rnd 1: 6 sc in magic ring; 6 sts
Rnd 2: inc in each st around; 12 sts
Rnd 3: (inc, sc in next st)6x; 18 sts
Rnd 4: (inc, sc in next 2 sts)6x; 24 sts
Rnd 5: (inc, sc in next 3 sts)6x; 30 sts
Rnds 6-9: sc in each st around; 30 sts
Rnd 10: (3 inc, sc in next 12 sts)2x; 36 sts
Rnds 11-14: sc in each st around; 36 sts
Rnd 15: (3 invsc2tog, sc in next 12 sts)2x; 30 sts
Rnd 16: (3 invsc2tog, sc in next 9 sts)2x; 24 sts
Rnd 17: sc in each st around; 24 sts
Rnd 18: (inc, sc in next 3 sts)6x; 30 sts
Rnd 19: sc in each st around; 30 sts
Rnd 20: ch 4, sk next 4 sts, inc in next st, (sc in next 4 sts, inc) 2x, ch 4, sk next 4 sts, inc in next st, (sc in next 4 sts, inc in next st)2x; 36 sts, counting the chs
Rnd 21: (sc into each of the 4 chs (using the back loop under the chs will create a neater look in the sts for sewing on the arms later), sc in next 14 sts)2x; 36 sts
Rnds 22-38: sc in each st around; 36 sts
Fasten off and weave in ends.
Arms (Make 2)
Lime
Begin with magic ring
Rnd 1: 6 sc in magic ring; 6 sts
Rnd 2: inc in each st around; 12 sts
Rnd 3: BLO sc in each st around; 12 sts
Pull Olive green through to complete the last st of rnd 3, and fasten off Lime
Continue in Olive green.
Rnds 4-13: sc in each st around; 12 sts
Fasten off, leaving a long tail for sewing. Sew onto the arm holes in the body. Turn the arms inside out, pushed them into the arm holes, and sew through the stitches. Then turn the arm right side out, and weave ends in on the inside of the body.
Bell
Lime
Ch 16
Row 1: turn and sc in 2nd ch from hook, and in each ch across; 15 sts
Row 2: ch 1 and turn, sc in next 6 sts, dec over next 3 sts, sc in next 6 sts; 13 sts
Rows 3-5: ch 1 and turn, sc in each st across; 13 sts
Row 6: ch 1 and turn, sc in next 5 sts, dec over next 3 sts, sc in next 5 sts; 11 sts
Rows 7-9: ch 1 and turn, sc in each st across; 11 sts
Row 10: ch 1 and turn, sc in next 4 sts, dec over next 3 sts, sc in next 4 sts; 9 sts
Rows 11-13: ch 1 and turn, sc in each st across; 9 sts
Row 14: ch 1 and turn, sc in next 3 sts, dec over next 3 sts, sc in next 3 sts; 7 sts
Row 15: ch 1 and turn, sc in next 2 sts, dec over next 3 sts, sc in next 2 sts; 5 sts
Do not turn. Sc around the outside of the piece. Fasten off, leaving a long tail for sewing, and sew onto the front of the body.
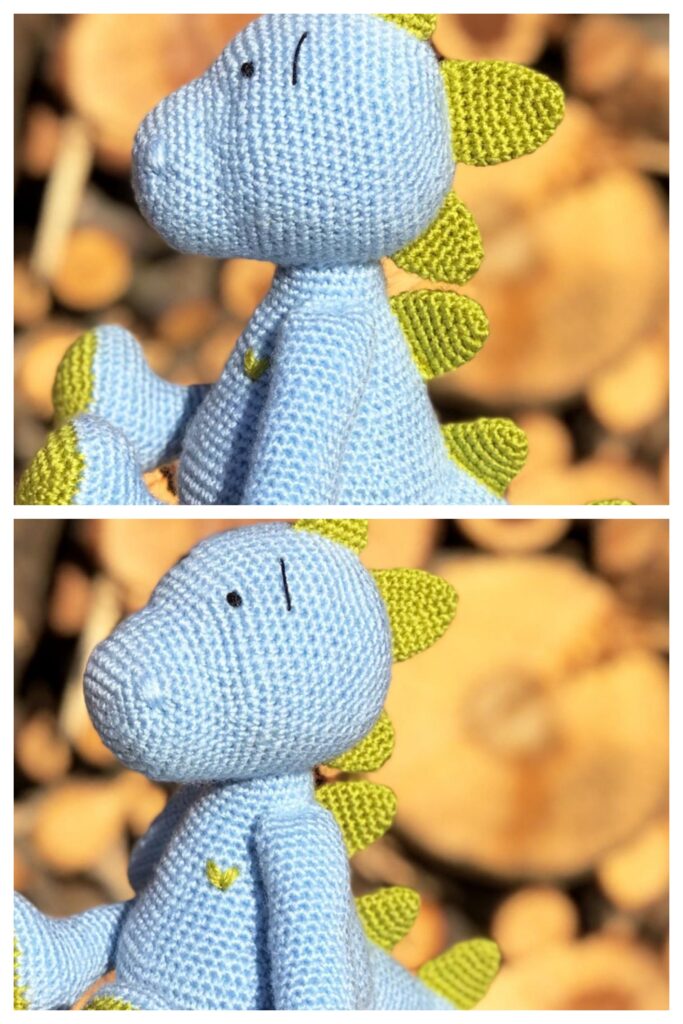
Snout
Lime
The snout is worked in the rnd, but around a base ch to elongate and create an oval.
Ch 8
Rnd 1: turn and inc in 2nd ch from hook, sc in next 5 chs, 3 sc in last ch, turn work to crochet on the bottom side of the ch, sc in next 5 chs along the bottom, sc in last ch, do not join; 16 sts
Rnd 2: inc in next 2 sts, sc in next 5 sts, inc in next 3 sts, sc in next 5 sts, inc in last st; 22 sts
Rnd 3: (inc, sc in next st)2x, sc in next 5 sts, (inc, sc in next st)2x, sc in next st, (hdc, dc, hdc) in next st, sl st in next 7 sts, (hdc, dc, hdc) in the first st of the rnd, sl st in next st and fasten off, leaving a long tail for sewing. Embroider nostrils onto the snout with black yarn. Then sew the snout onto the center of the face.
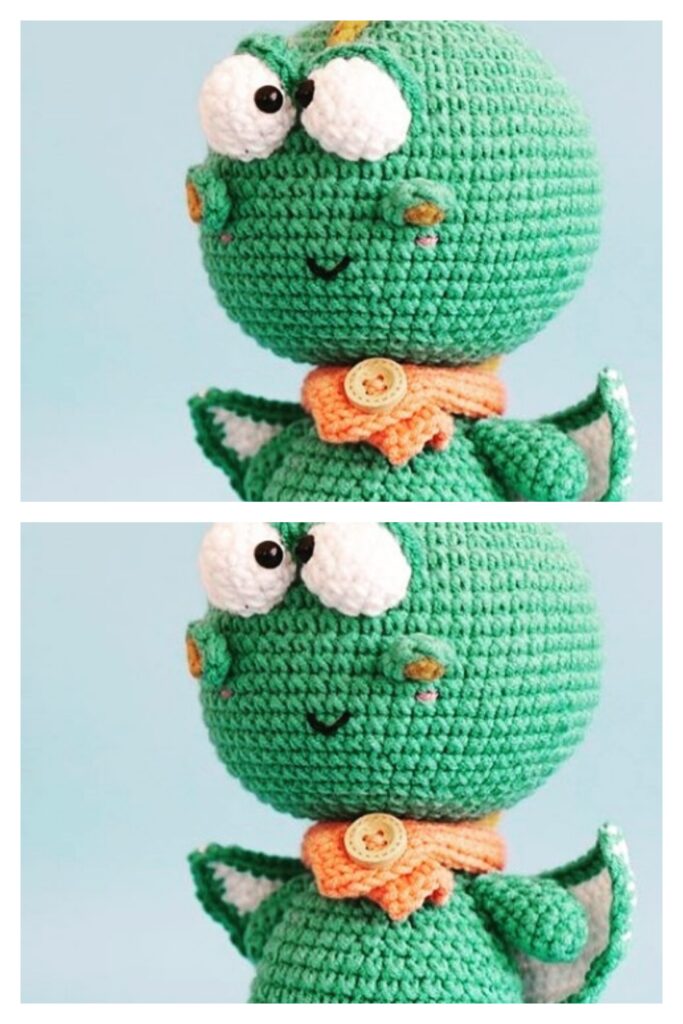
Eyes (Make 2)
Lime
Begin with magic ring
Rnd 1: sc 6 in magic ring, pulling White through to finish last st, DO NOT JOIN; 6 sts
Pull the beginning tail to close the bottom of the eye. Continue with white, fasten off Lime.
Rnd 2: ch 1 and turn, (sc, hdc) in first st, sc in next 4 sts, (hdc, sc) in last st, pulling Olive through to finish last st, DO NOT JOIN; 8 sts
Continue with Olive, fasten off White.
Rnd 3: ch 1 and turn, sc in each st across, DO NOT JOIN; 8 sts
Rnd 4: ch 1 and turn, BLO, sc in each st across, DO NOT JOIN; 8 sts
Fasten off, leaving a long tail for sewing. Using your tapestry needle, sew a black speck into the Lime as the pupil. Knot off all extra ends EXCEPT for one long Olive, and one long White for sewing. Trim and use them as stuffing for the back of the eye. Fold the last rnd of the Olive over the eye like the eyelid, gently sew it down to the white of the eye, and then sew onto the face using the unused front loops of rnd 3. Sew the bottom side of the eye onto the face using the White end.
Horns (Make 2)
Lime
Begin with magic ring.
Rnd 1: 4 sc in magic ring; 4 sts
Rnd 2: (inc, sc in next st)2x; 6 sts
Rnd 3: sc in each st around; 6 sts
Rnd 4: inc, sc in next 5 sts; 7 sts
Fasten off, leaving a long tail for sewing, sew on either side of the top of the head.
Ears (Make 2)
Olive
Begin with magic ring.
Rnd 1: 6 sc in magic ring; 6 sts
Rnd 2: sc in each st around; 6 sts
Rnd 3: inc, sc in next 5 sts; 7 sts
Rnd 4: inc, sc in next 6 sts; 8 sts
Rnd 5: inc, sc in next 7 sts; 9 sts
Fasten off, leaving a long tail for sewing, sew on either side of the head, to the outside of the horns.
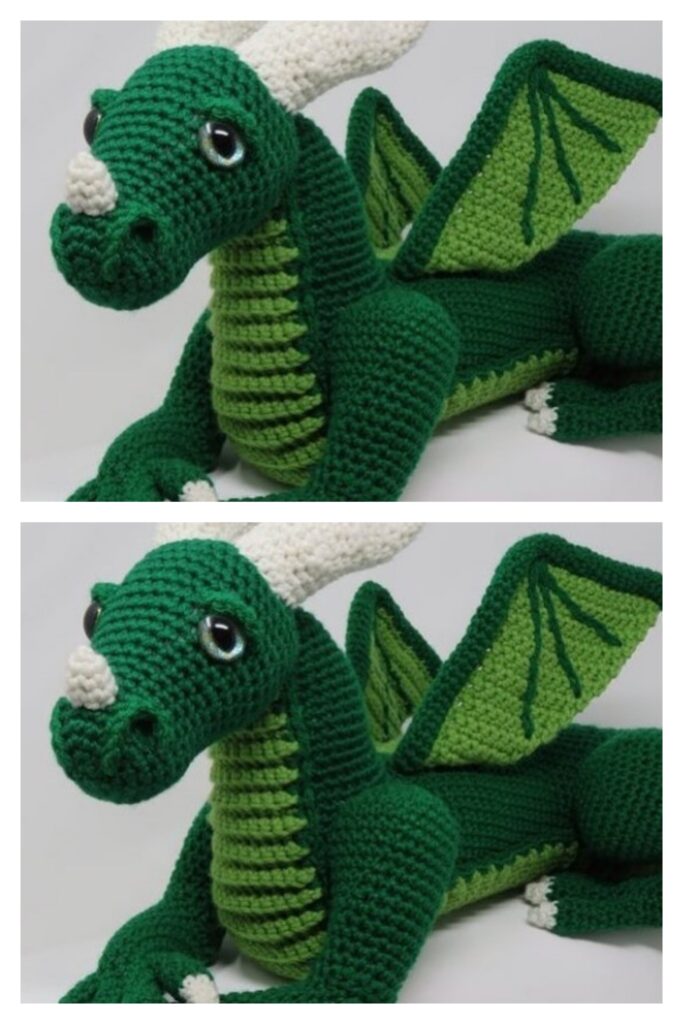
Wings (Make 2)
Olive
*Note: Every even row will be decreasing by 1 st by skipping the last st, so the wing will get shorter as you work. Use back loops only each row.
Ch 18
Row 1: turn and sl st into 3rd ch from hook, dc in next 5 sts, hdc in next 5 sts, sc in next 5 sts; 16 sts
Use BLO throughout.
Row 2: ch 1 and turn, sc in next 5 sts, hdc in next 5 sts, dc in next 4 sts, ch 3; 14 sts, 3 chs
Row 3: turn and sl st into 3rd ch from hook, dc in next 4 sts, hdc in next 5 sts, sc in next 5 sts; 15 sts
Row 4: ch 1 and turn, sc in next 5 sts, hdc in next 5 sts, dc in next 3 sts, ch 3; 13 sts, 3 chs
Row 5: turn and sl st into 3rd ch from hook, dc in next 3 sts, hdc in next 5 sts, sc in next 5 sts; 14 sts
Row 6: ch 1 and turn, sc in next 5 sts, hdc in next 5 sts, dc in next 2 sts, ch 3; 12 sts, 3 chs
Row 7: turn and sl st into 3rd ch from hook, dc in next 2 sts, hdc in next 5 sts, sc in next 5 sts; 13 sts
Row 8: ch 1 and turn, sc in next 5 sts, hdc in next 5 sts, dc in next st, ch 3; 11 sts, 3 chs
Row 9: turn and sl st into 3rd ch from hook, dc in next st, hdc in next 5 sts, sc in next 5 sts; 12 sts
Row 10: ch 1 and turn, sc in next 5 sts, hdc in next 5 sts, ch 3; 10 sts, 3 chs
Row 11: turn and sl st into 3rd ch from hook, hdc in next 5 sts, sc in next 5 sts; 11 sts
Row 12: ch 1 and turn, sc in next 5 sts, hdc in next 4 sts, ch 3; 9 sts, 3 chs
Row 13: turn and sl st into 3rd ch from hook, hdc in next 4 sts, sc in next 5 sts; 10 sts
Fasten off, leaving a long tail for sewing. Sew to the center of the back, meeting up with the other wing, and up the top sides of the arms. Weave in ends.