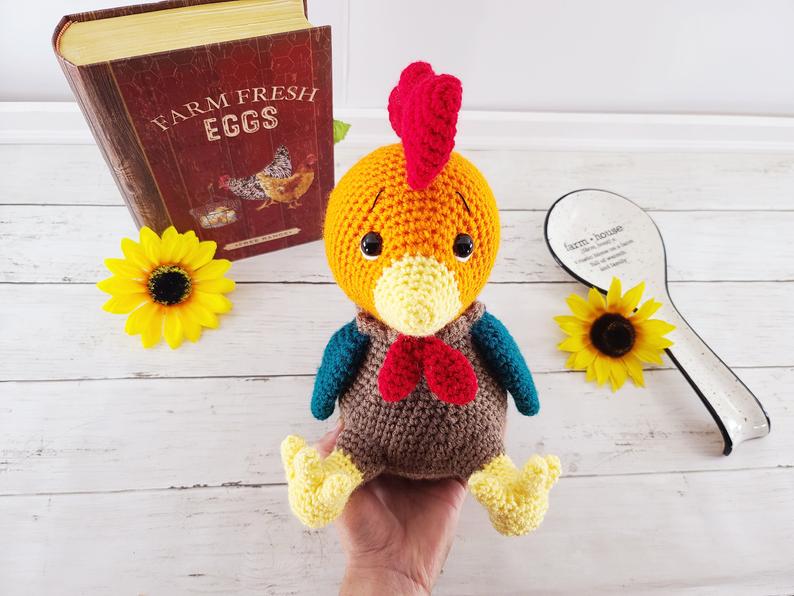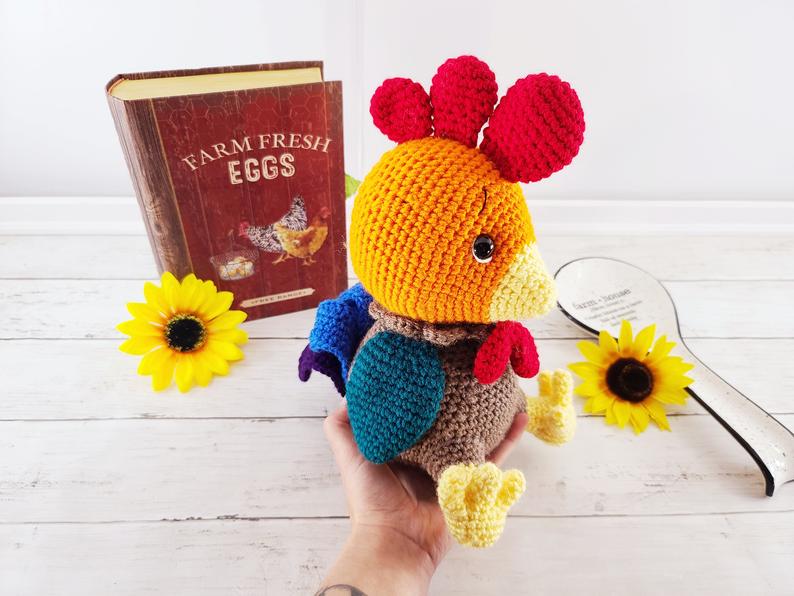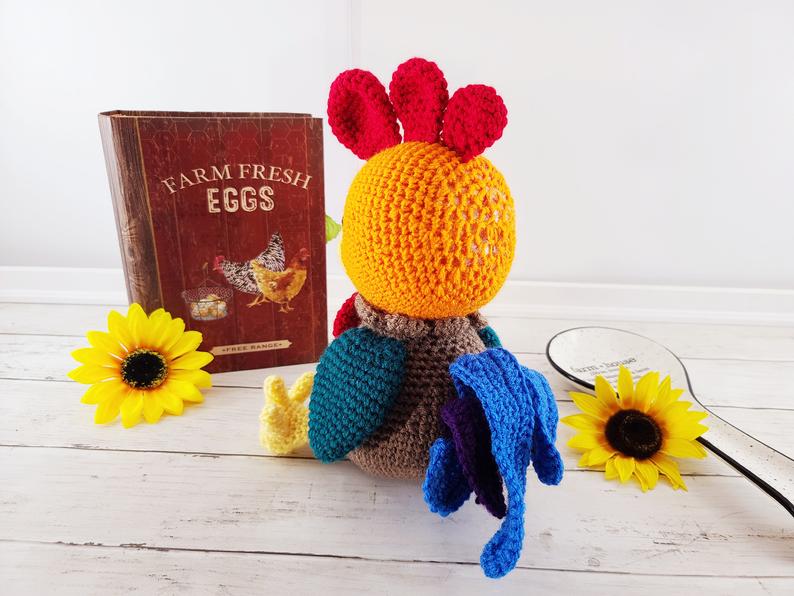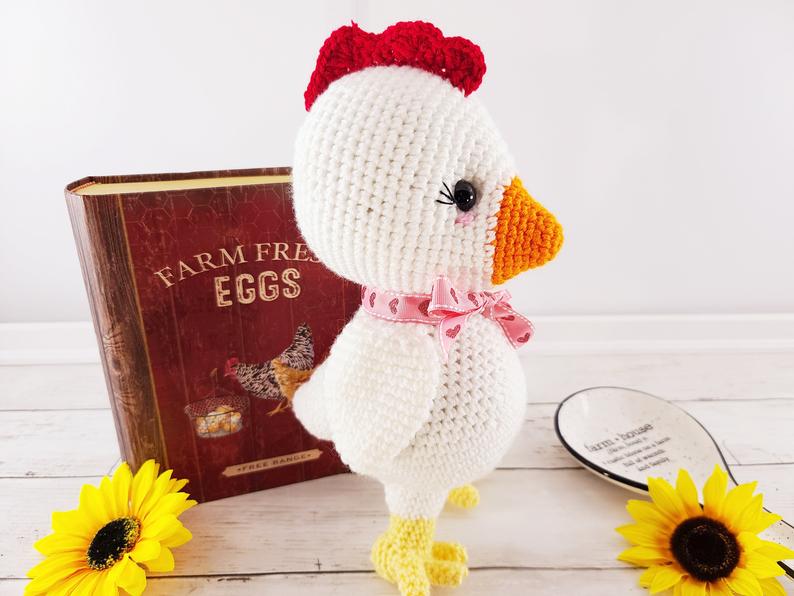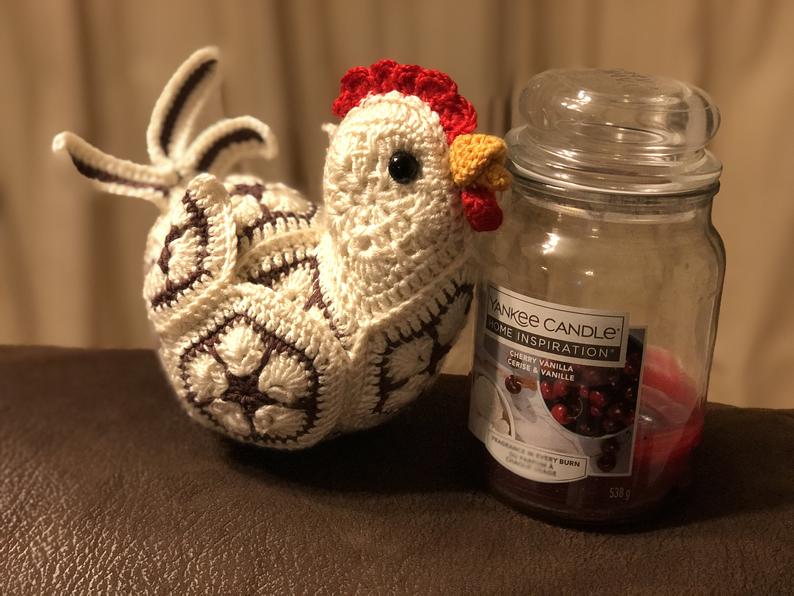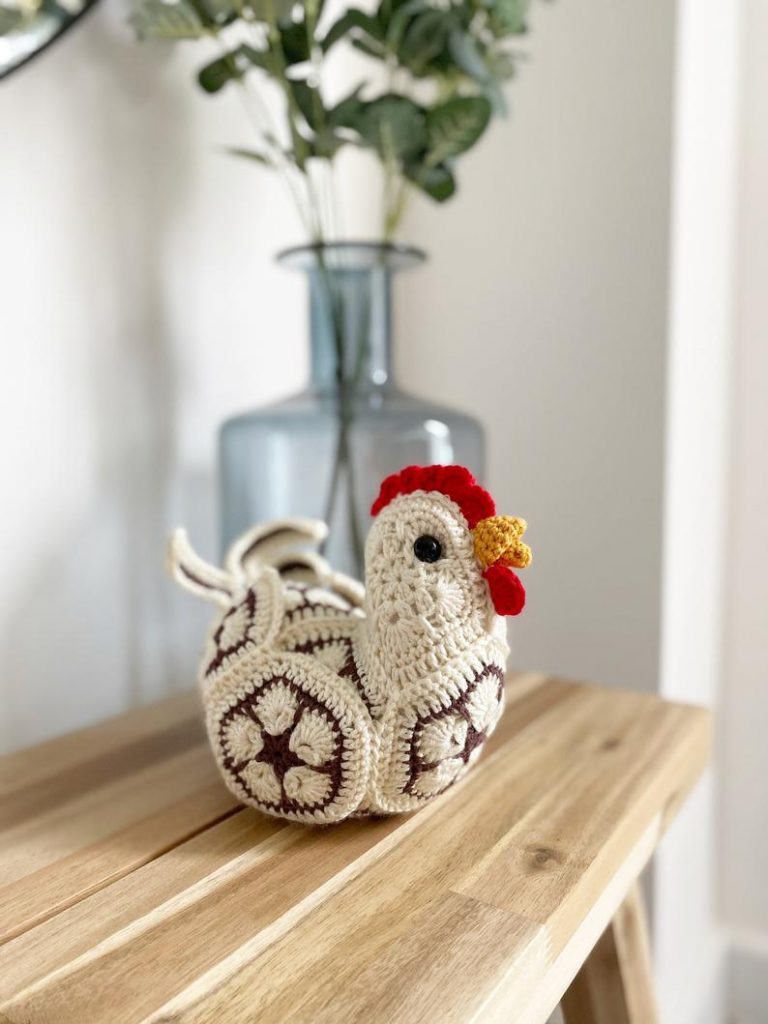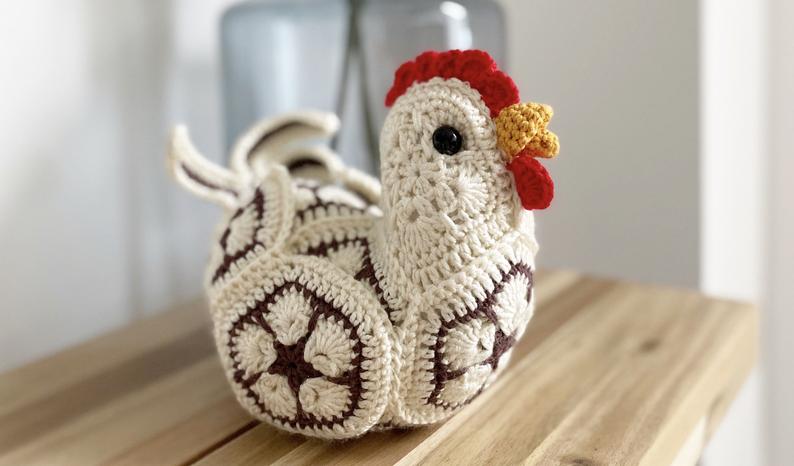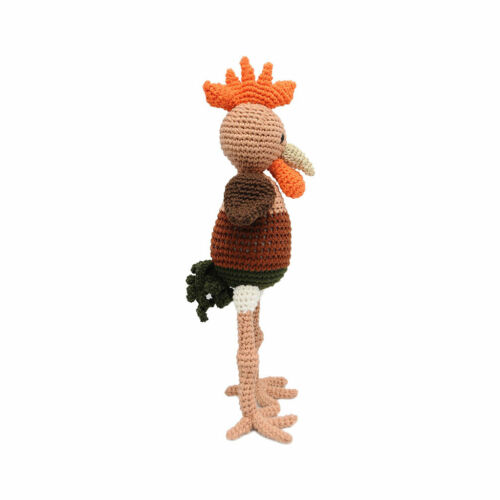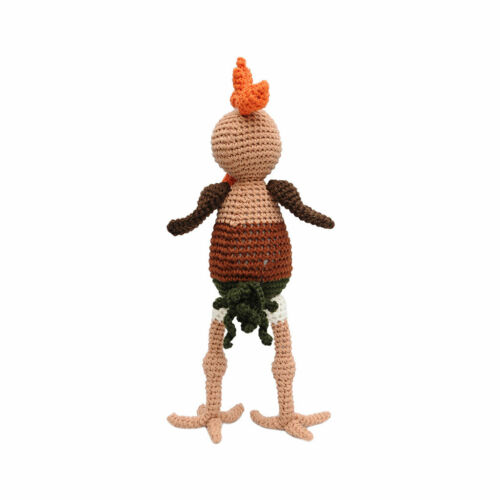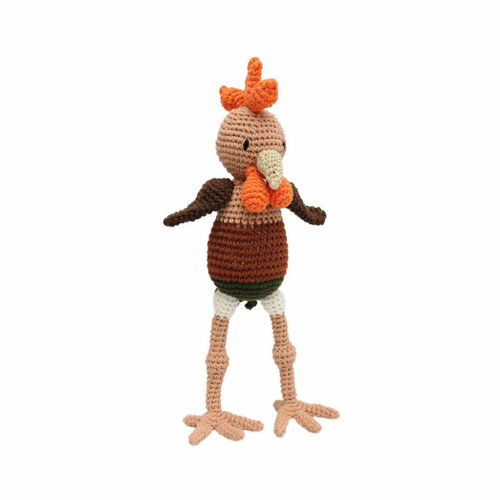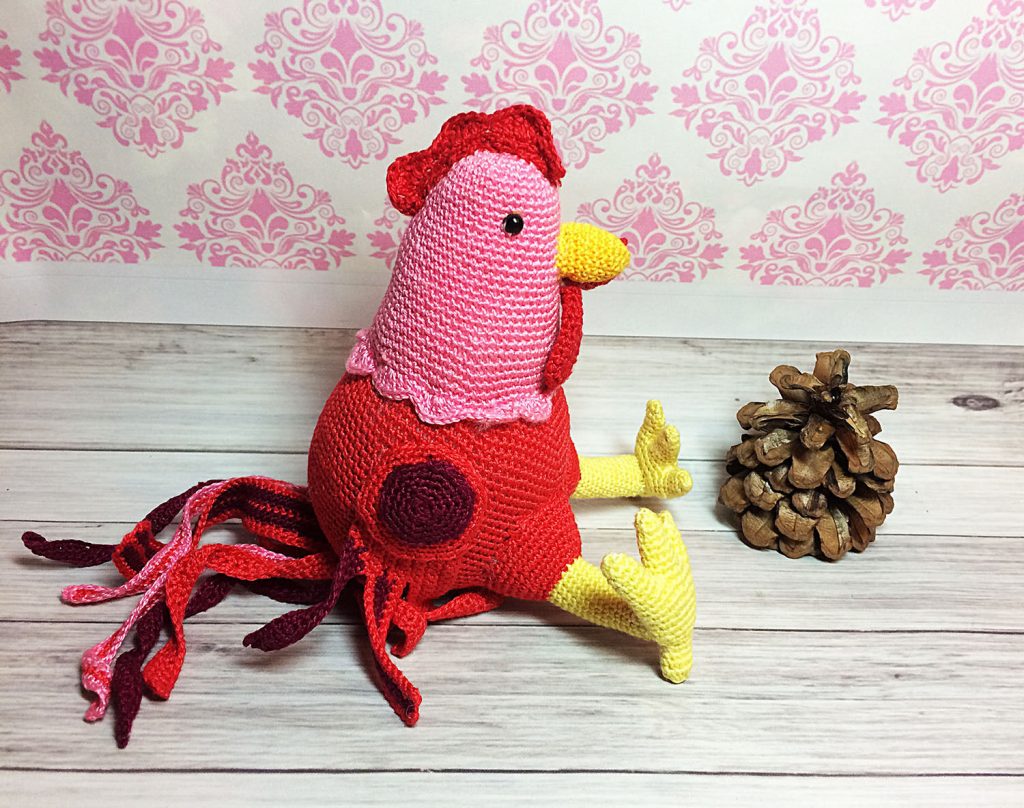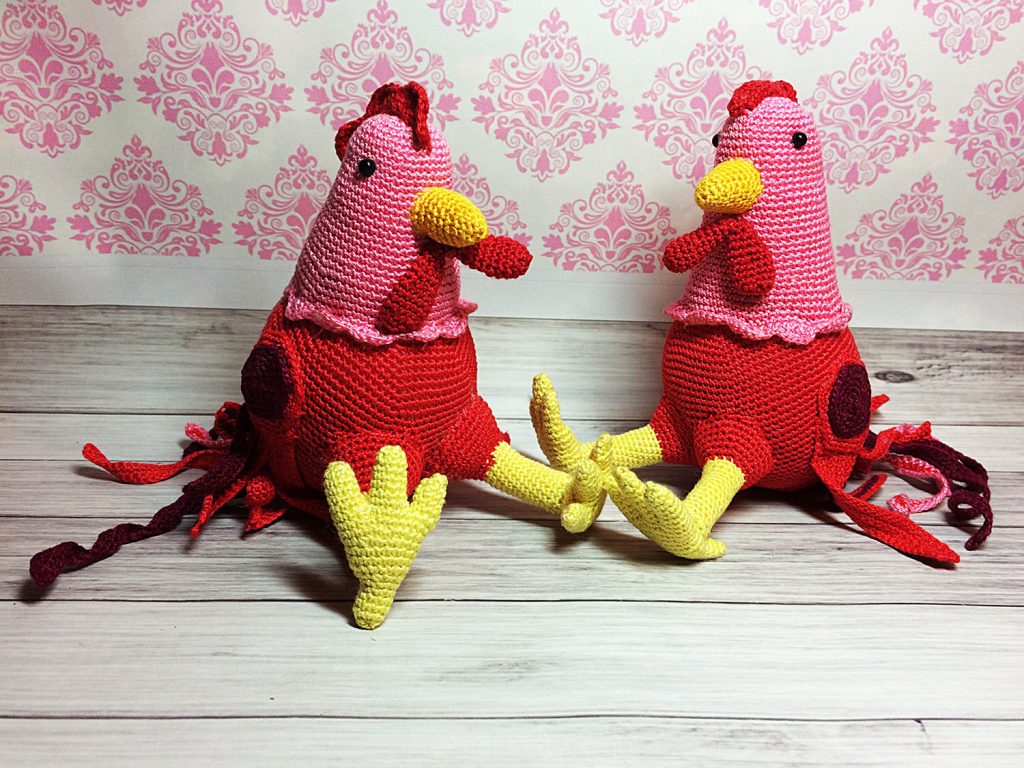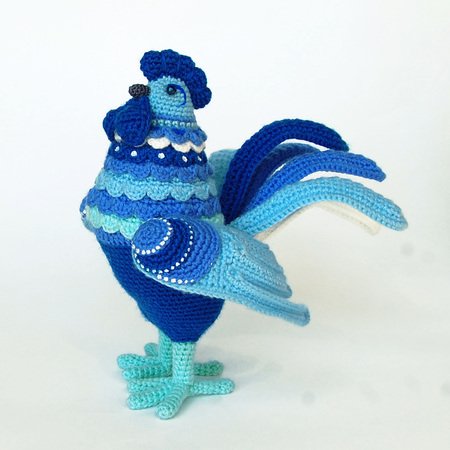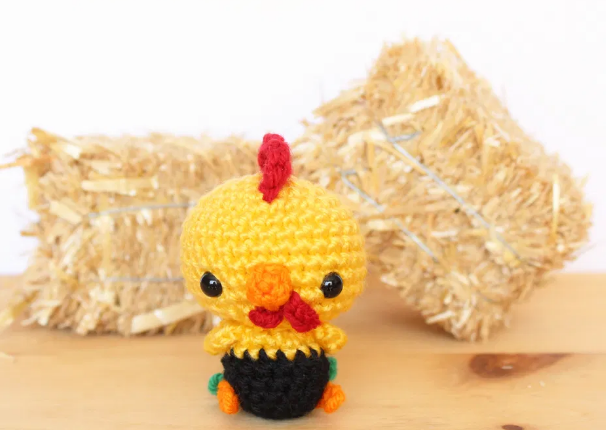
Amigurumi Farm Animal Rooster Free Crochet Patterns
Hello dear visitors, I am here again with new amigurumi molds for you. I am sharing amigurumi patterns for you here for free. You can make your children happy by making these patterns. Amigurumi toys are very popular lately and are the most beautiful toys that don’t harm your kids. Your kids will love them. Let’s move on to our pattern and give them this gift.
You will need
Size F (3.75mm) crochet hook
Worsted weight (4 ply) yarn in yellow, black, orange, red, and kelly green
7.5mm Black Safety Eyes
Polyfil (or your stuffing or choice)
Tapestry/yarn needle
Stitch marker
Abbreviations
Single crochet – sc
Double crochet – dc
Slip stitch – sl st
Single crochet increase – sc ınc
Invisible decrease – ınv dec
Head (using gold yarn)
R1: Ch 2, 6 sc in 2nd ch from hook (you can use the magic circle if you prefer as it won’t make a difference in the end.)
R2: Inc 1 rep 6 times (12 sts)
R3: Sc 1, inc 1 rep 6 times (18 sts)
R4: Sc 2, inc 1 rep 6 times (24 sts)
R5: Sc 3, inc 1 rep 6 times (30 sts)
R6-11: Sc around (6 rounds total)
R12: Sc 3, dec 1 rep 6 times (24 sts)
Insert eyes between R10 & 11, about 6 sts apart.
R13: Sc 2, dec 1 rep 6 times (18 sts)
R14: Sc 1, dec 1 rep 6 times (12 sts)
Stop and begin stuffing
R15: Dec 1 rep 6 times (6 sts)
Finish off. Finish stuffing head firmly and use tail to sew up hole then weave in your end.
Beak (using orange yarn)
R1: Ch 2, 4 sc in 2nd ch from hook
R2: 1 sc in each sc around (4 sts)
Finish off leaving long tail for sewing. Sew the beak on right between the eyes.
Comb (using red yarn)
Loosley ch 10, starting in 2nd ch from hook, sc 1, 3 dc in next ch, sl st 1 rep 3 times, 3 dc in next ch, sc 1 in last ch
Finish off leaving long tail for sewing. Sew the comb on top of head. The front of the comb should be sewn onto R5 of head and stretch back to R5 of head . When there’s more than one yarn tail on any given piece, usually when you’re working in rows, I like to weave both ends into the body or head. That way there aren’t any ends popping out or fraying like they do when you just cut them.
Large wattle (using red yarn)
Ch 3, starting in 2nd ch from hook, sl st 1, sl st in last ch
Finish off leaving long tail for sewing. Sew the wattle underneath the beak, slightly toward the right side (when facing you).
Small wattle (using red yarn)
Ch 2, starting in 2nd ch from hook, sl st 1
Finish off leaving long tail for sewing. Sew this small wattle right next to the large one.
Body (using black yarn)
R1: Ch 2, 5 sc in 2nd ch from hook
R2: * Inc 1* rep 5 times (10 sts)
R3: Sc 1, inc 1 rep 5 times (15 sts)
R4-6: 1 sc in each sc around (3 rounds total)
Switch to gold yarn
R7: 1 sc in each sc around (15 sts)
R8: Sc 1, dec 1 rep 5 times (10 sts)
Finish off leaving long tail for sewing. Stuff firmly and sew it to the head using the long tail we left and your tapestry needle.
Wings (Make 2 using gold yarn)
Ch 2, 6 sc in 2nd ch from hook
Don’t sl st into the first sc to finish off, instead just ch 1. This way we’ll have a flat edge for sewing. Sew the wings on either side of the body, directly under head, that would be R8 of body..
Legs (Make 2 using orange yarn)
Leave a long starting tail for his right leg as you’ll need this later to sew his leg on.
Ch 4, starting in 2nd ch from hook, sl st 1, sl st in each of remaining 2 chs
Finish off leaving long tail for sewing. Sew legs onto R3 & 4 of body then bring your yarn to the top back of leg and sew down one or two stitches of the leg to R4 of body.
Tail feathers (using green yarn)
Ch 5, starting in 2nd ch from hook, sl st1, sl st in each of remaining 3 chs rep 4 times. When you’re done you should have 4 tail feathers. if you’re having trouble figuring this out.
Finish off leaving long tail for sewing. Sew the tail feathers to the back of the body on R3.