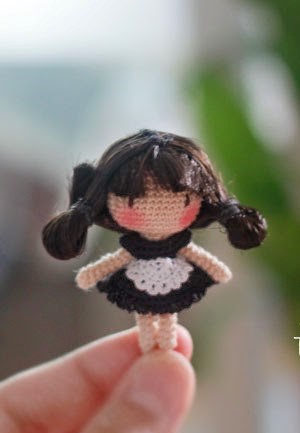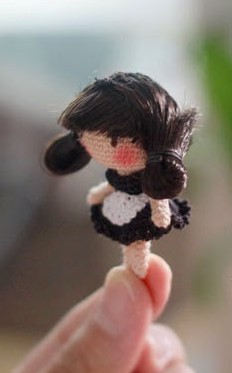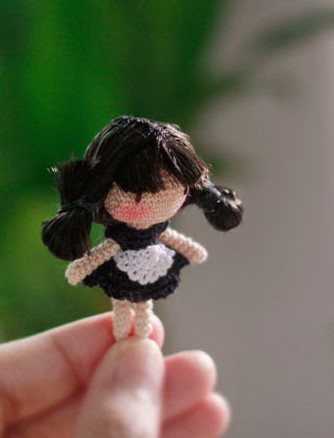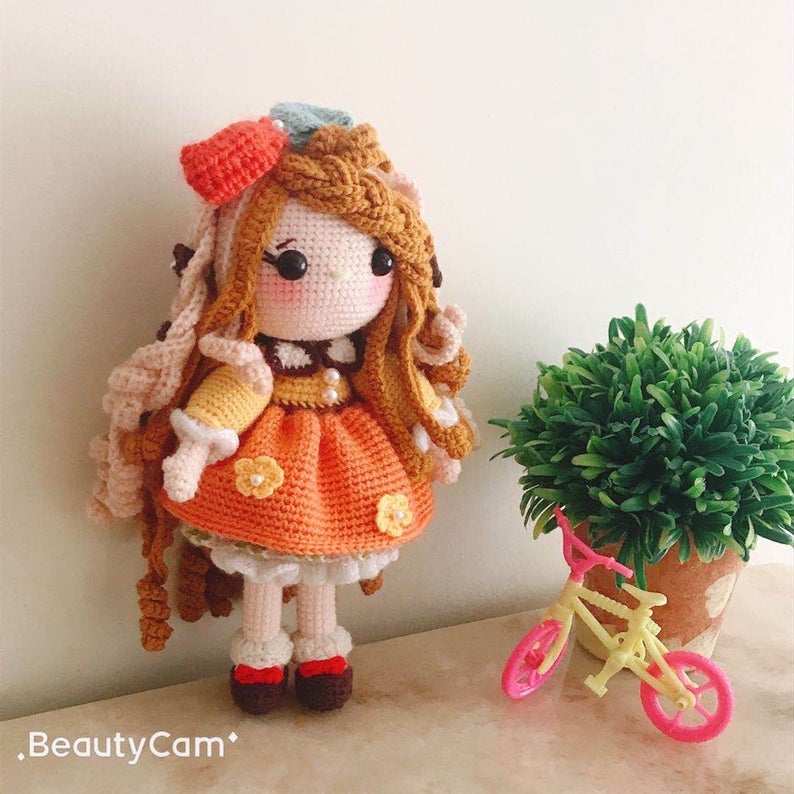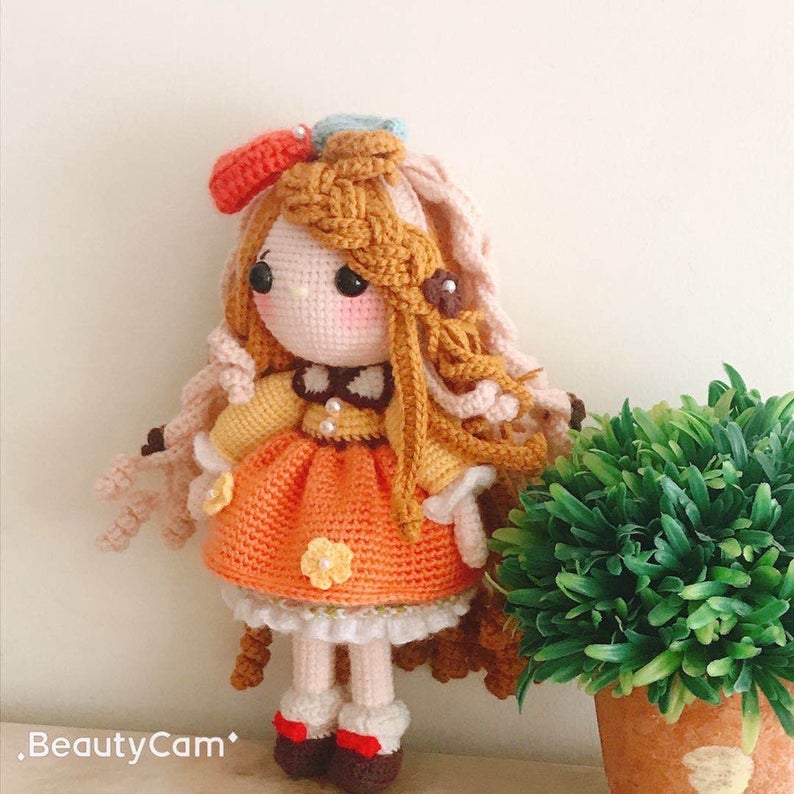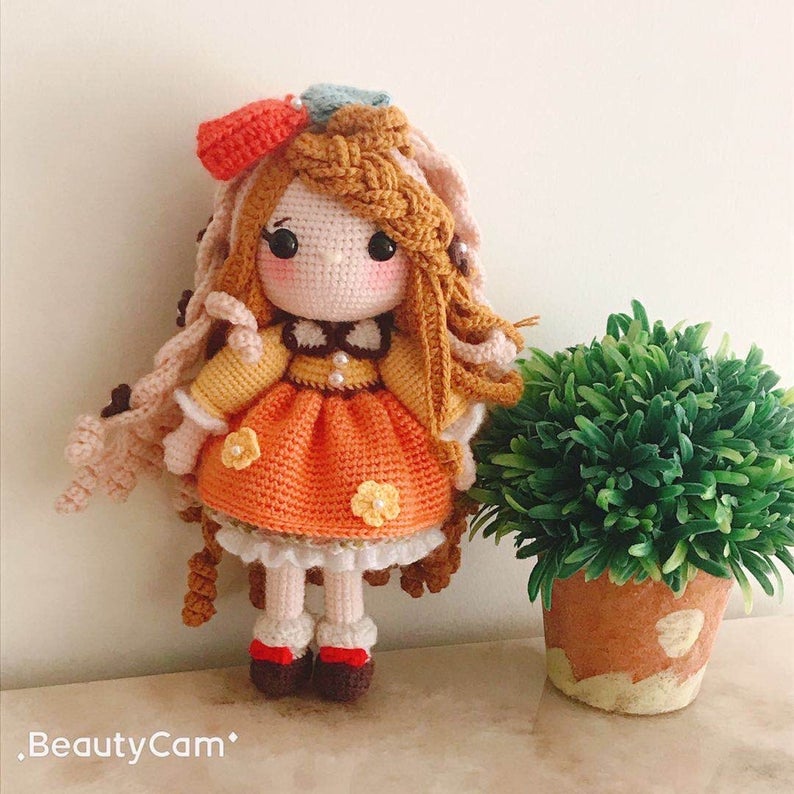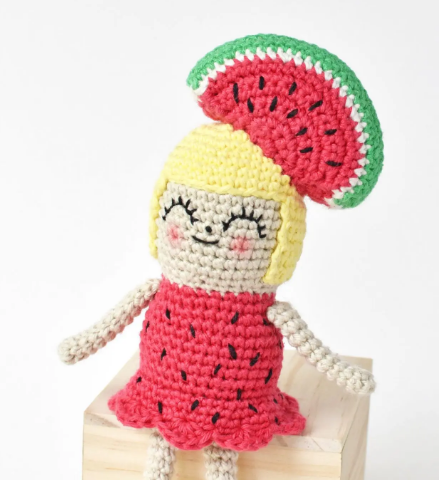
Amigurumi Fruit Girls Free Crochet Patterns
Hello dear visitors, I am here again with new amigurumi molds for you. I am sharing amigurumi patterns for you here for free. You can make your children happy by making these patterns. Amigurumi toys are very popular lately and are the most beautiful toys that don’t harm your kids. Your kids will love them. Let’s move on to our pattern and give them this gift.
You will need
Yarn: Lightweight yarn (light worsted, DK weight, or 8-ply)
Color A: Hair
Color B: Head, arm, and leg
Color C: Dress & fruit hat
Color D: Shoe
Hook: 2.75mm (C) hook
Toy stuffing
Stitch markers
Embroidery floss in black for face
Embroidery needle
Tapestry needle
Scissors
Optional: water soluble marking pen for drawing on your face before embroidering
Optional: pink blush and brush or cotton bud for cheeks
Abbreviations
BLO – back loop only
ch – chain
dc – double crochet
FLO – front loop only
hdc – half double crochet
inc – increase
inv dec – invisible decrease
rnd(s) – round(s)
rs – right side
sc – single crochet
sl st – slip stitch
sm – stitch marker
st(s) – stitch(es)
tr – treble crochet
x – times (indicates number of times to repeat)
* * – stitches between asterisks all in next stitch
[ ] – repeat steps between brackets for the specified number of times
( ) – the number of stitches you should have at the end of each round
Notes
Pattern may switch between rounds and rows. Pay attention to whether you’re starting a rnd or a row.
Sections in the round are made in a continuous spiral.
Mark the beginning of each round with a stitch marker.
Hair
rnd 1: with color A, sc 6 into a magic ring (6 sts)
rnd 2: inc 6 (12 sts)
rnd 3: [sc 1, inc 1] 6x (18 sts)
rnd 4: [sc 1, inc 1, sc 1] 6x (24 sts)
rnd 5: [sc 3, inc 1] 6x (30 sts)
rnd 6: sc around (30 sts)
rnd 7: [sc 4, inc 1] 6x (36 sts)
rnds 8-9: sc around (36 sts for 2 rnds)
••• The following will be crocheted in rows •••
rows 10-17: sc 25, ch 1, turn (25 sts for 8 rows)
Fasten off, leaving a 22-inch tail for attaching. Weave in beginning yarn tail. Set aside.
Head
rnd 1: with color B, sc 6 into a magic ring (6 sts)
rnd 2: inc 6 (12 sts)
rnd 3: [sc 1, inc 1] 6x (18 sts)
rnd 4: [sc 1, inc 1, sc 1] 6x (24 sts)
rnd 5: sc around (30 sts)
rnd 6: [sc 3, inc 1] 6x (30 sts)
rnd 7: [sc 2, inc 1, sc 2] 6x (36 sts)
rnds 8-16: sc around (36 sts for 9 rnds)
rnd 17: [sc 4, inv dec 1] 6x (30 sts)
rnd 18: [sc 3, inv dec 1] 6x (24 sts).
Sl st 1 into next st. Fasten off and cut yarn. Weave in ends.
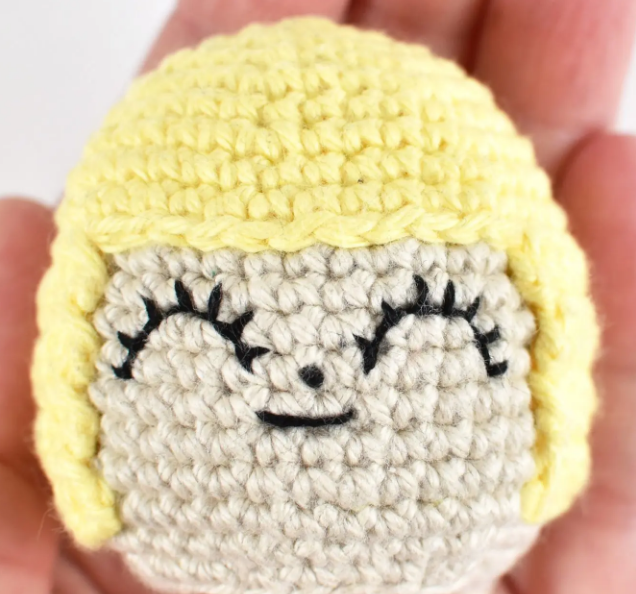
Attaching Hair and Embroidering Face
- With stitch marker at the back, use yarn tail to sew hair to head using a running stitch. Insert needle into head.
- Bring needle up through head and hair.
- Insert needle back through head and hair. Continue along entire edge of hair.
- To embroider face, thread embroidery needle with 6 strands of embroidery floss. Make a French knot for nose at center of rnd 12, a backstitch with some slack for smile on rnd 13, and backstitches to make upturned eyes 4 sts wide over rnds 10-12. After you finish the face, take your needle and gently pull on the mouth to create slack for the smile.
Dress (Continued From Head)
rnd 1: in color C, make a standing sc (see special techniques) in last rnd of head, sc 2, inc 1, [sc 3, inc 1] 5x (30 sts)
rnd 2: sc around (30 sts)
rnd 3: [sc 4, inc 1] 6x (36 sts)
rnds 4-9: sc around (36 sts for 6 rnds)
rnd 10: [sc 17, inc 1] 2x (38 sts)
rnd 11: in FLO, [sc 5, inc 1] 6x, sc 2 (44 sts)
rnd 12: sc around (44 sts)
rnd 13: [sc 6, inc 1] 6x, sc 2 (50 sts)
rnd 14: [sl st 1, skip 2 sts, dc 5 into next st, skip 2 sts] 8x, skip 1 st, sl st 1 (makes 8 scallops)
Fasten off and weave in ends.
Embroider Watermelon Seeds
Embroider seeds onto dress using 8 strands of embroidery floss or DK weight black yarn. Make seeds about 1 rnd long and at a slight angle. Scatter them randomly on dress. Don’t embroider over back loop of rnd 10 (on the inside). We’ll crochet into it for bottom of doll.
Bottom
Flip doll’s skirt up to reveal back loop of rnd 10. Begin rnd 1 of bottom on this rnd.
rnd 1: with color C, in BLO of rnd 10, make a standing sc. Sc around (38 sts)
rnd 2: [sc 4, inv dec 1] 6x, inv dec 1 (31 sts)
••• Begin stuffing now and continue stuffing until closed. •••
rnd 3: [sc 3, inv dec 1] 5x, sc 2, inv dec 2 (24 sts)
rnd 4: [sc 2, inv dec 1] 6x (18 sts)
rnd 5: [sc 1, inv dec 1] 6x (12 sts)
rnd 6: inv dec 6 (6 sts)
Sl st 1 in next st. Fasten off and finish off. Weave in ends.
Leg (Make 2)
rnd 1: with color D, sc 6 into a magic ring (6 sts)
rnd 2: inc 1, sc 6 (7 sts)
rnd 3: sc around (7 sts)
rnds 4-14: change to color B, sc around (7 sts for 11 rnds)
Sl st 1 into next st. Fasten off, leaving a 12-inch tail for attaching. Don’t stuff. Attach legs to bottom of doll over rnds 3 and 4. Space legs 1 stitch apart. See attaching photos below.
Attaching Legs
- Insert tapestry needle under stitch on bottom, insert from inside to out through next st.
- Insert under next st on bottom. Repeat until leg is fully attached. Weave in yarn tail.
Arm (Make 2)
rnd 1: with color B, sc 6 into a magic ring (6 sts)
rnds 2-11: sc around (6 sts for 10 rnds)
Fasten off, leaving a 12-inch tail. Don’t stuff. Weave yarn tail through sts of last rnd to sew closed (like finishing off) and leave tail for attaching. Attach arms to left and right side of dress between rnds 2 and 3. See attaching images below.
Attaching Arms
- Insert tapestry needle under st of rnd 2.
- Insert needle through arm
- Repeat steps 1 and 2 until arm is secure. Repeat for other arm.
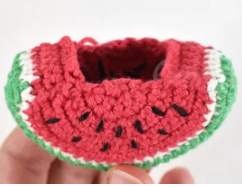
Hat (Worked In Rows)
SIDE A
row 1 (RS): in color C, sc 3 into a magic ring, ch 1, turn (3 sts)
row 2: inc 3, ch 1, turn (6 sts)
row 3: [inc 1, sc 1] 3x, ch 1, turn (9 sts)
row 4: [inc 1, sc 2] 3x, ch 1, turn (12 sts)
row 5: [sc 3, inc 1] 3x, ch 1, turn (15 sts)
row 6: [sc 2, inc 1, sc 2] 3x, ch 1, turn (18 sts)
row 7: [inc 1, sc 5] 3x, ch 1, turn (21 sts)
row 8: [sc 3, inc 1, sc 3] 3x, change to color E, ch 1, turn (24 sts)
row 9: [sc 7, inc 1] 3x, change to color D, ch 1, turn (27 sts)
row 10: [sc 4, inc 1, sc 4] 3x (30 sts)
Fasten off and weave in ends. Set aside.
SIDE B
rows 1-9: repeat rows 1-9 from side A above.
row 10: [sc 4, inc 1, sc 4] 3x, ch 1, turn (30 sts)
rows 11-15: sc across, ch 1, turn (30 sts for 5 rows)
Fasten off, leaving a 22-inch tail for assembling.
Embroider Seeds and Assemble Waterlemon Hat
Embroider seeds onto Side A and B using 8 strands of embroidery floss. Using yarn tail, sew rinds of Side A and B together using whipstitch, making sure RS is facing outward.
Bottom Panel Of Hat (Make 2)
row 1 (RS): using color D, make a standing sc in a space between rows of the rind, sc 5 down rind, change to color E, ch 1, turn (6 sts)
row 2: sc across, change to color C, ch 1, turn (6 sts)
rows 3-6: sc across, ch 1, turn (6 sts for 4 rows)
Fasten off and use corresponding colored yarn tails to sew bottom panel to sides. Repeat for other side.
Use the corresponding colored yarn tails to sew panel to sides.
Attach hat
- Stuff the hat and position on doll’s head at an angle
- Start sewing hat to head. Insert needle under st on hair.
- Insert needle through had from inside to out. Continue sewing around hat until fully attached.
Apply Blush
Optional – Using pink blush and cotton bud or paintbrush, press blush onto doll’s cheeks.