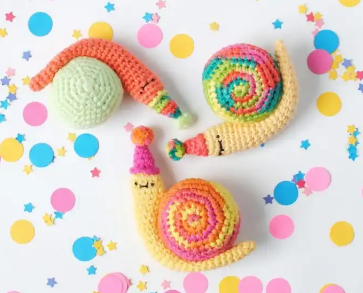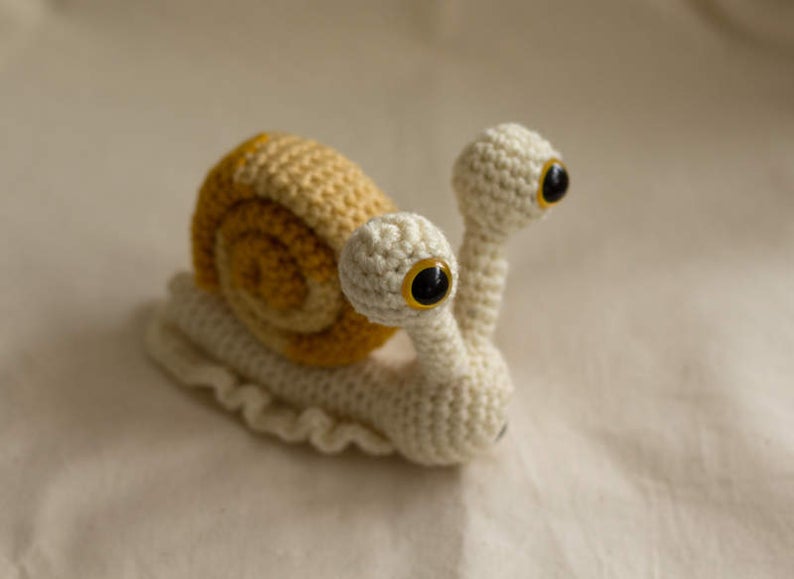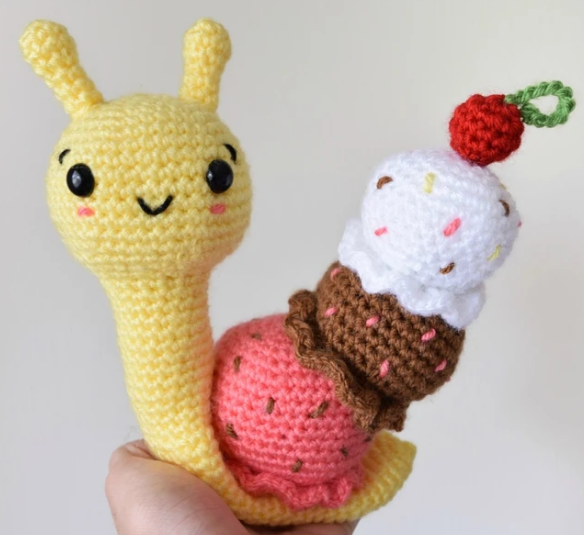
Amigurumi IceCream Snail Free Crochet Patterns
Hello dear visitors, I am here again with new amigurumi molds for you. I am sharing amigurumi patterns for you here for free. You can make your children happy by making these patterns. Amigurumi toys are very popular lately and are the most beautiful toys that don’t harm your kids. Your kids will love them. Let’s move on to our pattern and give them this gift.
You will need
Lemon
Pink Grapefruit
White
Black (for embroidery)
Scarlett
Fern
Chocolate
12mm safety eyes (2 of them)
Darning needle
Fiber fill
Scissors
Pins
4mm Hook
Abbreviations
Sc- single crochet
Inc- Increase (2 sc in same stitch)
Dec- Decrease, FLO- Front Loop Only
*- repeat around the row
Note
This entire piece will be worked in continuous rounds, so it will be helpful to have a stitch marker so you don’t lose your place. It’ll be important to be aware of when you will be working in the Front Loop Only. Be sure to stuff firmly where indicated!
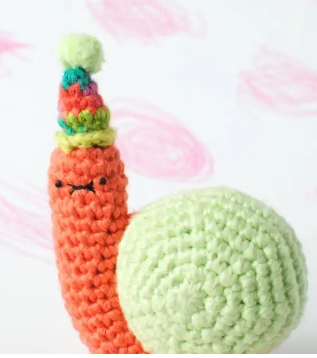
Head
Begin in lemon (yellow):
Rnd 1: Sc 6 into Magic Ring (6)
Rnd 2: Inc around (12)
Rnd 3: Sc, Inc around (18)
Rnd 4: Sc 2, Inc around (24)
Rnd 5: Sc 3, Inc around (30)
Rnd 6: Sc 4, Inc around (36)
Rnd 7: Sc 5, Inc around (42)
Rnd 8-14: Sc around (42)
Rnd 15: Sc 5, Dec around (36)
Rnd 16: Sc 4, Dec around (30)
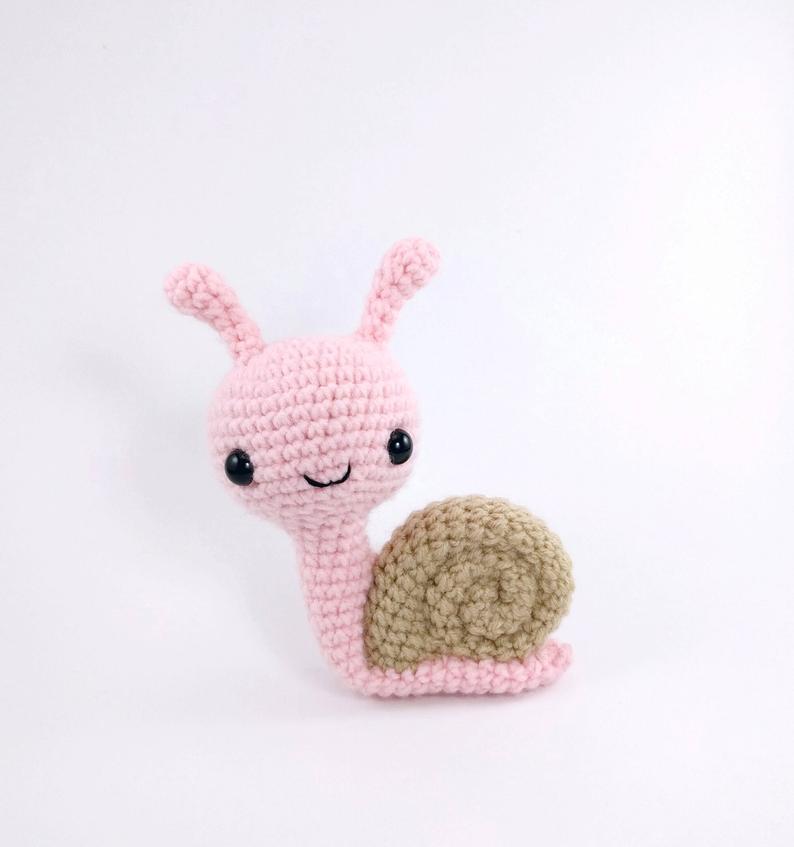
Insert eyes into row 12, with 8 stitches apart.
Rnd 17: Sc 3, Dec around (24)
Begin stuffing firmly
Rnd 18: Sc 2, Dec around (18)
Rnd 19: Sc into FLO around (18)
Rnd 20-31: Sc around (18)
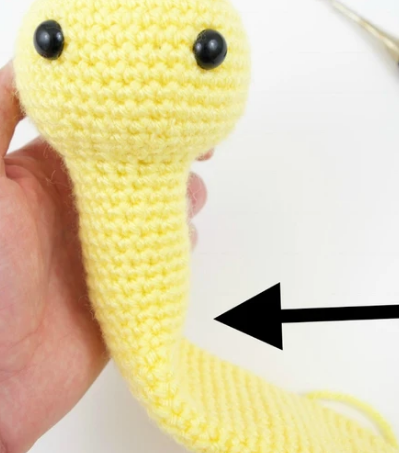
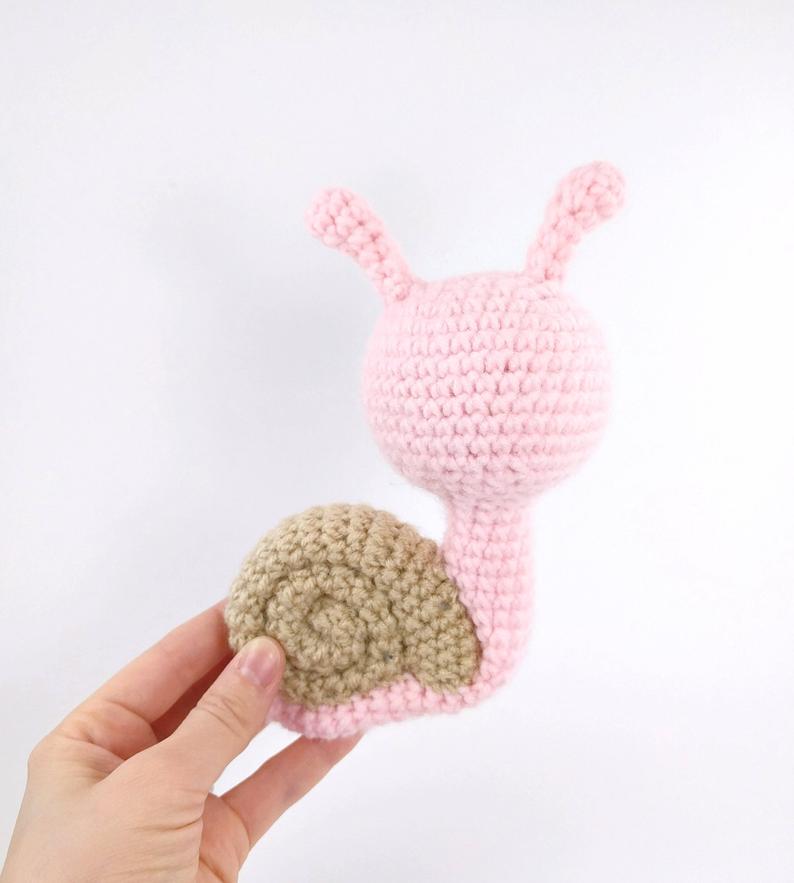
Shown above, you will stuff the neck up until this point, when it becomes a little wider after round 32. Stuff firmly!
Rnd 32: Sc 2, Inc around (24)
Rnd 33-52: Sc around (24)
Rnd 53: Sc 2, dec around (18)
Rnd 54: Sc around (18)
Rnd 55: Sc, dec around (12)
Rnd 56: Sc around (12)
Finish off and leave tail to close hole
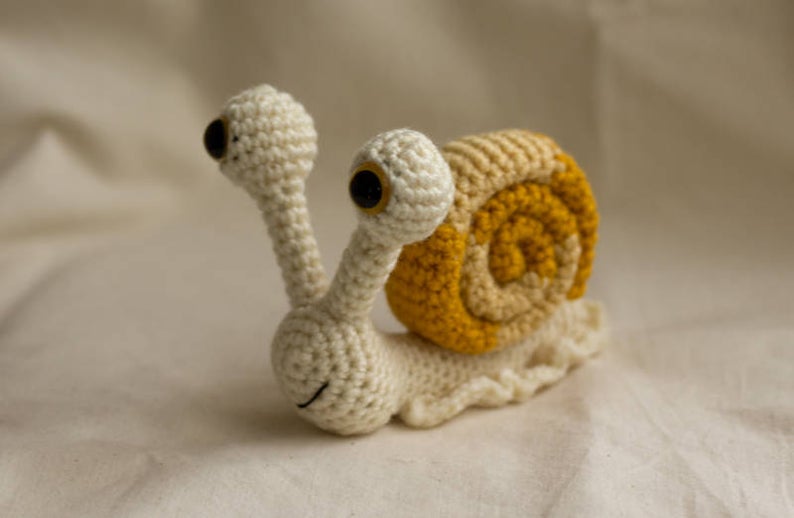
Antenna
Begin in Yellow (Make 2)
Rnd 1: Sc 6 into Magic Ring (6)
Rnd 2: Sc, Inc around (9)
Rnd 3: Sc around (9)
Rnd 4: Sc, Dec around (6)
Rnd 5-7: Sc around (6)
Finish off and leave tail for sewing.
Large Strawberry Scoop
Begin in Pink
Rnd 1: Sc 6 into Magic Ring (6)
Rnd 2: Inc around (12)
Rnd 3: Sc, Inc around (18)
Rnd 4: Sc 2, Inc around (24)
Rnd 5: Sc 3, Inc around (30)
Rnd 6: Sc 4, Inc around (36)
Rnd 7: Sc 5, Inc around (42)
Rnd 8-14: Sc around (42)
Rnd 15: Sc 5, Dec around (36)
Rnd 16: Sc 4, Dec around (30)
Rnd 17: Sc 3, Dec around (24)
Rnd 18: In the FLO, 2 Hdc in first stitch, and 4 hdc into next, repeating 2 Hdc, 4 Hdc around.(This creates the ruffles)
Finish off and leave a generous tail for sewing
Make sure you are working in the FLO
Remember, when doing this you will be doing your Hdc’s into the FLO. You will be using you the back loops when sewing onto the body!
Chocolate Scoop
Begin in Brown
Rnd 1: Sc 6 into Magic Ring (6)
Rnd 2: Inc around (12)
Rnd 3: Sc, Inc around (18)
Rnd 4: Sc 2, Inc around (24)
Rnd 5: Sc 3, Inc around (30)
Rnd 6: Sc 4, Inc around (36)
Rnd 7-12: Sc around (36)
Rnd 13: Sc 4, Dec around (30)
Rnd 14: Sc 3, Dec around (24)
Just like before, we will be repeating the same process to create the ruffles from the last scoop!
Rnd 15: In the FLO, 2 Hdc in first stitch, and 4 hdc into next, repeating 2 Hdc, 4 Hdc around. (This creates the ruffles)
Vanilla Scoop
Begin in White
Rnd 1: Sc 6 into Magic Ring (6)
Rnd 2: Inc around (12)
Rnd 3: Sc, Inc around (18)
Rnd 4: Sc 2, Inc around (24)
Rnd 5: Sc 3, Inc around (30)
Rnd 6-10: Sc around (30)
Rnd 12: Sc 3, Dec around (24)
Rnd 13: Sc 2, Dec around (18)
Just like before, we will be repeating the same process to create the ruffles from the last scoop!
Rnd 15: In the FLO, 2 Hdc in first stitch, and 4 hdc into next, repeating 2 Hdc, 4 Hdc around. (This creates the ruffles)
Cherry
Begin in Red
Rnd 1: Sc 6 into Magic Ring (6)
Rnd 2: Inc around (12)
Rnd 3-4: Sc around (12)
Rnd 5: Dec around (6)
Stuff Firmly
When doing the stem, pull your yarn through. Ch10
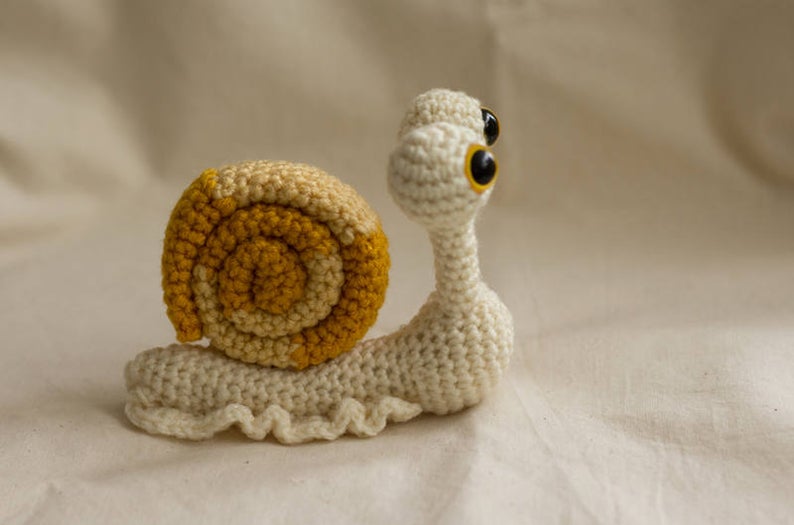
Assembly
1.First, we’re going to start by sewing on the body. Place your biggest scoop onto the body and bend the neck so you will know how it’ll sit up. When sewing around, use those black loops to sew it on!
2.Once you have the bottom Scoop placed, be sure to pull your yarn and needle through a few times the side to attach the scoop to the neck! I find it helpful to pin it into place prior to sewing.
3.Once you have all the pieces sewn on (Ice cream scoops, antenna, cherry) time to add the last details to the face and ice cream! Embroider on the rest and you will be completed.