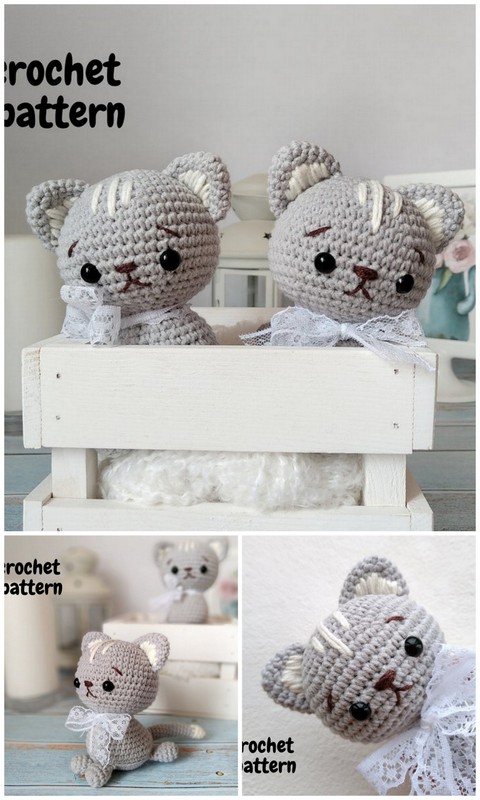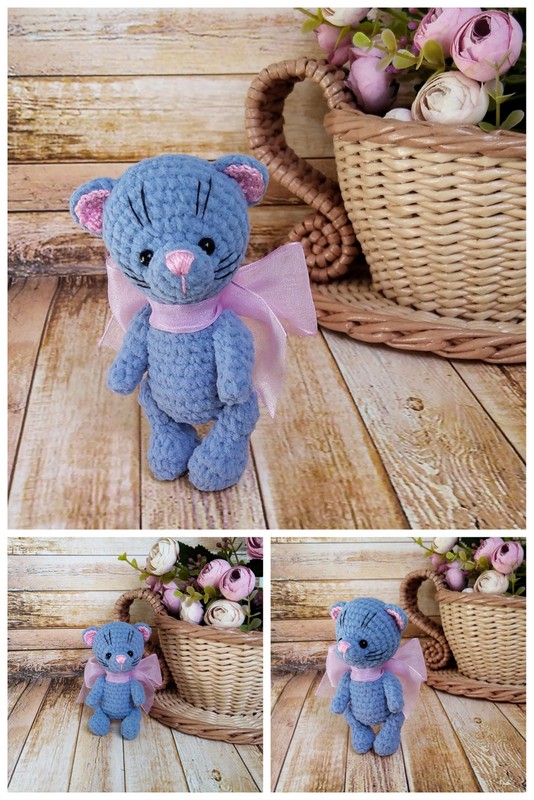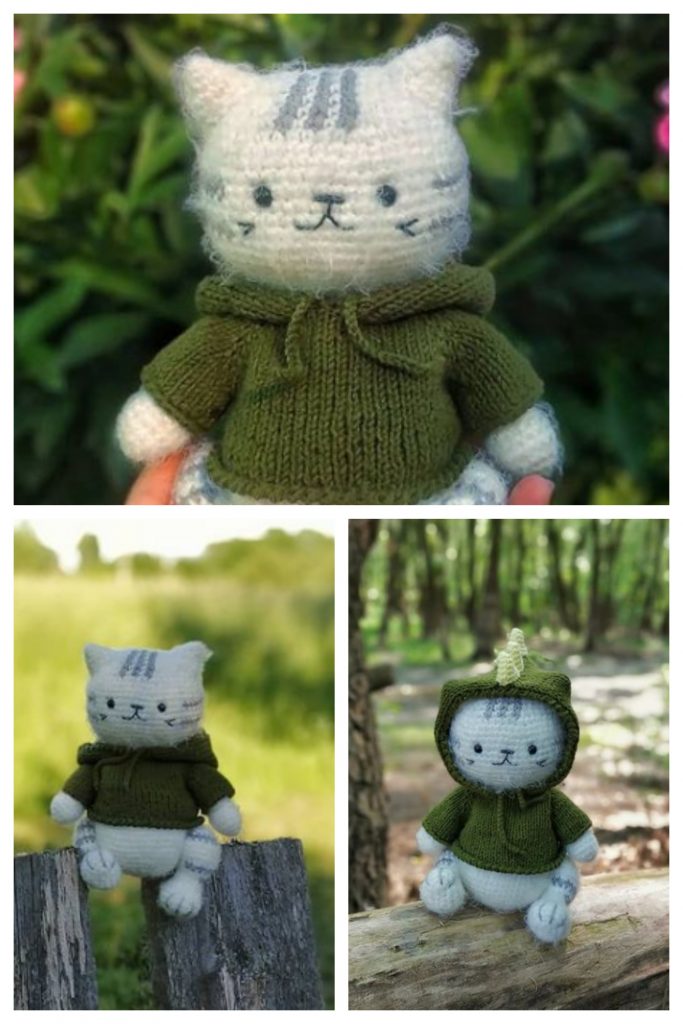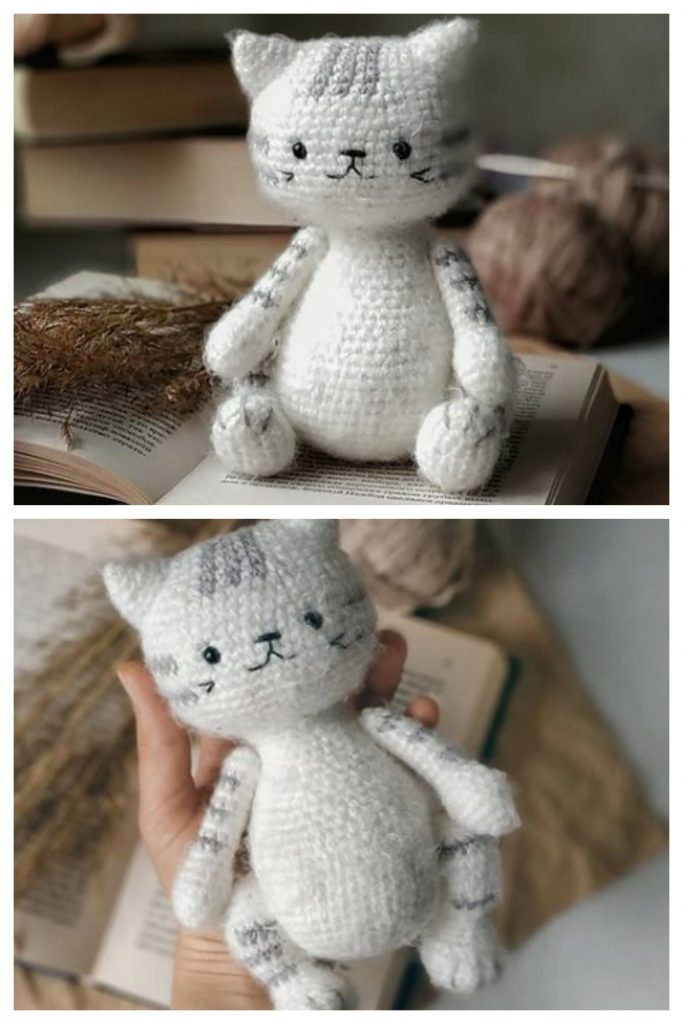
Amigurumi Little Kitty Free Crochet Patterns
Hello dear visitors, I am here again with new amigurumi molds for you. I am sharing amigurumi patterns for you here for free. You can make your children happy by making these patterns. Amigurumi toys are very popular lately and are the most beautiful toys that don’t harm your kids. Your kids will love them. Let’s move on to our pattern and give them this gift.
You will need
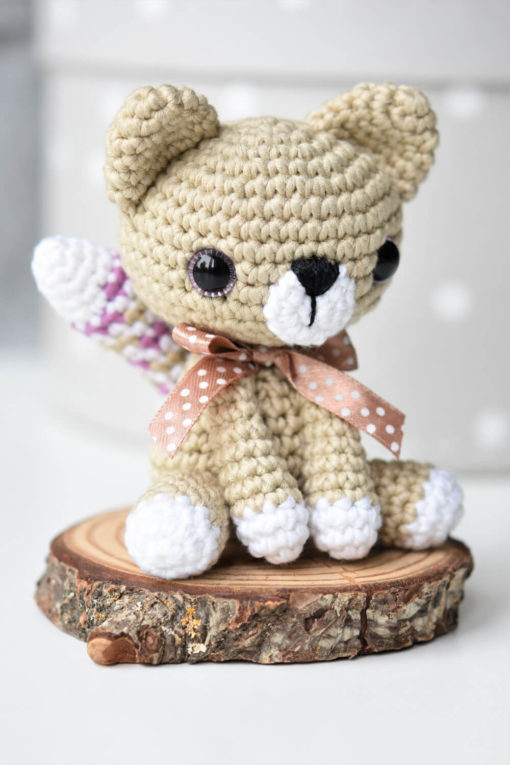
DK weight cotton yarn in 3 colors (I chose beige, write and purple).
Crochet hook 2.5 mm
Polyester fiberfill
Safety eyes (Ø 10 mm)
Black cotton thread
Satin ribbon
Tapestry and embroidery needle
Abbreviatons
Slip stitch (sl st)
Chain (ch)
Single crochet (sc)
About the pattern
Work in continuous rounds. Do not join or turn unless otherwise instructed.
Use a stitch marker and place it in the first stitch of the round to mark the beginning of it.
Leave each piece a long tail for sewing.
Head
Crocheted from top to bottom.
1: Color A. Start 6 sc in a magic ring [6]
2: Work 2 sc in each st around [12]
3: (Sc in next st, 2 sc in next st) rep 6 times [18]
4: (Sc in each of next 2 sts, 2 sc in next st) rep 6 times [24]
5: (Sc in each of next 3 sts, 2 sc in next st) rep 6 times [30]
6: (Sc in each of next 4 sts, 2 sc in next st) rep 6 times [36]
7: (Sc in each of next 5 sts, 2 sc in next st) rep 6 times [42]
8-12: Sc in each st around
13: (Sc in each of next 5 sts, sc2tog) rep 6 times [36]
14: (Sc in each of next 4 sts, sc2tog) rep 6 times [30]
Fasten safety eyes between rounds 10 and 11. Insert the first eye, then count 9 holes to the left and insert the second eye in the next hole. Close the washers.
Fill the head with fiberfill and add stuffing as you go.
15: (Sc in each of next 3 sts, sc2tog) rep 6 times [24]
16: (Sc in each of next 2 sts, sc2tog) rep 6 times [18]
17: (Sc in next st, sc2tog) rep 6 times [12]
Ear (make 2)
1: Color A. Start 6 sc in a magic ring [6]
2: (Sc in next st, 2 sc in next st) rep 3 times [9]
3: (Sc in each of next 2 sts, 2 sc in next st) rep 3 times [12]
4: Sc in each st around
5: (Sc in each of next 3 sts, 2 sc in next st) rep 3 times [15]
6: Sc in each st around
Sew the ears to the head.
Muzzle
1: Color B. Start 6 sc in a magic ring [6]
2: Work 2 sc in each st around [12]
Sew the muzzle on the face. Embroider the nose with black thread.
Body
Crocheted from the bottom up.
1: Color A. Start 6 sc in a magic ring [6]
2: Work 2 sc in each st around [12]
3: (Sc in next st, 2 sc in next st) rep 6 times [18]
4: (Sc in next 2 sts, 2 sc in next st) rep 6 times [24]
5: (Sc in next 3 sts, 2 sc in next st) rep 6 times [30]
6-7: Sc in each st around
8: (Sc in next 3 sts, sc2tog) rep 6 times [24]
9: Sc in each st around
10: (Sc in next 6 sts, sc2tog) rep 3 times [21]
11: (Sc in next 5 sts, sc2tog) rep 3 times [18]
Stuff the body and add stuffing as you go.
12: (Sc in next 4 sts, sc2tog) rep 3 times [15]
13: (Sc in next 3 sts, sc2tog) rep 3 times [12]
Sew the head and body together.
Leg (make 2)
1: Color B. Start 6 sc in a magic ring [6]
2: Work 2 sc in each st around [12]
3: Sc in each st around
4-8: Color A. Sc in each st around
Fill the tip of the leg.
9: (Sc in next 2 sts, sc2tog) rep 3 times [9]
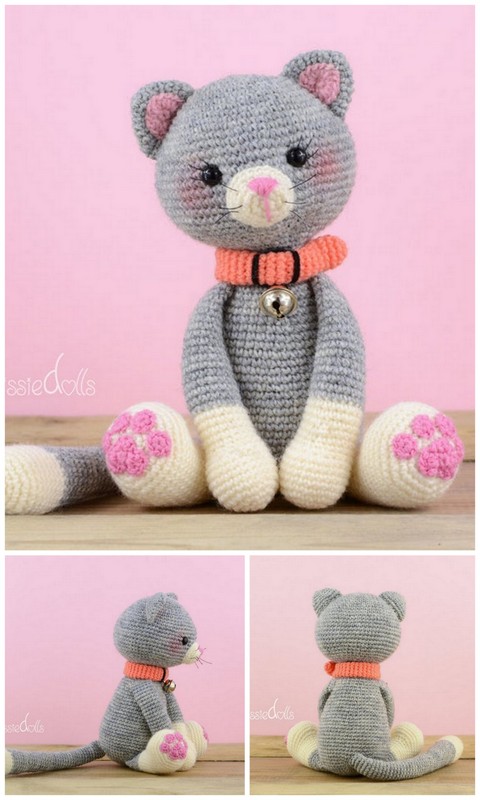
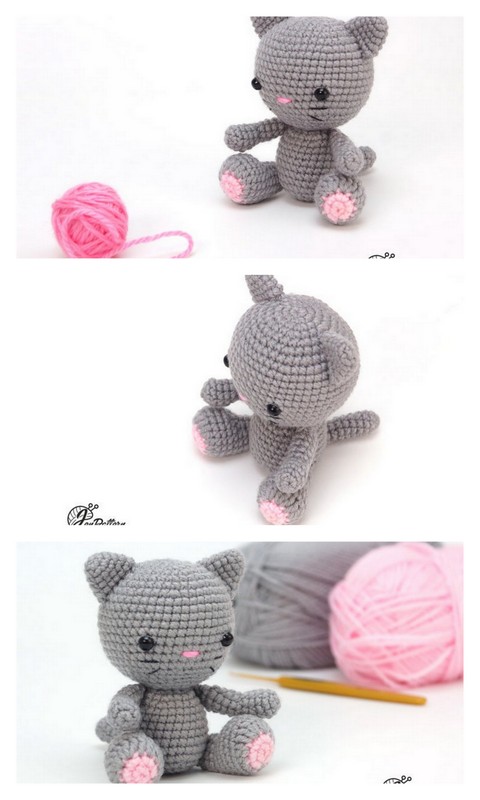
Sew the legs to the body in sitting position, so that your kitty can nicely lean on them.
Arm (make 2)
1: Color B. Start 6 sc in a magic ring [6]
2: (Sc in next st, 2 sc in next st) rep 3 times [9]
3: Sc in each st around
4-6: Color A. Sc in each st around
Fill the tip of the arm.
7: Sc in next 7 sts, sc2tog [8]
8: Sc in each st around
9: Sc in next 6 sts, sc2tog [7]
10: Sc in each st around
11: Sc in next 5 sts, sc2tog [6]
12: Sc in each st around
Sew the arms quite to the front, between the head and body.
Attach the arms with a few stitches to the body to keep them in place.
Tail
1: Color B. Start 6 sc in a magic ring [6]
2: Sc in each st around
3: (Sc in next st, 2 sc in next st) rep 3 times [9]
4: Sc in each st around
5: (Sc in next 2 sts, 2 sc in next st) rep 3 times [12]
Here after alternate color every round in the following sequence: color C (purple), color B (white), color A (beige), color B (white).
6-8: Sc in each st around
9: Sc in next 5 sts, sc2tog, sc in next 5 sts [11]
10: Sc in next 9 sts, sc2tog [10]
Stuff the tail and add stuffing as you go.
11: Sc in next 4 sts, sc2tog, sc in next 4 sts [9]
12: Sc in next 7 sts, sc2tog [8]
13: Sc in each st around
14: Sc in next 3 sts, sc2tog, sc in next 3 sts [7]
15-25: Sc in each st around
Sew the tail to the body and attach it with some stitches somewhat higher as well to keep it upright.
Tie a ribbon around the neck and you`re done!