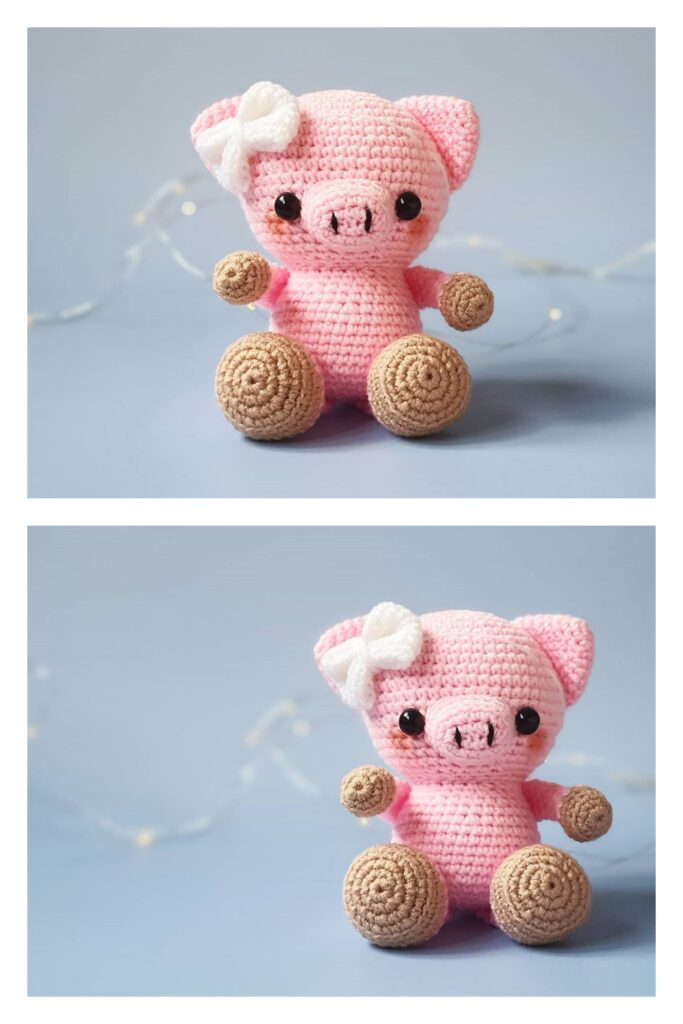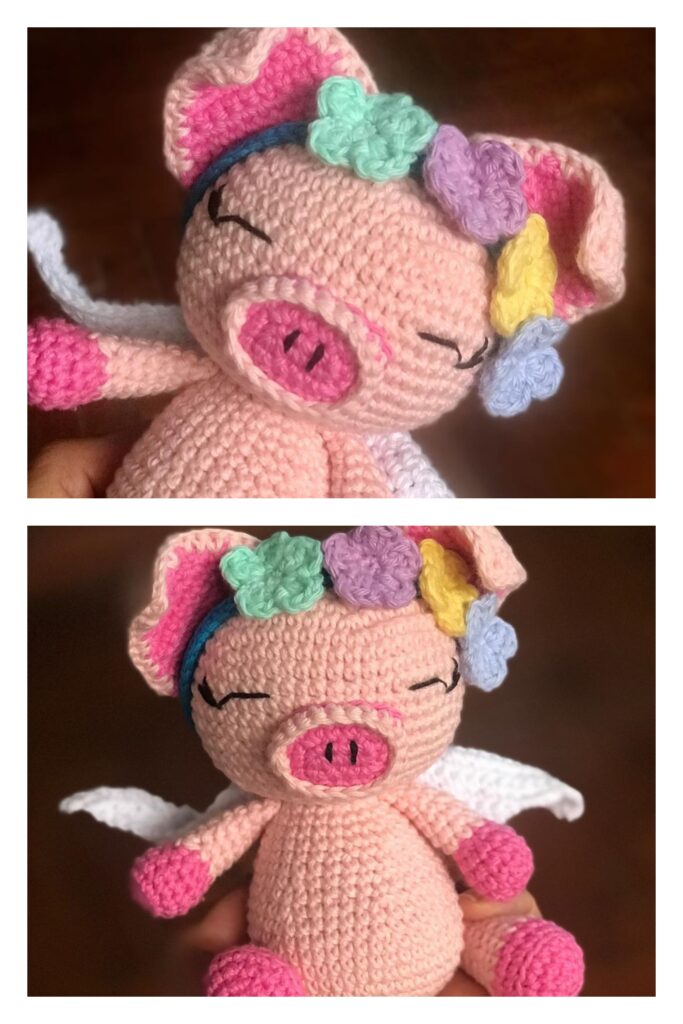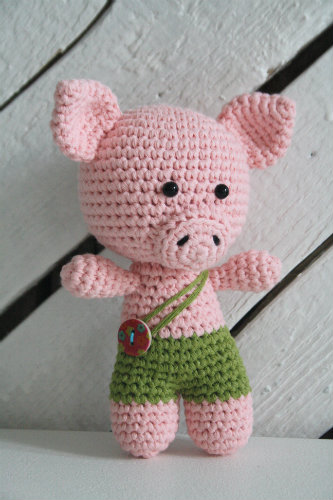
Amigurumi Little Pig Free Crochet Patterns
Hello dear visitors, I am here again with new amigurumi molds for you. I am sharing amigurumi patterns for you here for free. You can make your children happy by making these patterns. Amigurumi toys are very popular lately and are the most beautiful toys that don’t harm your kids. Your kids will love them. Let’s move on to our pattern and give them this gift.
You will need
DK (8ply) weight Drops Cotton Light (100% cotton; 50g/105m) – 2 colors
Crochet hook 3 or 3.5 mm
Polyester fiberfill
Safety eyes ( 6mm)
Some thread for stitching the nose
Darning and embroidery needles
Abbreviations
sc – single crochet, st(s) – stitch(es), rep – repeat
Head
Crocheted from top to bottom.
R1: Start 6 sc in a magic ring.
R2: Work 2 sc in each st around [12]
R3: (Sc in next st, 2 sc in next st) rep 6 times [18]
R4: (Sc in each of next 2 sts, 2 sc in next st) rep 6 times [24]
R5: (Sc in each of next 3 sts, 2 sc in next st) rep 6 times [30]
R6: (Sc in each of next 4 sts, 2 sc in next st) rep 6 times [36]
R7: (Sc in each of next 5 sts, 2 sc in next st) rep 6 times [42]
R8-R16: Sc in each st around
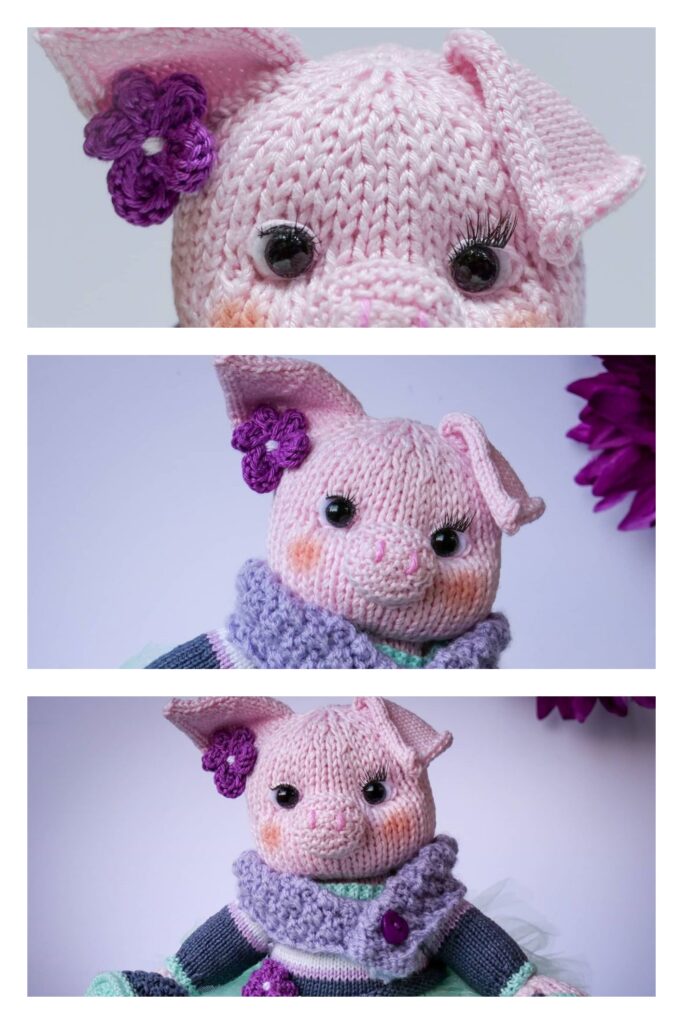
Fasten safety eyes between rounds 12. and 13. Insert the first eye between them, then count 3 holes to the left and insert the second eye in the next hole. Close the washers from the inside of the piece.
R17: (Sc in each of next 5 sts, sc2tog) rep 6 times [36]
R18: (Sc in each of next 4 sts, sc2tog) rep 6 times [30]
R19: (Sc in each of next 3 sts, sc2tog) rep 6 times [24]
R20: (Sc in each of next 2 sts, sc2tog) rep 6 times [18]
Fill the head with fiberfill.
Ear (Make 2)
R1: Start 6 sc in a magic ring.
R2: 1 sc in each st around
R3: (Sc in next st, 2 sc in next st) rep 3 times [9]
R4: (Sc in the next 2 sts, 2 sc in next st) rep 3 times [12]
R5: (Sc in next st, 2 sc in next st) rep 6 times [18]
R6-R8: Sc in each st around
R9: (Sc2tog) rep 9 times [9]
Attach the ears on the head.
Muzzle
R1: Start 6 sc in a magic ring.
R2: Work 2 sc in each st around [12]
R3: (Sc in next st, 2 sc in next st) rep 6 times [18]
R4: Working in the back loops only, sc in each st around
Sew the muzzle in it`s place. Add a tiny bit of stuffing before closing the seam. Stitch the nose.
Legs and Body
Start with crocheting the legs and then join them, so they smoothly become the body.
R1: Start 6 sc in a magic ring.
R2: Work 2 sc in each st around [12]
R3: (Sc in the next 3 sts, 2 sc in next st) rep 3 times [15]
R4-R7: Sc in each st around
R8: Switch to contrasting color. Sc in each st around
Leave a yarn tail about 20 cm and cut the yarn. Make another leg similar to the first one.
NB! DO NOT BIND OFF THE SECOND LEG.
R9: Now join the two legs. While using the yarn of the second leg sc in each of 15 sts around the first leg. Continue 15 sc around the second leg. In the end of the round you have joined the legs into one piece and you have 30 sc.
Close the hole between the legs using the short yarn tail left for the first leg.
R10: Sc in each st around [30]
R11: (Sc in the next 8 sts, sc2tog) rep 3 times [27]
R12-R13: Sc in each st around
R14: (Sc in the next 7 sts, sc2tog) rep 3 times [24]
R15-R16: Switch back to main color. Sc in each st around
Stuff the legs and continue adding stuffing.
R17: (Sc in the next 6 sts, sc2tog) rep 3 times [21]
R18-R19: Sc in each st around
R20: (Sc in the next 5 sts, sc2tog) rep 3 times [18]
R21: Sc in each st around
Sew the head to the body.
Arm (Make 2)
R1: Start 6 sc in a magic ring.
R2: Work 2 sc in each st around [12]
R3-R4: Sc in each st around
R5: (Sc in the next 2 sts, sc2tog) rep 3 times [9]
R6: Sc in each st around
Add some stuffing into the tip of the arm.
R7: (Sc in the next st, sc2tog) rep 3 times [6]
R8: Sc in each st around
Attach the arms to the body.
Tail
Ch 8. Sc in the second stitch from hook. Work 2 sc in each of the next sts.
Attach the tail to the body.
Stitch suspenders using the contrasting color.