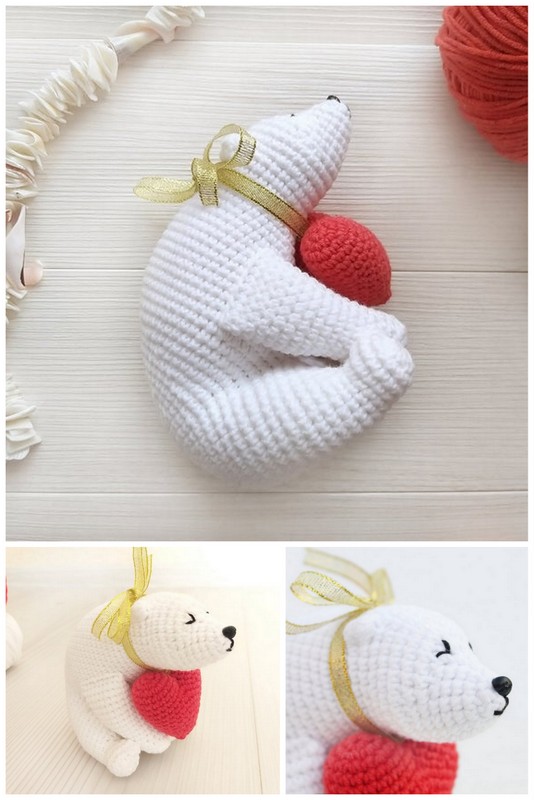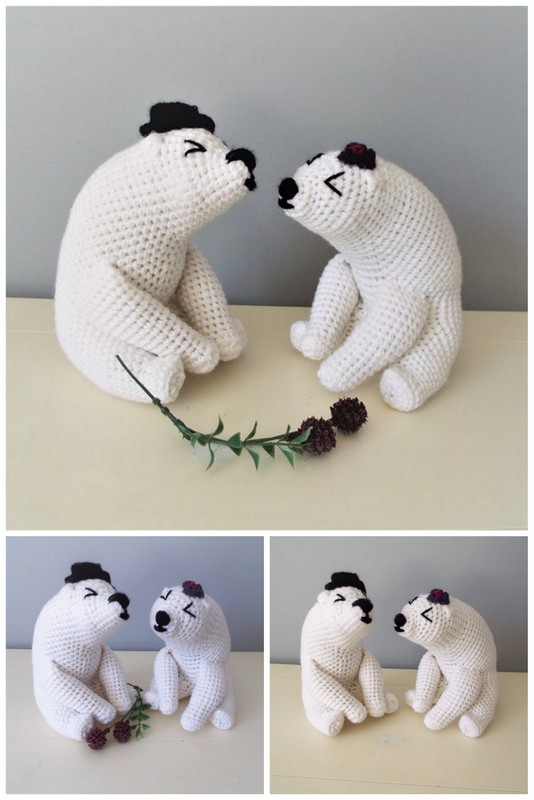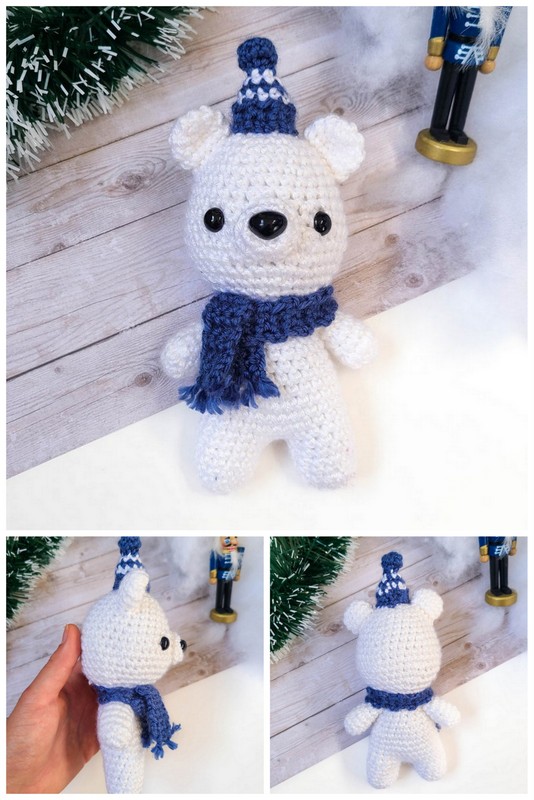
Amigurumi Little Polar Bear Free Crochet Patterns
Hello dear visitors, I am here again with new amigurumi molds for you. I am sharing amigurumi patterns for you here for free. You can make your children happy by making these patterns. Amigurumi toys are very popular lately and are the most beautiful toys that don’t harm your kids. Your kids will love them. Let’s move on to our pattern and give them this gift.
You will need
Super bulky weght (6) yarn (I used half a sken of the color “Polar”)
5.00 mm hook
20 mm plastic safety eyes
Fiberll stung
Yarn needle
Scissors
Abbreviations
MR: magic ring (a.k.a. magic circle, magic loop)
YO: yarn over
Sc: single crochet
Sl st: slip stitch (insert hook, yarn over, pull through both loops)
Dec: decrease (sc two stitches together)
Inc: increase (two sc in one stitch)
Head
R1: 6 sc in magic ring. (6 sts)
R2: Inc around. (12 sts)
R3: (Sc, inc) x 6. (18 sts)
R4: (Sc 2, inc) x 6. (24 sts)
R5: (Sc 3, inc) x 6. (30 sts)
R6: (Sc 4, inc) x 6. (36 sts)
R7-R9: Sc around. (36 sts)
R10: (Sc 5, inc) x 6. (42 sts)
R11: Sc around. (42 sts)
R12: (Sc 5, dec) x 6. (36 sts)
R13: (Sc 4, dec) x 6. (30 sts)
R14: (Sc 3, dec) x 6. (24 sts)
R15: (Sc 2, dec) x 6. (18 sts)
Fasten off and weave in the ends.
Ears (Make 2)
R1: 6 sc in magic ring. (6 sts)
R2: Inc around. (12 sts)
R3: Sc around. (12 sts)
Fasten off with a long tail for sewing to the head later.
Muzzle
R1: 6 sc in magic ring. (6 sts)
R2: Inc around. (12 sts)
Fasten off with a long tail for sewing to the head later.
Body
R1: 6 sc in magic ring. (6 sts)
R2: Inc around. (12 sts)
R3: (Sc, inc) x 6. (18 sts)
R4: (Sc 2, inc) x 6. (24 sts)
R5: (Sc 6, dec) x 3. (21 sts)
R6: Sc around. (21 sts)
R7: (Sc 5, dec) x 3. (18 sts)
R8: Sc around. (18 sts)
Fasten off with a long tail for sewing to the head later.
Arms (Make 2)
R1: 6 sc in magic ring. (6 sts)
R2-R6: Sc around. (6 sts)
Fasten off with a long tail for sewing to the body later.
Legs (Make 2)
R1: 6 sc in magic ring. (6 sts)
R2: Inc around. (12 sts)
R3: Sc around. (12 sts)
R4: Sc 2, dec 4, sc 2. (8 sts)
R5: Sc around. (8 sts)
Fasten off with a long tail for sewing to the body later.
Assembly
- Gather all the crocheted pieces: head, ears (x2), muzzle, body, arms (x2), legs (x2).
- You can position the parts together first, using sewing pins to hold them together. This will help you visualize how the
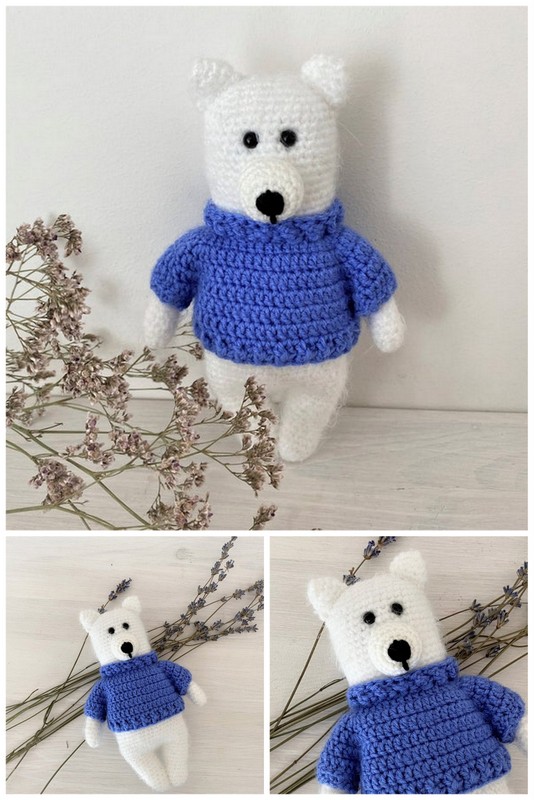
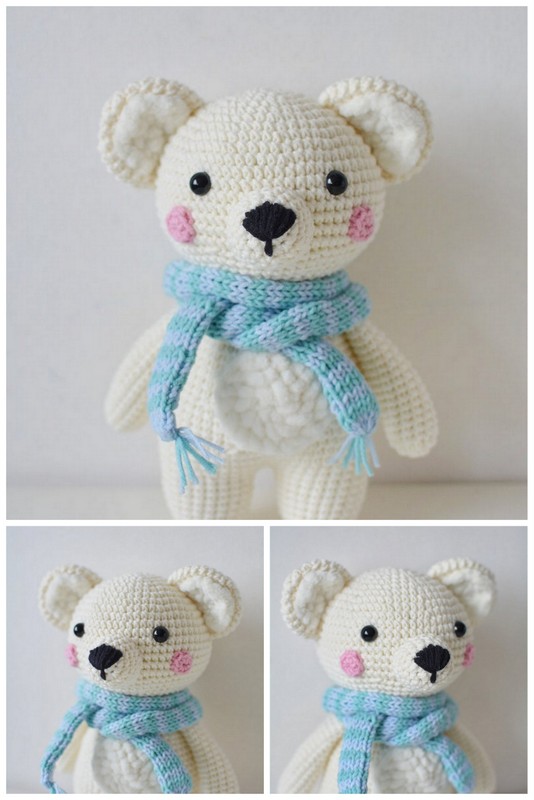
bear looks as a whole. - Using a yarn needle and black yarn scraps, sew a triangle nose onto the bear’s muzzle. You can also sew a line for the
mouth. - Using a yarn needle, sew the muzzle to the bear’s head. Then, sew the ears to the bear’s head.
- Attach plastic safety eyes to the bear’s head. (I used 20mm eyes.)
- Stuff the legs firmly, but be careful not to stretch the stitches.
- Sew the arms and legs to the body.
- Stuff the body and head firmly, but be careful not to stretch the stitches.
- Sew the body to the head.