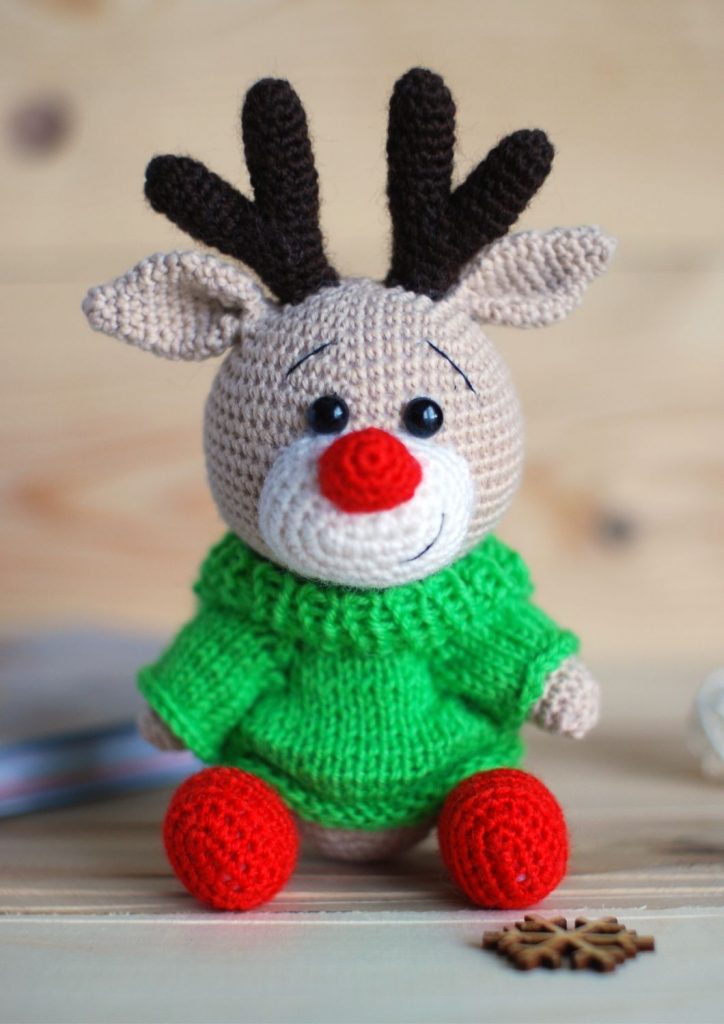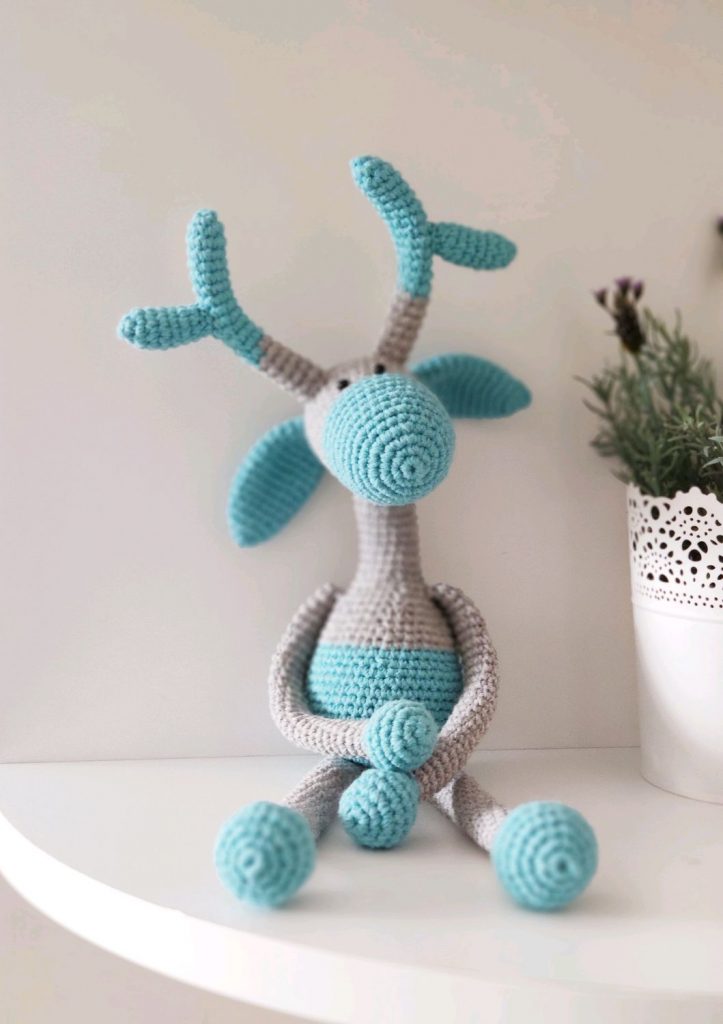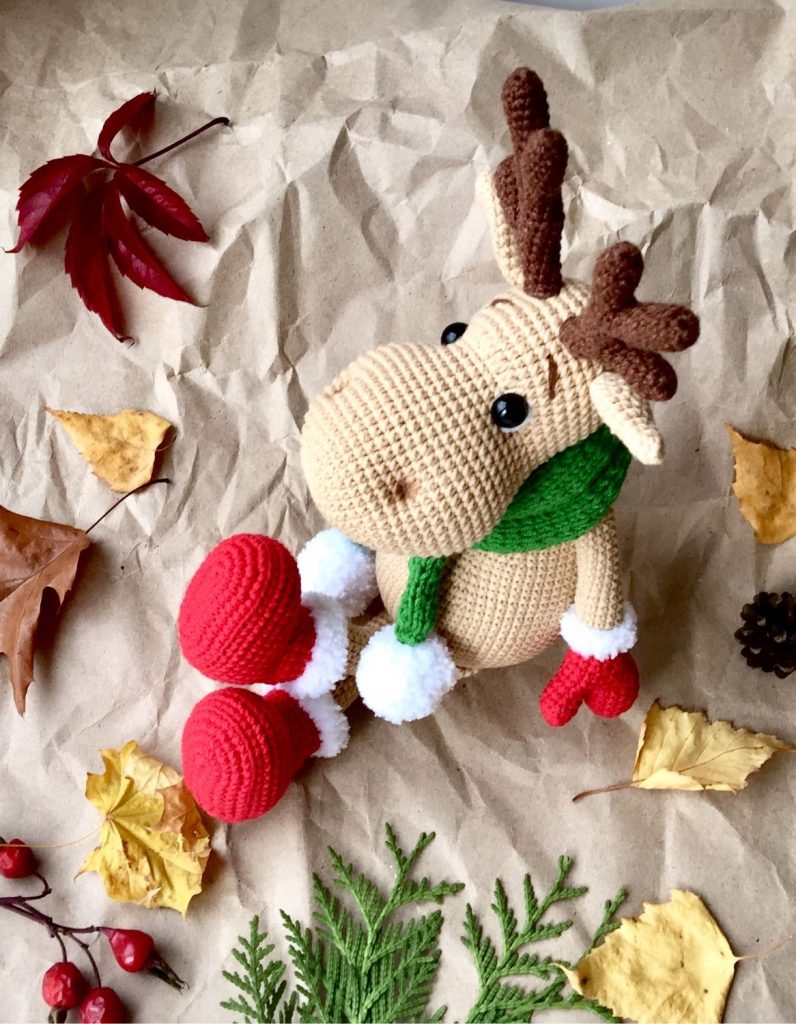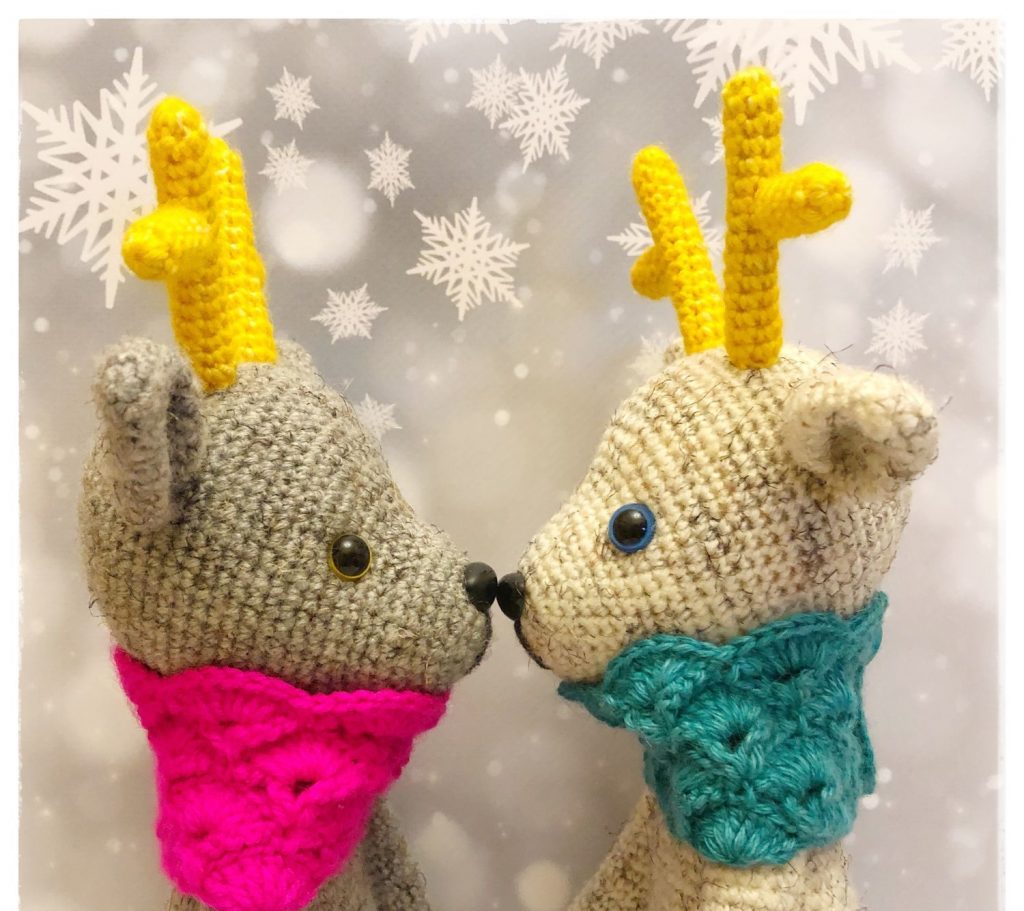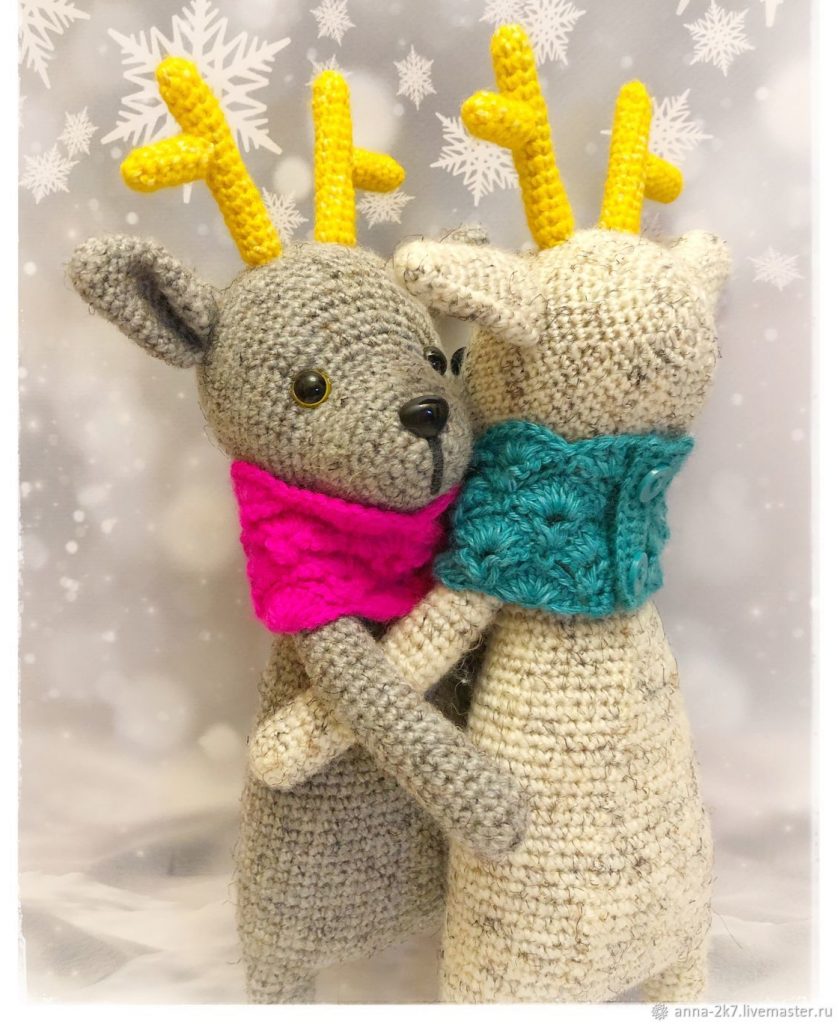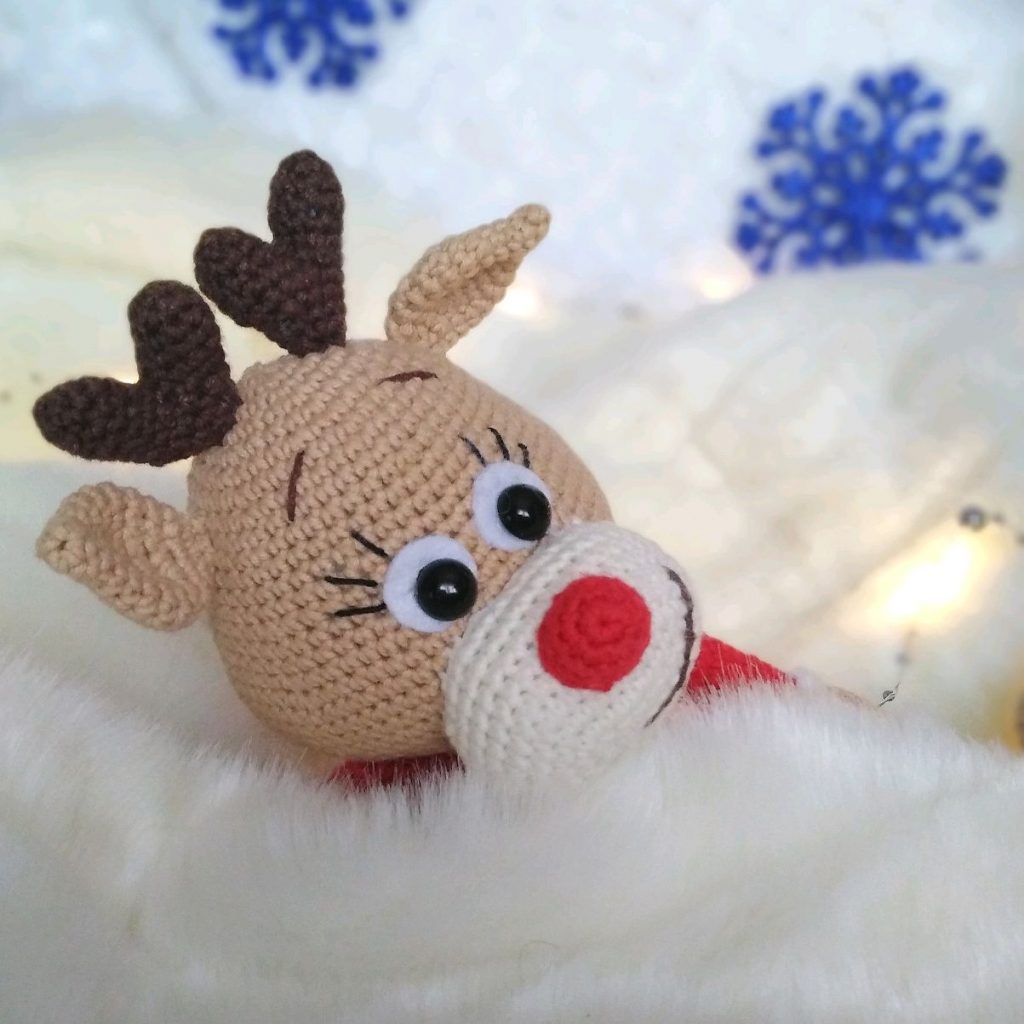
Amigurumi Lovely Deer Free Crochet Patterns
Hello dear visitors, I am here again with new amigurumi molds for you. I am sharing amigurumi patterns for you here for free. You can make your children happy by making these patterns. Amigurumi toys are very popular lately and are the most beautiful toys that don’t harm your kids. Your kids will love them. Let’s move on to our pattern and give them this gift.
You will need
Milky Brown(two pieces)
Cream (one pieces)
Mustard (one pieces)
Pink (one pieces)
Green (one pieces)
8mm Safety Eye (Black)
For embroidery: Black thread
Felting needle
Pins
Size 2.5mm or 3mm crochet hook
Scissors
Abbreviations
inc : Increase
dec : Decrease
tr : Triple Crochet/ Treble Crochet
st: Stitch
dc : Double Crochet
hdc: Half Double Crochet
sl-st : Slip Stitch
ch : Chain
..in : make increase into same stitch as many as the number which is given in front of “inc” abbreviation (exp; 3inc, 4inc..).
FLO : Crochet into front loops only
BLO : Crochet into back loops only
BL : Bobble Stitch – do 5dc all in the same stitch and then yarn over and pull through all the loops on your hook (the original loop + 1 loop for each partially completed dc).
Reverse Single Crochet: Crochet the stitch from left to right. This technique is most often used to make edges look smooth and neat. Make a chain to turn back from font side. Crochet a single crochet one before from last stitch. Then continue in the same way through the right side of crochet while slightly flexing yarn. Crochet single crochet until end of the row.
(..) : Parenthesis which are written end of the round show the total number of stitches.
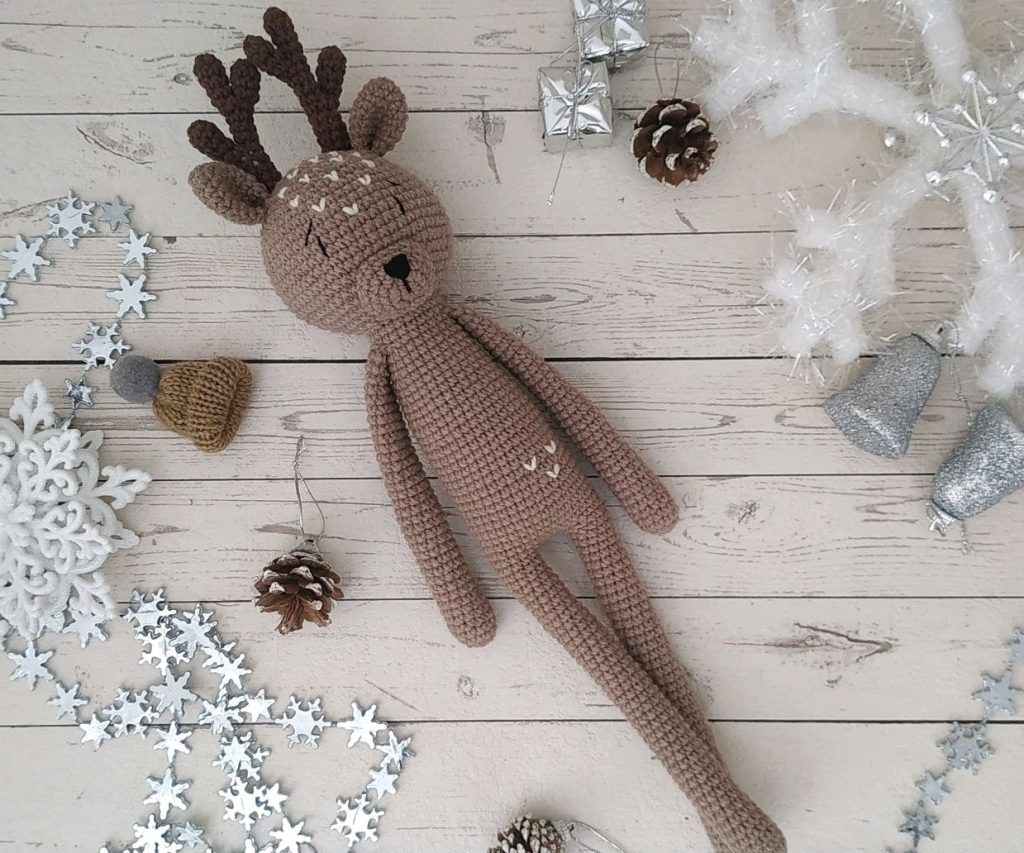
Legs (Use milky brown color and make 2)
Start with legs.
Then two legs will be joined by chains and continue crocheting the body as single piece.
Rnd 1: Start 6 sc in a magic ring (6)
Rnd 2: (in) repeat 6 time (12)
Rnd 3-11: sc in next 12st (12)
Rnd 12: (dec) repeat 2 times, sc in next 3st, (inc) repeat 2 times, sc in next 3st (12)
Rnd 13: sc in next 12st (12)
Rnd 14: (dec) repeat 2 times, sc in next 3st, (inc) repeat 2 times, sc in next 3st (12)
Rnd 15-26: sc in next 12st (12)
We are using a thick yarn. So you have to decide your hook size based on your crocheting. If you crochet tight, use half or 1 mm bigger size hook. If you crochet loose, use half or 1 mm smaller size hook. So you can keep the form of toy and your crochet will be neat.
First leg is finished. Start second leg and crochet in the same way.
When Rnd 26 is completed, continue with single crochet up to middle of round for keeping legs hallows as looking each other. Do not fasten off yarn. When reach the middle of round make 6 ch and joint with other leg fill with polyester fiberfill after join legs.
Body (Use milky brown)
Rnd 27: Ch 6 and join two legs (36)
Rnd 28-40: sc in next 36st (36)
Rnd 41: (sc in next 4st, dec) repeat 6 times (30)
Rnd 42-43: sc in next 30st (30)
Rnd 44: (sc in next 3st, dec) repeat 6 times (24)
Rnd 45: sc in next 24st (24)
Rnd 46: (sc in next 2st, dec) repeat 6 times (18)
Rnd 47-49: sc in next 18st (18)
Body if finished. Do not fasten off yarn and continue crocheting head.
When parts start becoming narrow, fill with polyester fiberfill as needed.
While filling with polyester fiberfill, make sure keeping the shape of toy.
If you fill too much, the shape of toy will be destroyed and it will enlarge the gap between single crochet. If you fill less, it will cause shagginess and the toy will not be firm.
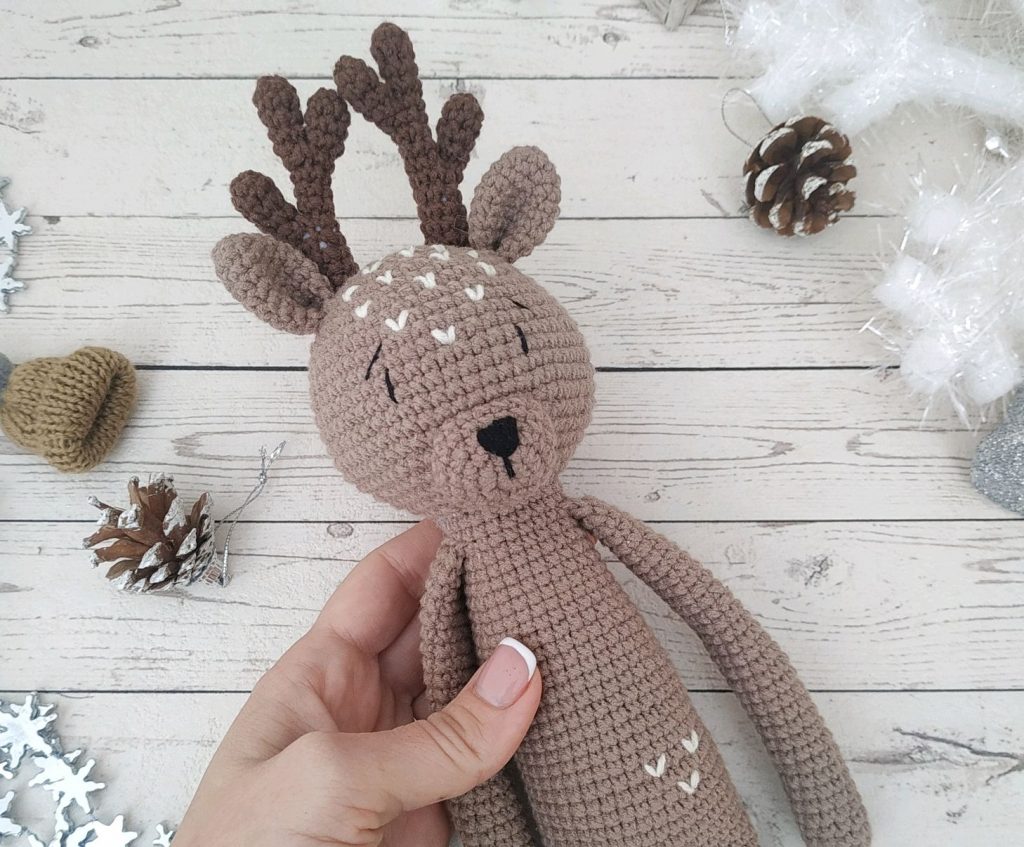
Head (Use milky brown)
Rnd 50: (sc in next 2st, inc) repeat 6 times (24)
Rnd 51: (sc in next 3st, inc) repeat 6 times (30)
Rnd 52: (sc in next 4st, inc) repeat 6 times (36)
Rnd 53: (sc in next 5st, inc) repeat 6 times (42)
Rnd 54: (sc in next 6st, inc) repeat 6 times (48)
Rnd 55: (sc in next 7st, inc) repeat 6 times (54)
Rnd 56-61: sc in next 54st (54)
Rnd 62: (sc in next 7st, dec) repeat 6 times (48)
Rnd 63-68: sc in next 48st (48)
Rnd 69: (sc in next 6st, dec) repeat 6 times (42)
Rnd 70: (sc in next 5st, dec) repeat 6 times (36)
Rnd 71: (sc in next 4st, dec) repeat 6 times (30)
Rnd 72: (sc in next 3st, dec) repeat 6 times (24)
Rnd 73: (sc in next 2st, dec) repeat 6 times (18)
Rnd 74: (sc, dec) repeat 6 times (12)
Rnd 75: (dec) repeat 6 times (6)
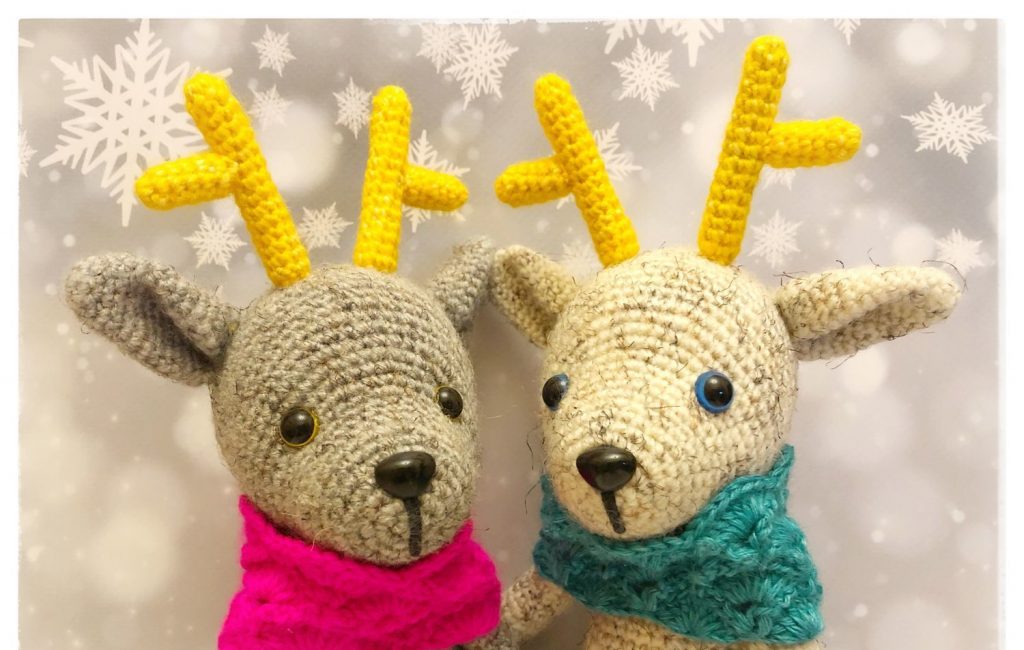
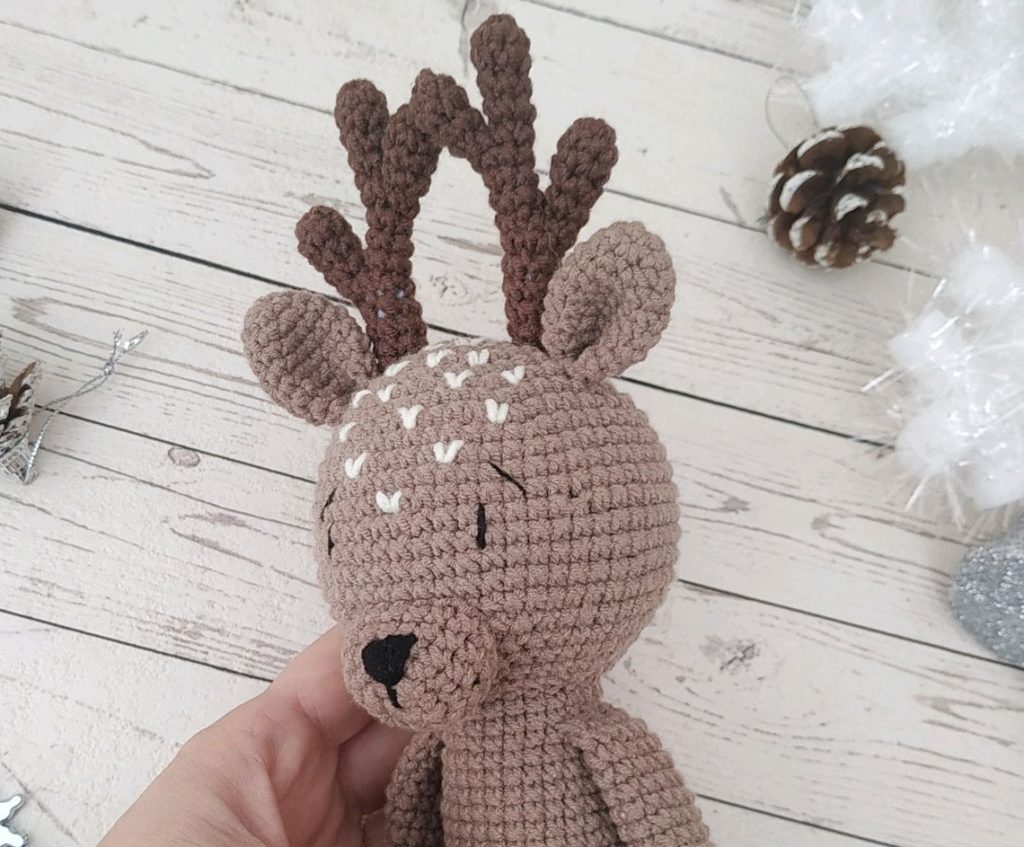
Place safety eyes between rounds 60-61, and leave 11 st between two eyes.
After completed placing eyes and crocheting head, fill the head with polyester fiberfill.
While filling polyester fiberfill keep head form.
After completed crocheting arms, fasten off yarn leaving long tail. Fill polyester fiberfill inside arms and closed with collecting stitches at top section.
Align arms just below collar and sew on body.
Sew as hiding color changed section.
Legs (Use milky brown color and make 2)
Rnd 1: Start 5 sc in a magic ring (5)
Rnd 2: (in) repeat 5 times (10)
Rnd 3-5: sc in next 10st (10)
Rnd 6: (dec), sc in next 6st, (dec) (8)
Rnd 7-23: sc in next 8st (8)
Rnd 24: (dec) repeat 4 times (4)
Nose (Use milky brown /cream)
Two different color yarns will be used to crochet nose. While changing colors, try to keep unused yarn under the crochet line. After crocheting nose is completed, tied two yarns and fasten off, leaving long tails from each color yarns for sewing. Use the same color with head to sewing nose on head.
Start with cream color.
Rnd 1: Start 6 sc in a magic ring (6)
Rnd 2: Cream; (in) repeat 2 times, Milky Brown; (in) repeat 2 times, Cream; (in) repeat 2 times (12)
Rnd 3: Cream; (sc,in) repeat 2 times, Milky Brown; (sc, in) repeat 2 times, Cream; (sc, in) repeat 2 times (18)
Rnd 4: Cream; (sc in next 2st,in) repeat 2 times, Milky Brown; (sc, in) repeat 3 times, Cream; (sc in next 2st, in) repeat 2 times (25)
Rnd 5-6: Cream; sc in next 8st, Milky Brown; sc in next 10st, Cream; sc in next 7st (25)
After crocheting nose is completed, embroidery nose by using black thread. Milky brown side should look up side.
Then start sewing steps. Mark the middle of two eyes with pin. Use the same color with head to sewing nose on head.
Fill polyester fiberfill inside the nose while sewing.
Horns (Use cream color and make 2)
Start with small horns.
As total there are 2 finished horns for right and
left side.
Small Horn (Make 2)
After first part is finished fasten off the yarn.
Rnd 1: Start 6 sc in a magic ring (6)
Rnd 2-4: sc in next 6st (6)
First horn is finished. Big horn is crochet as similar
way with small horn.
After 6th round is finished, without fasten off yarn join with small horn.
Big Horn (Make 2)
Rnd 1: Start 6 sc in a magic ring (6)
Rnd 2-6: sc in next 6st (6)
Start joining the small and big horns.
Rnd 7: Join two horns (10)
Rnd 8: sc in next 10st (10)
Rnd 9: (dec) repeat 6 times (6)
Rnd 10: sc in next 6st
Ears (Use milky brown color and make 2)
Rnd 1: Start 4 sc in a magic ring (4)
Rnd 2: (sc, in) repeat 2 times (6)
Rnd 3: (sc in next 2st, in) repeat 2 times (8)
Rnd 4: (sc in next 3st, in) repeat 2 times (10)
Rnd 5: (sc in next 4st, in) repeat 2 times (12)
Rnd 6: (sc in next 5st, in) repeat 2 times (14)
Rnd 7: (sc in next 6st, in) repeat 2 times (16)
Rnd 8: (sc in next 7st, in) repeat 2 times (18)
Rnd 9: (sc in next 8st, in) repeat 2 times (20)
Rnd 10: (sc in next 2st, dec) repeat 5 times (15)
Rnd 11: (sc , dec) repeat 5 times (10)
Rnd 12: sc in next 10st (10)
Sew ears and horns at both sides of head as symmetrically. Before sewing, check their location by using pins.
Do not fill polyester fiberfill inside horns.
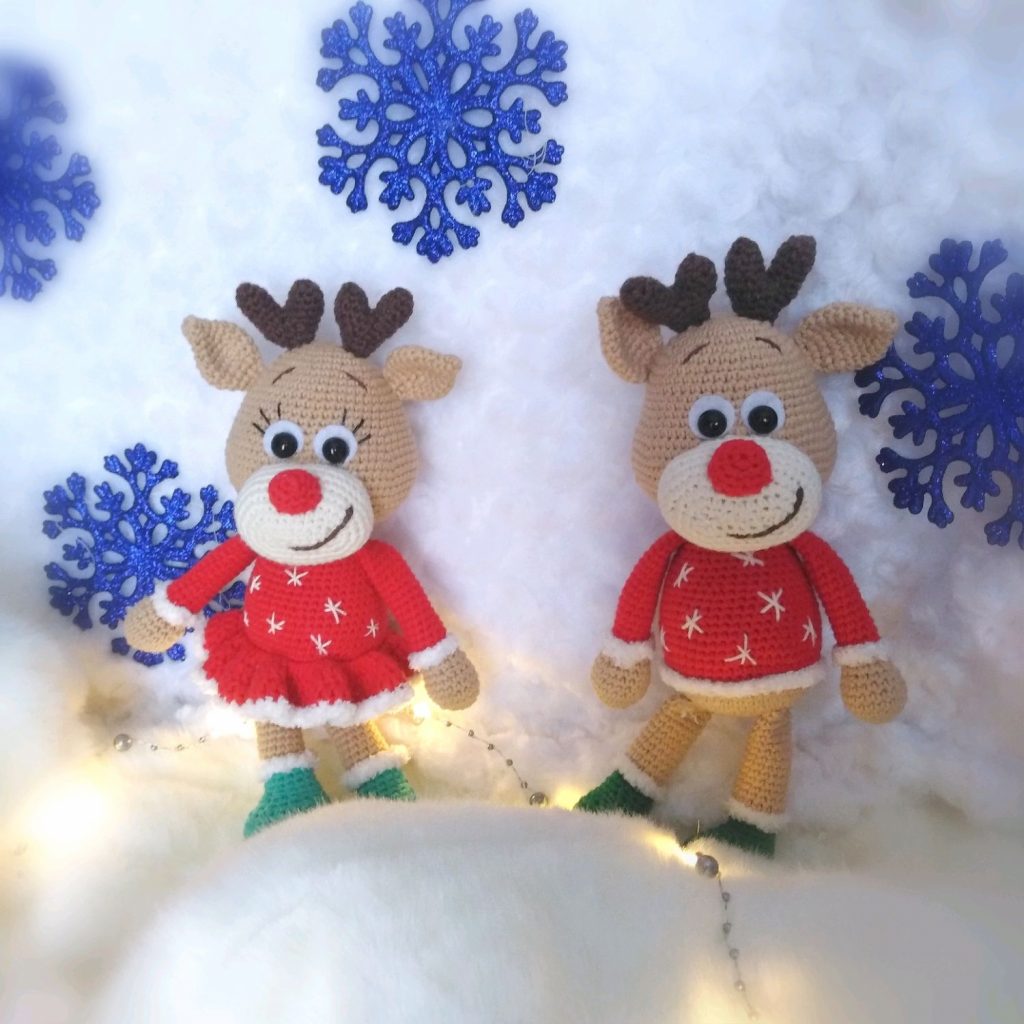
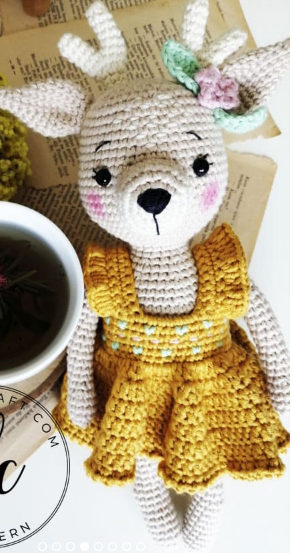
Dress (Mustard color)
Start crocheting at arm of dress.
By using chains, arm pits, back and collar will be created. Then the body part of dress will be started.
First arm chrocheting
Rnd 1: Ch 16
Rnd 2: Skip 1st st and start at 2nd chain and sc in next 15st (15)
Rnd 3: Ch 1, turn, sc in next 15st (15)
Rnd 4: Start second arm of dress ch 22. Skip 1st st and start at 2nd chain and sc in next 15st (15)
Rnd 5-6: Ch 1, turn, sc in next 15st (15)
Arm Pit/ Color and Back Yaka ve Sırt Seperation
Rnd 7: Ch 8, sc in next 3st at holes under arm, ch 6 , sc in next 3st at holes under other arm, ch 8 and sl-st at arm.
Lower Body Section of Dress
Rnd 8: Ch 1, at arm section sc in next 3st, sc in next 8ch, at arm section sc in next 3st, sc in next 6ch, at arm section sc in next 3st, sc in next 8ch, at arm section sc in next 3st, sc in next 6ch (40)
Rnd 9-13: Ch1, sc in next 40st, sl-st (40)
Rnd 14: Ch2, (dc inc) repeat 40 times (80dc)
Rnd 15: Ch2, (dc, dc inc) repeat 40 times (120dc)
Rnd 16-19: Ch2, dc in next 120st (120dc)
Rnd 20: Ch1, (sc, ch2) repeat 120 times (120)
Around Arms
Rnd 1: Ch2, (dc inc) repeat 15 times (30dc)
Flower (Pink color)
Rnd 1: Start 6 sc in a magic ring (6)
Rnd 2: (sl-st, Ch1, sc, dc, sc, sl-st) repeat 5 times
Leaf (Green Color)
Rnd 1: Ch17
Rnd 2: sc, hdc, dc in next 3st, hdc, sc, sl-st in next 2st, sc, hdc, dc in next 3st, hdc, 3sc in corner st and turn
Rnd 3: sc, hdc, dc in next 3st, hdc, sc, sl-st in next 2st, sc, hdc, dc in next 3st, hdc, sc
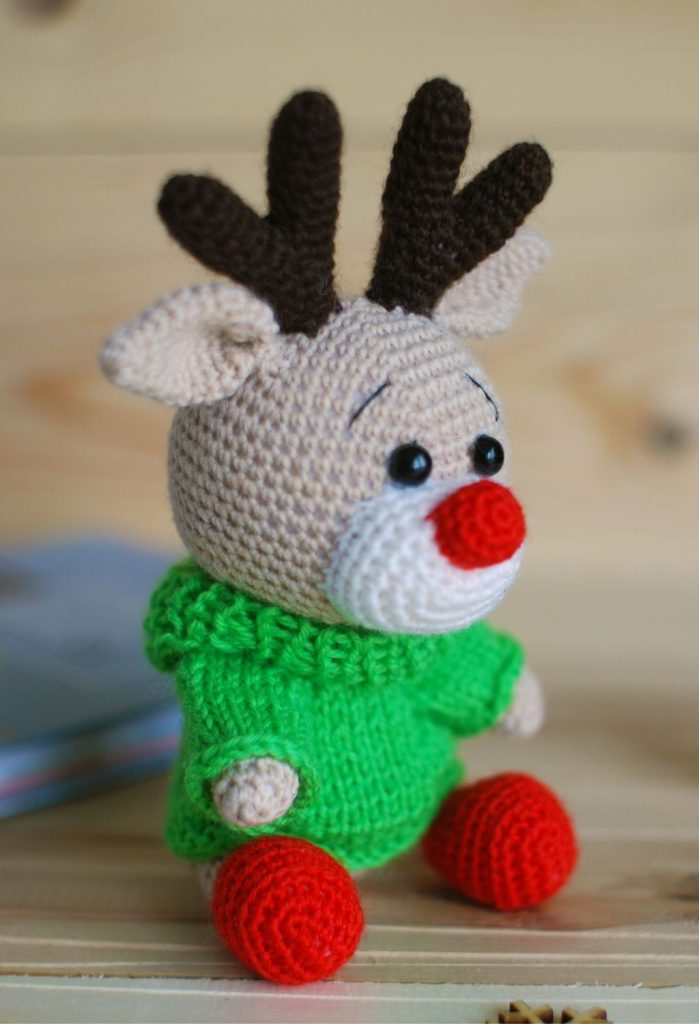
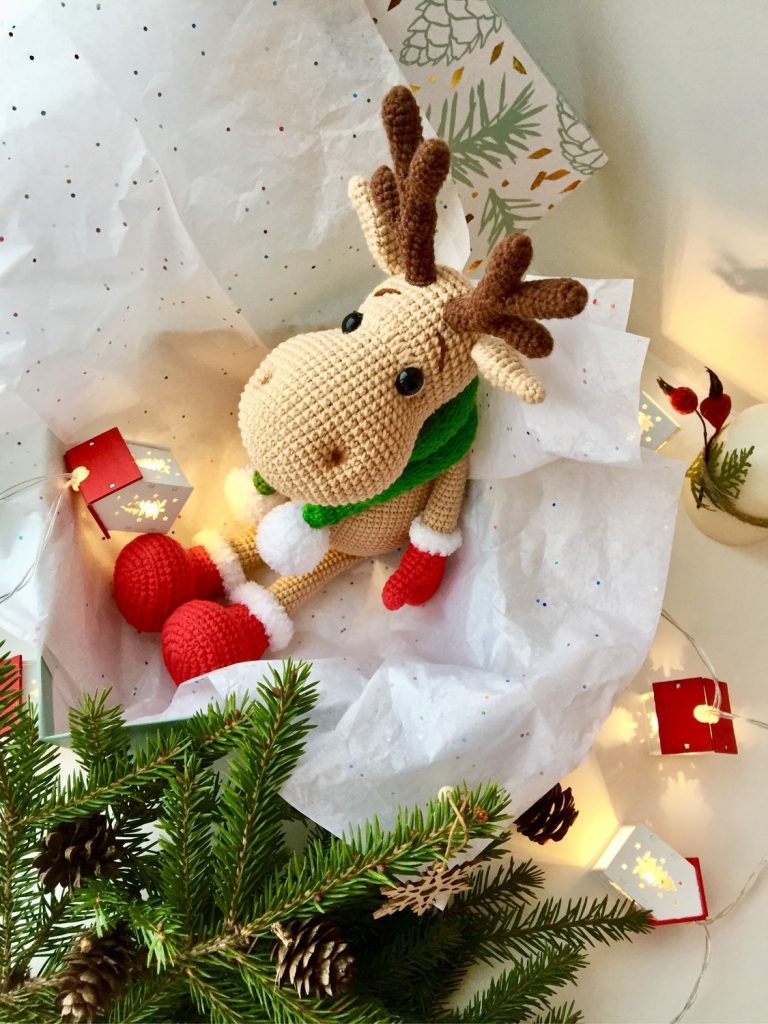
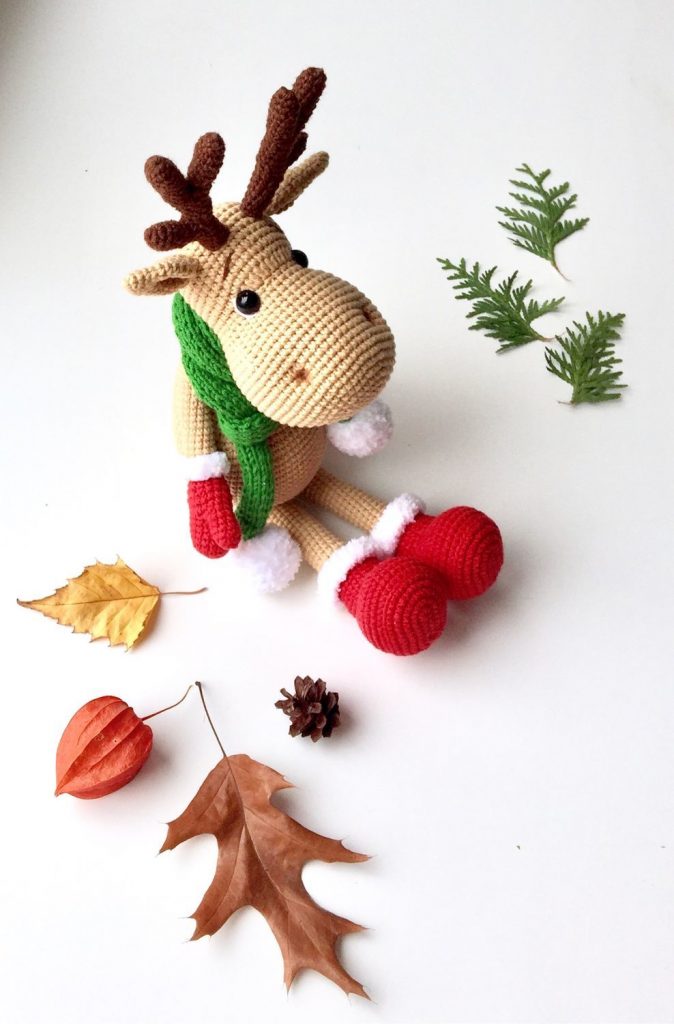
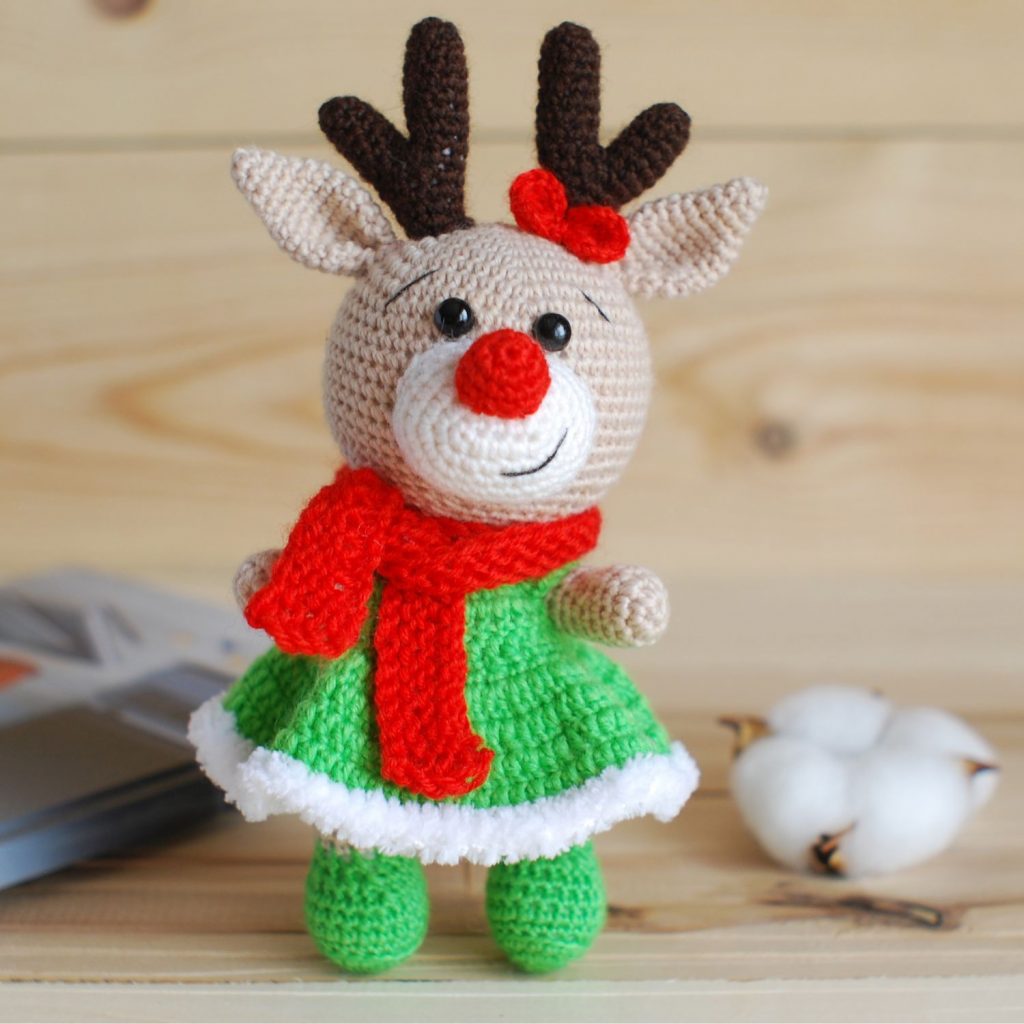
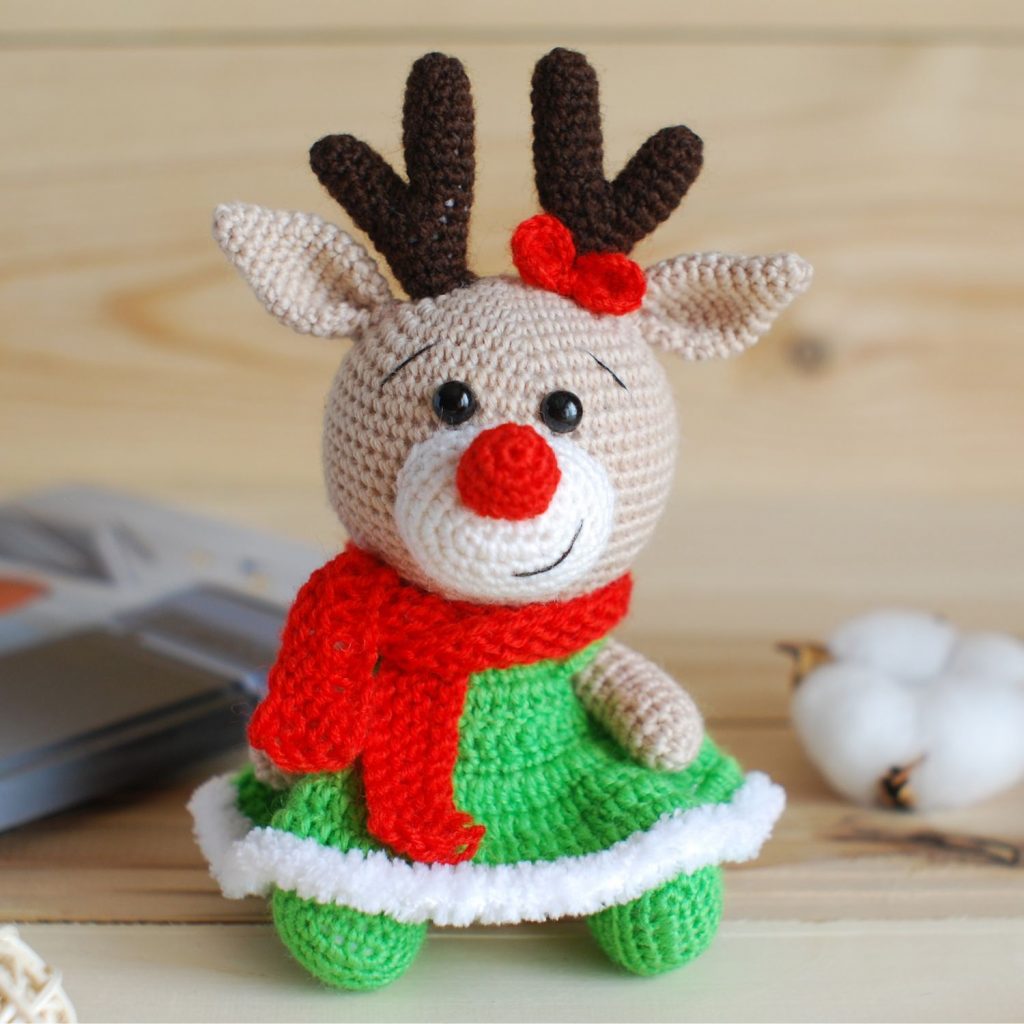
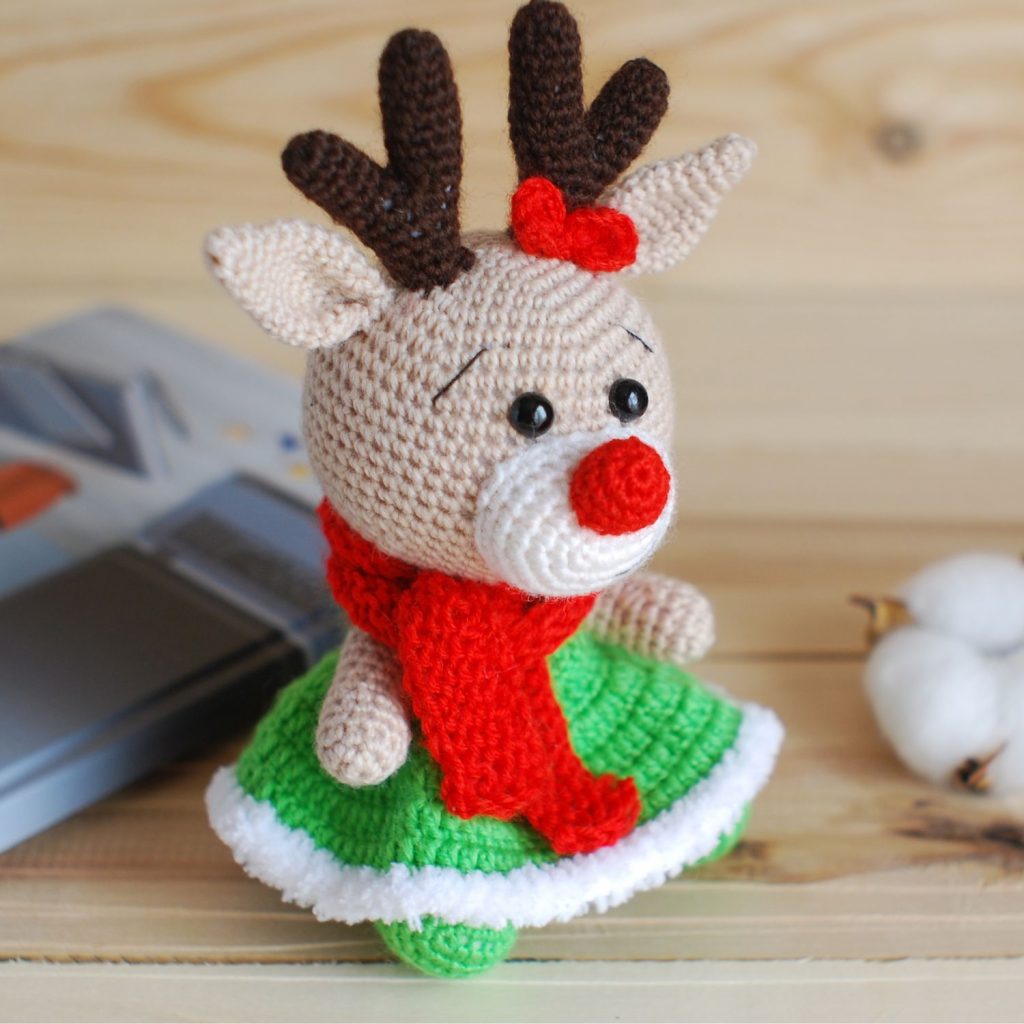
Dress and Accessories
Lovely deer , by using cream color yarn horizontal embroidery can be performed on head. Start from above of nose and continue towards up. Sew leaf in front of horn and ear and then add flower. You can do embroidery on dress with pink and green colors. So dress will match with flower and leaf