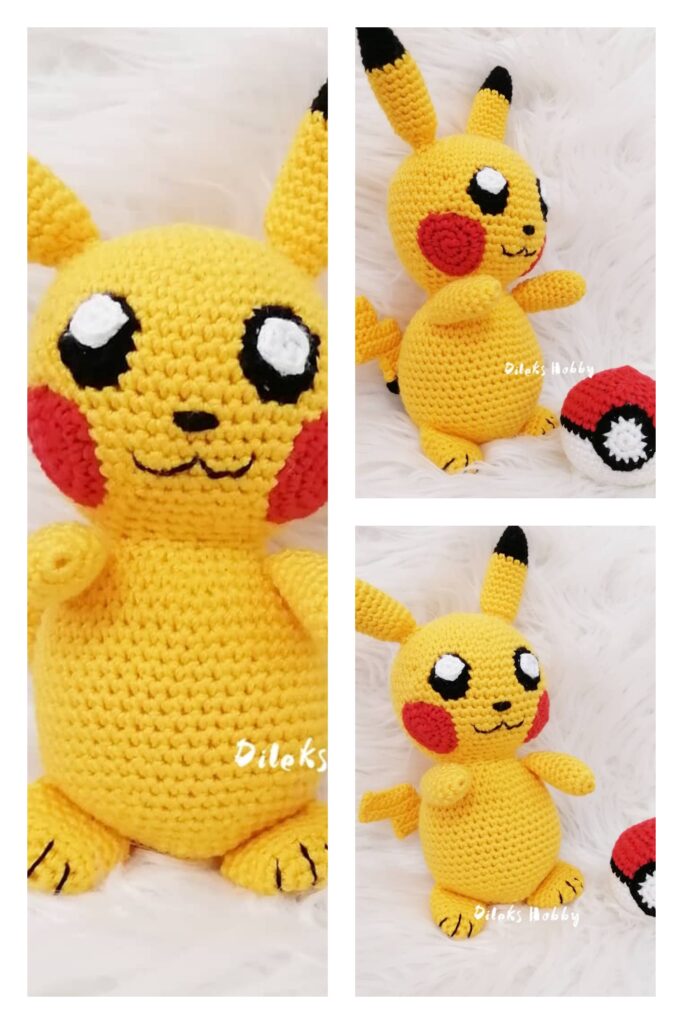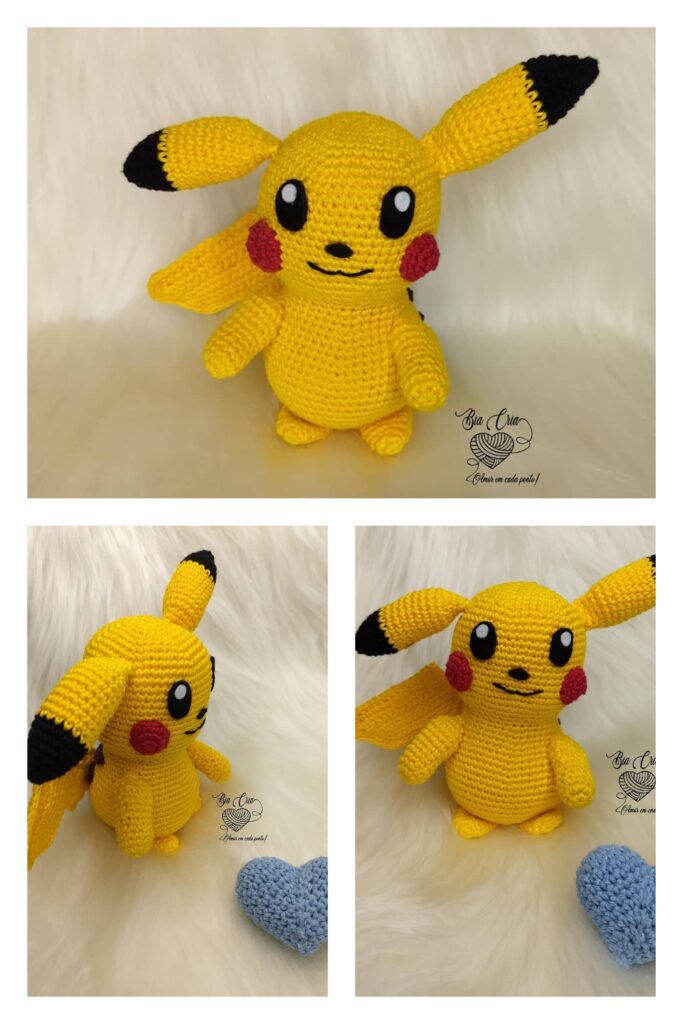
Amigurumi Pikachu Free Crochet Patterns
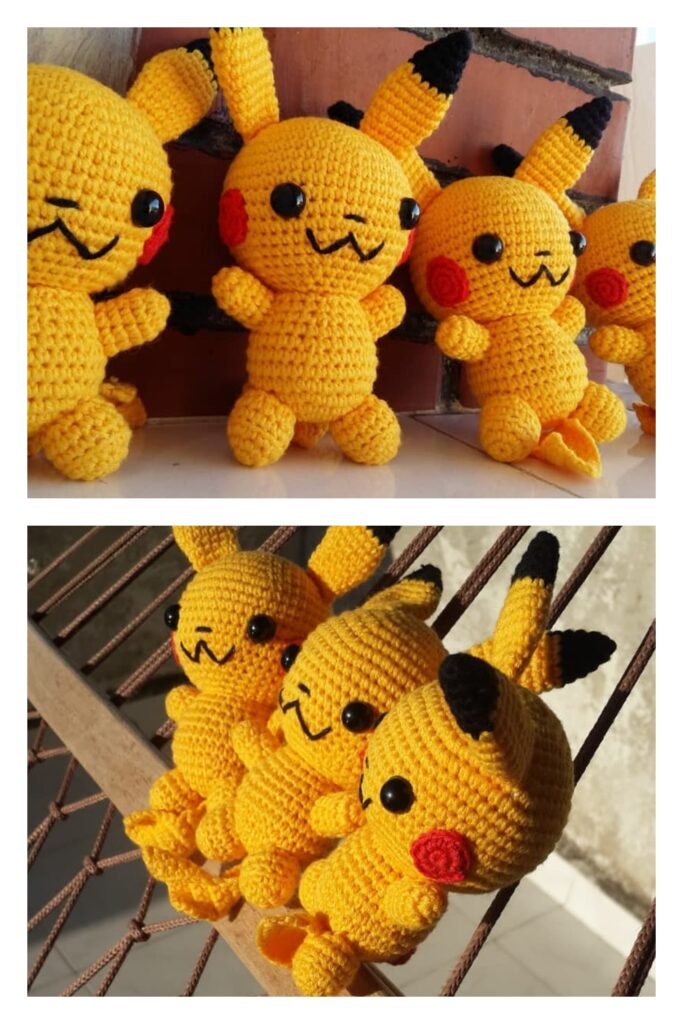
Hello dear visitors, I am here again with new amigurumi molds for you. I am sharing amigurumi patterns for you here for free. You can make your children happy by making these patterns. Amigurumi toys are very popular lately and are the most beautiful toys that don’t harm your kids. Your kids will love them. Let’s move on to our pattern and give them this gift.
You will need
3.0mm crochet hook
yellow yarn
black yarn
brown yarn
red felt
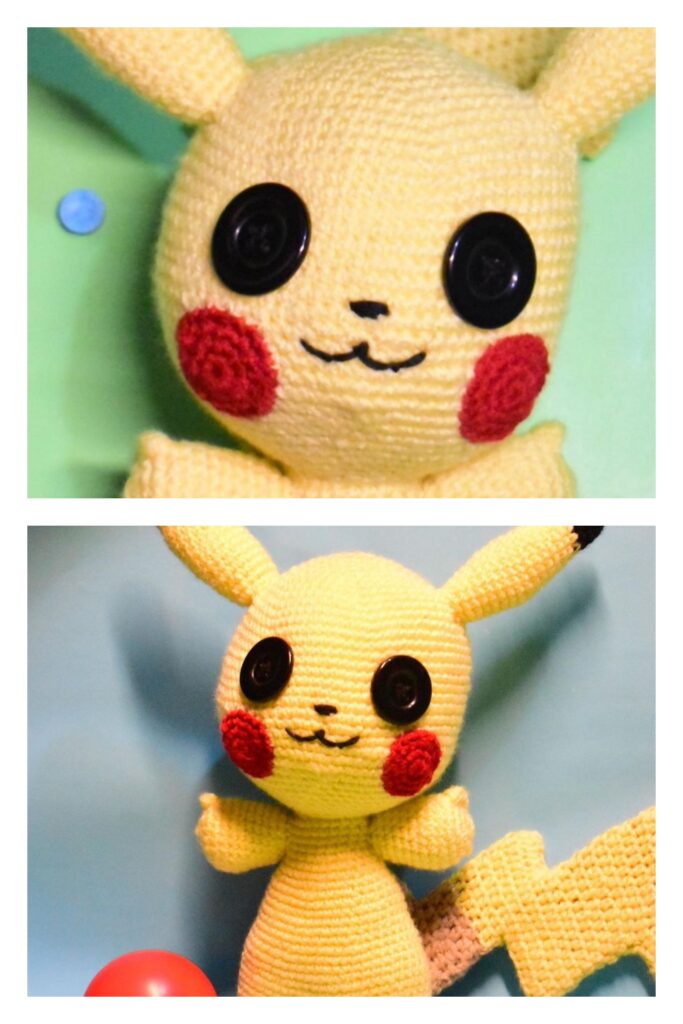
2 x 10mm safety eyes
fabric glue
polyester filling
Abbreviations
dec = decrease
inc = increase
mr = magic ring
sc = single crochet
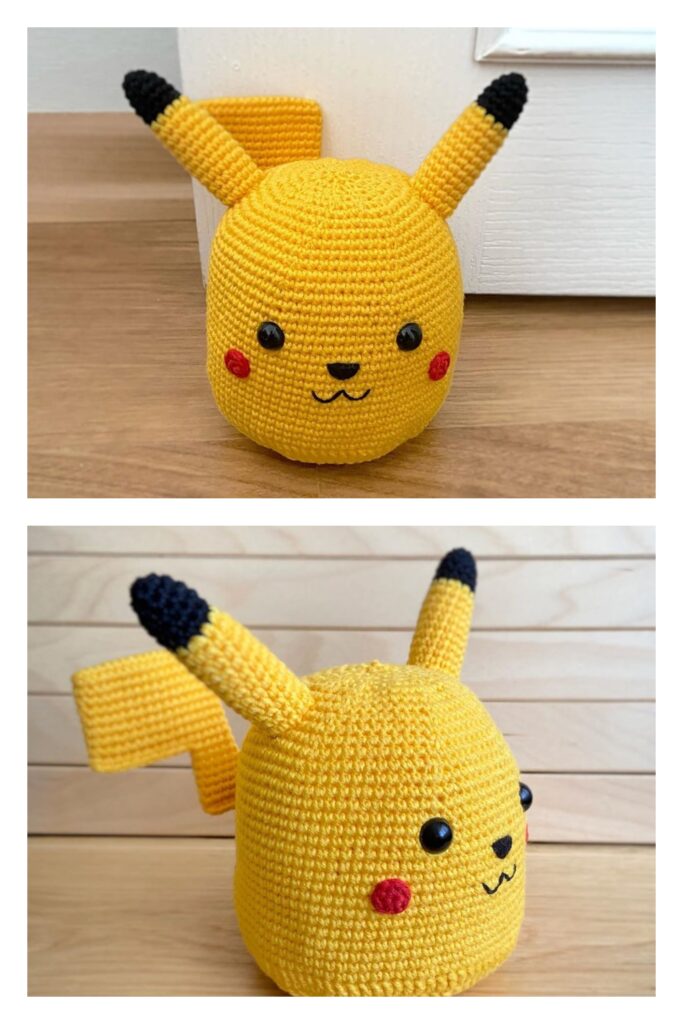
Head
R1. (in Yellow) MR 6 (6)
R2. [ inc ]x 6 (12)
R3. [ inc, sc ]x 6 (18)
R4. sc, [ inc, sc 2 ]x 5, inc, sc (24)
R5. [ inc, sc 3 ]x 6 (30)
R6. sc 2, [ inc, sc 4 ]x 5, inc, sc 2 (36)
R7-10. sc 36 (36)
R11. [ inc, sc 5 ]x 6 (42)
R12-R13. sc 42 (42)
R14. [ dec, sc 5 ]x 6 (36)
R15. sc 2, [ dec, sc 4 ]x 5, dec, sc 2 (30)
R16. [ dec, sc 3 ]x 6 (24)
Finish off, leaving a tail for attaching later. Insert safety eyes between rows 11 and 12, with approximately 7 stitches between them.
Body
R1. (in Yellow) MR 6 (6)
R2. [ inc ]x 6 (12)
R3. [ inc, sc ]x 6 (18)
R4. sc, [ inc, sc 2 ]x 5, inc, sc (24)
R5. [ inc, sc 3 ]x 6 (30)
R6-R8. sc 30 (30)
R9. [ dec, sc 3 ]x 6 (24)
R10-R12. sc 24 (24)
Leg (Make 2)
R1. (in Yellow) MR 6 (6)
R2. [ inc, sc ]x 3 (9)
R3-R6. sc 9 (9)
Finish off, leaving a tail for attaching later.
Arm (Make 2)
R1. (in Yellow) MR 6 (6)
R2. [ inc, sc 2 ]x 2 (8)
R3-R4. sc 8 (8)
R5. dec, sc 6, (7)
Finish off, leaving a tail for attaching later.
Ears (Make 2)
R1. (in Black) MR 5 (5)
R2. inc, sc 4 (6)
R3. inc, sc 5 (7)
R4. inc, sc 6 (8)
R5. (in Yellow) inc, sc 7 (9)
R6-R8. sc 9 (9)
R9. dec, sc 7 (8)
R10-R11. sc 8 (8)
Finish off, leaving a tail for attaching later.
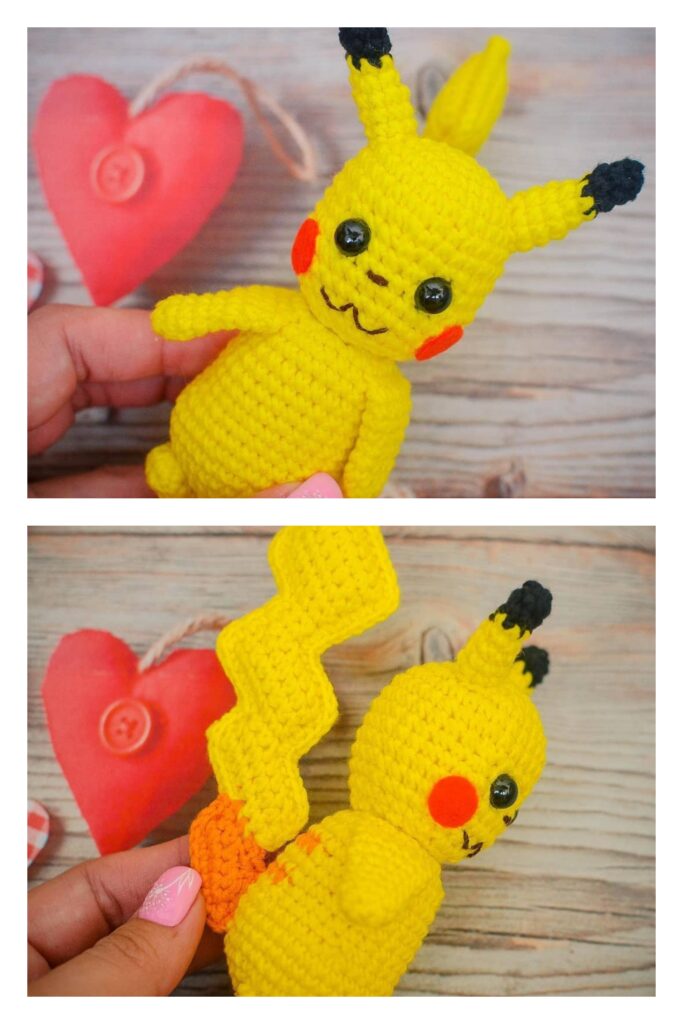
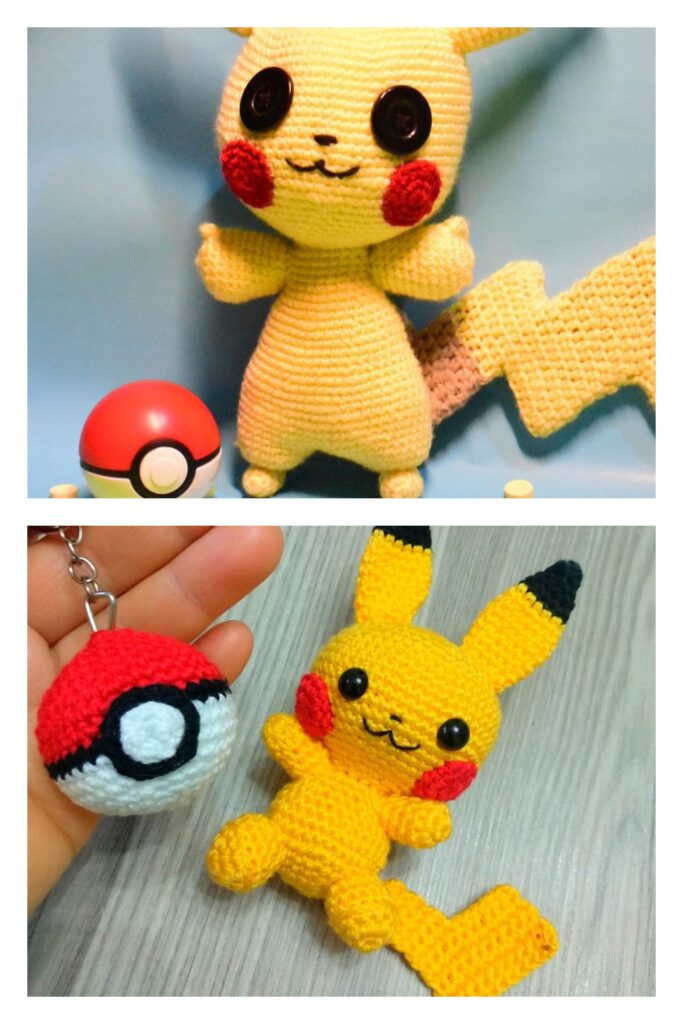
Tail
R1. (in Yellow) ch 7 (7)
R2. turn, sc 12 (6 on either side of chain) (12)
R3-R4. sc 12 (12)
R5. sc 3, skip 6, sc 3 (6)
R6. sc 6, ch 4 (10)
R7. sc 1, skip 4, sc 5 (6)
R8. (in Brown) sc 6 (6)
R9. sc 6 (6)
Finish off, leaving a tail for attaching later.
So the first row is simple enough, make a chain of 7. Then on the second row, turn your work, and starting in the second chain from the hook sc 6 down one side, and keep going to sc 6 up the other side as well.
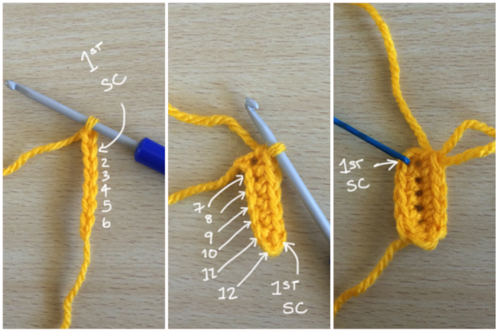
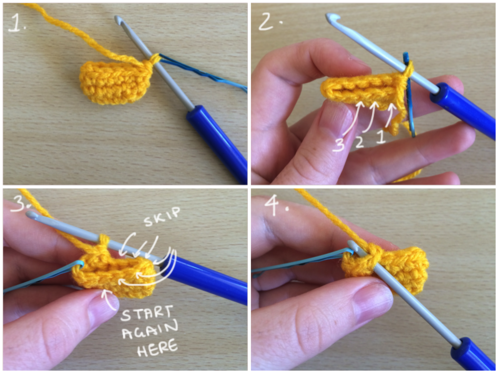
Then continue with rounds 3 and 4 normally (image 1. below). Round 5 can be a bit tricky again. This is how we’re going to create the first zig-zag. We want to go halfway and then turn the work and skip to the other side. So first sc 3 normally (image 2. below), then we’re going to pretend the next 6 stitches aren’t there. I find it easier to turn my work (image 3. below), count six stitches, and then insert my hook into the 7th stitch (image 4. below), continuing as normal for the rest of the round.
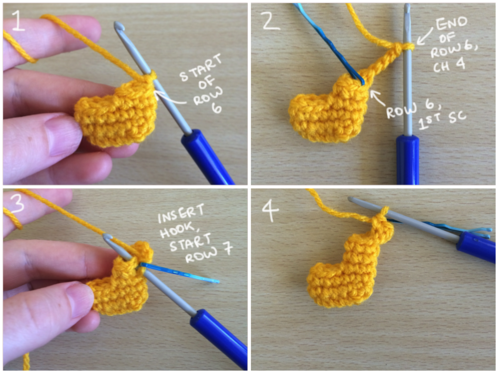
At the end of round 6 we’re going to chain 4 (image 2. below). This will become the other side of the zig zag. Chain 4, then insert your hook back into the first stitch of round six (image 3. below), like you would if there were no chain and you were simply starting round 7. Then you’ll skip stitches like you did above. When you get to where the chain 4 is you’re going to have to crochet in the front or back loop only, since there isn’t a proper sc to insert into.
After that you’ll change colour, and thankfully be done. I like to take a length of yellow yarn and whipstitch the open parts (where you skipped stitches and chained) closed to give the tail a neater shape. Hopefully that explanation wasn’t too confusing!
If it was, you can try to crochet the tail as a flat piece instead – to build up the thickness of the tail, you could make 2 of the flat versions and then stitch them together.
when it says “ch 1, turn”, the next sc will be in the second chain from the hook (ie. always skip the first stitch when turning, since it’s just the chain we did at the end to get the right height).
Flat Tail
R1. (in Yellow) ch 6
R2-R4. ch 1, turn, sc 6
R5. ch 1, turn, sc 3
R6. ch 1, turn, sc 3, ch 2
R7-R8. ch 1, turn, sc 5
R9. ch 1, turn, sc 2
R10-R11. (in Brown) ch 1, turn sc
Finish off, leaving a long enough tail to attach to the body.
Press the tail flat and that’s the end of all the crocheting! Stuff the head, body, and legs. The legs don’t require much stuffing. Everything is ready for assembly.
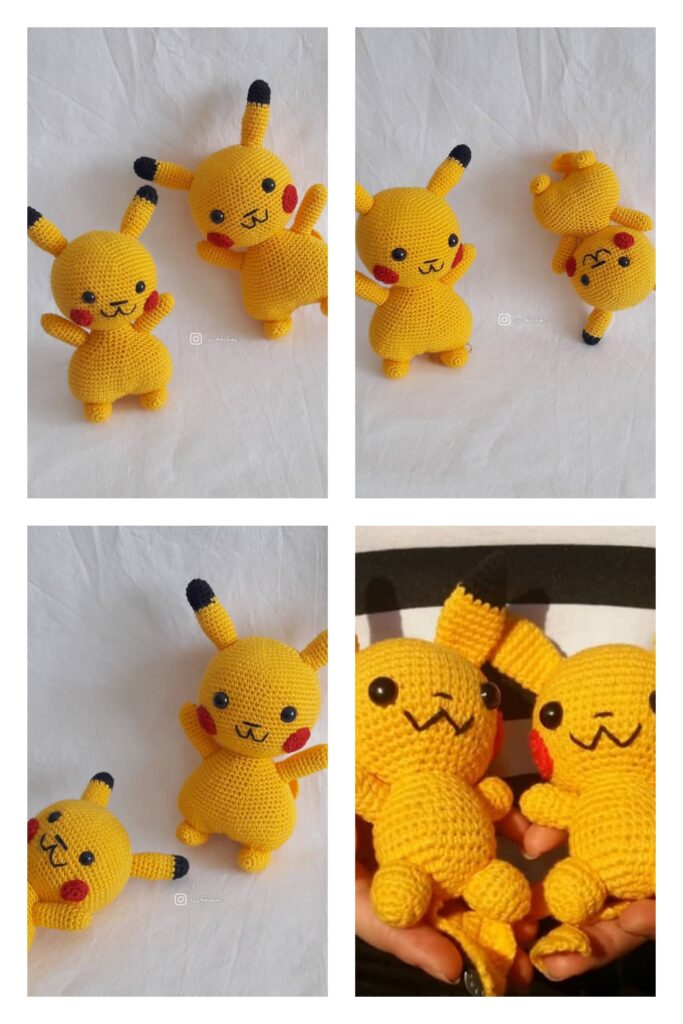
I like to pin all the pieces together to make sure they’re positioned properly when before I attach them. I usually find them easiest to attach in this order: legs, tail (stitch on back detail), arms, head, ears. I like to attach the head first because it makes it easier to ensure the ears are even.

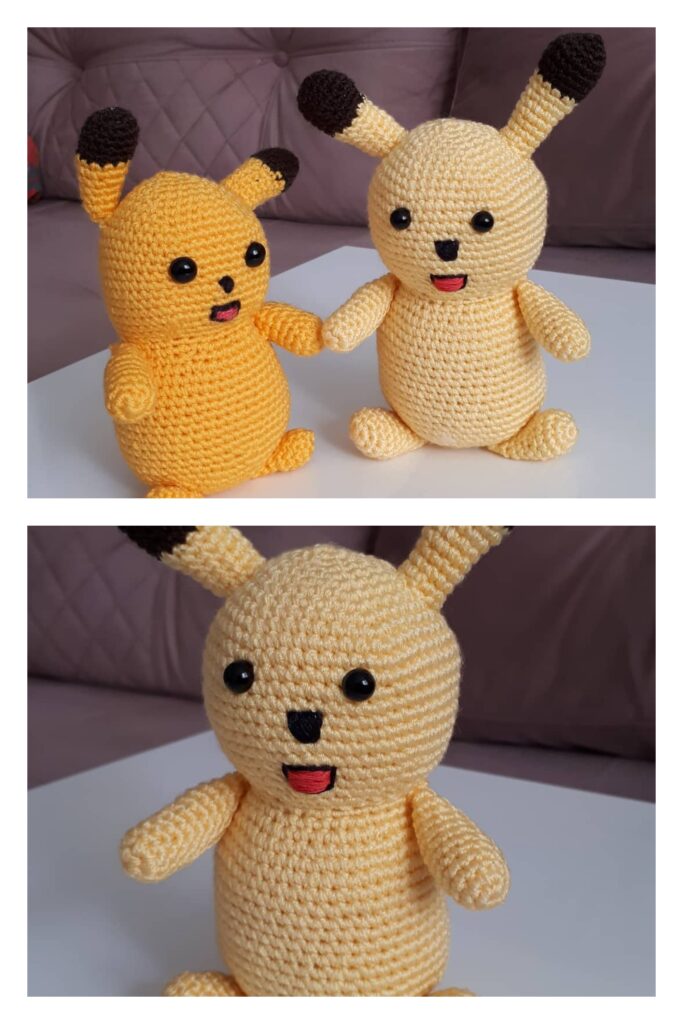
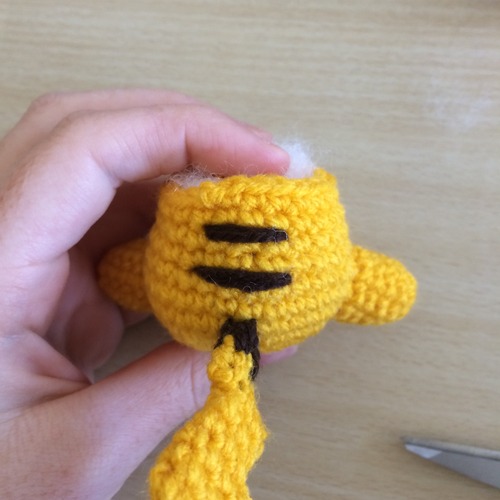
After you’ve attached the tail, but before you attach the head, make sure you remember to embroider on the two stripes Pikachu has at the back. I usually use the same yarn I’m using to attach the tail to the body.
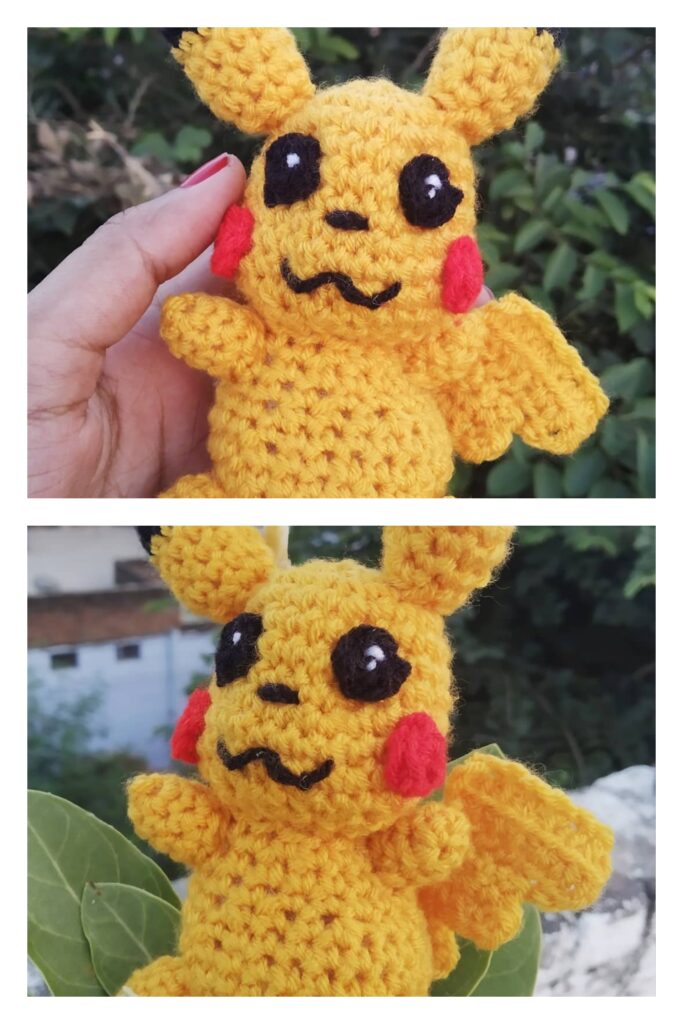
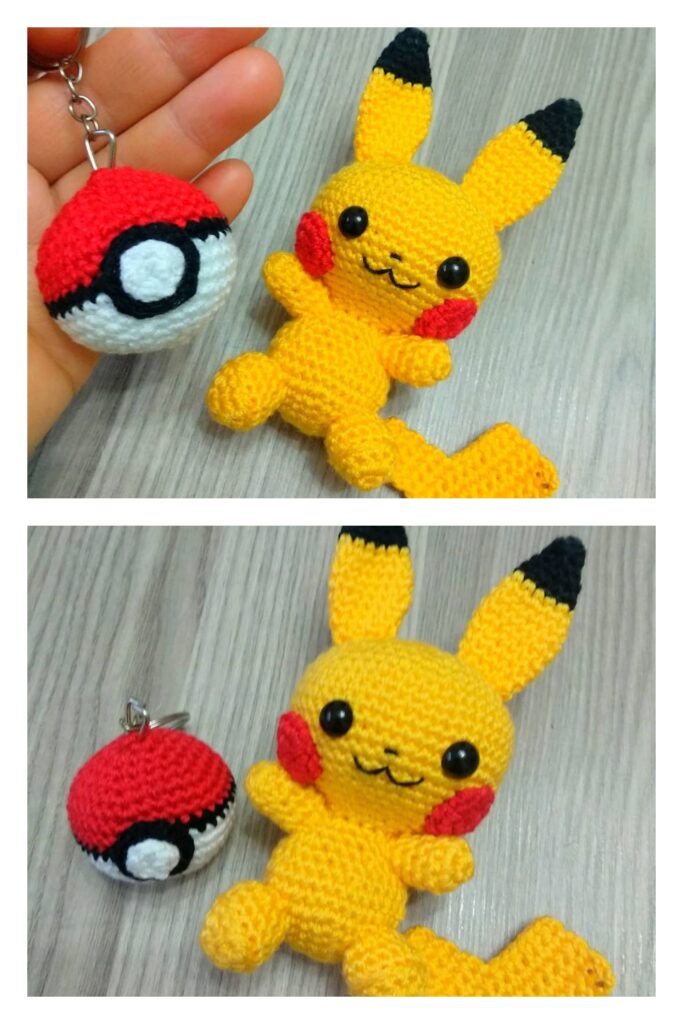
The last thing left to do is the cheeks! Take a piece of red felt, and cut out two small circles. Then simply glue them in place underneath the eyes.
More Amigurumi Pikachu Ideas