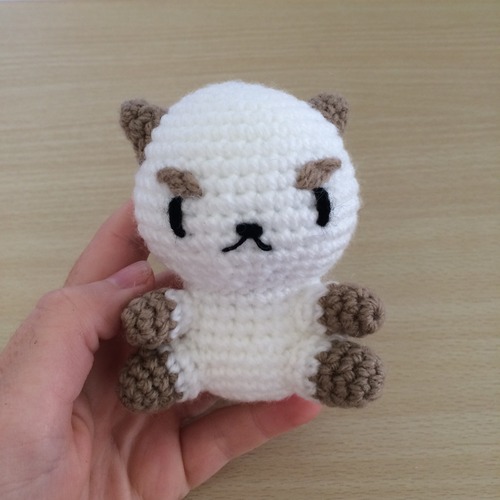
Amigurumi PuppyCat Free Crochet Patterns
Hello dear visitors, I am here again with new amigurumi molds for you. I am sharing amigurumi patterns for you here for free. You can make your children happy by making these patterns. Amigurumi toys are very popular lately and are the most beautiful toys that don’t harm your kids. Your kids will love them. Let’s move on to our pattern and give them this gift.
You will need
3.00mm crochet hook
White yarn
Light brown yarn
Black yarn
Black thread
Polyester filling
Abbreviations
dec = decrease
inc = increase
mr = magic ring
sc = single crochet
ch=chain
Head
R1. (in White) MR 6 (6)
R2. [ inc ]x 6 (12)
R3. [ inc, sc ]x 6 (18)
R4. sc, [ inc, sc 2 ]x 5, inc, sc (24)
R5. [ inc, sc 3 ]x 6 (30)
R6. sc 2, [ inc, sc 4 ]x 5, inc, sc 2 (36)
R7-R10. sc 36 (36)
R11. [ inc, sc 5 ]x 6 (42)
R12-R13. sc 42 (42)
R14. [ dec, sc 5 ]x 6 (36)
R15. sc 2, [ dec, sc 4 ]x 5, dec, sc 2 (30)
R16. [ dec, sc 3 ]x 6 (24)
Finish off, leaving a tail for attaching later.
Body
R1. (in White) MR 6 (6)
R2. [ inc ]x 6 (12)
R3. [ inc, sc ]x 6 (18)
R4. sc, [ inc, sc 2 ]x 5, inc, sc (24)
R5. [ inc, sc 3 ]x 6 (30)
R6-R8. sc 30 (30)
R9. [ dec, sc 3 ]x 6 (24)
R10-R12. sc 24 (24)
Finish off.
Leg (Make 2)
R1. (in Brown) MR 6 (6)
R2. [ inc, sc ]x 3 (9)
R3-R4. sc 9 (9)
R5-R6. (in White) sc 9 (9)
Finish off, leaving a tail for attaching later.
Arm (Make 2)
R1. (in Brown) MR 6 (6)
R2. [ inc, sc 2 ]x 2 (8)
R3. sc 8 (8)
R4. (in White) sc 8 (8)
R5. dec, sc 6 (7)
Finish off, leaving a tail for attaching later.
Tail
R1. (in Brown) MR 5 (5)
R2-R3. sc 5 (5)
R4-R6. (in White) sc 5 (5)
Finish off, leaving a tail for attaching later.
Ears (Make 2)
R1. (in Brown) MR 6 (6)
R2. sc (6)
R3. [ inc, sc ]x 3 (9)
Finish off, leaving a tail for attaching later.
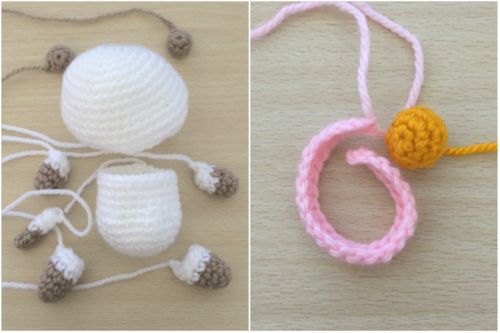
Collar
R1. (in Pink) sc 24
R2. ch 1, turn, (starting in second chain from hook) sc 2, hdc 20, sc 2 (24)
Finish off, leaving a tail for attaching later.
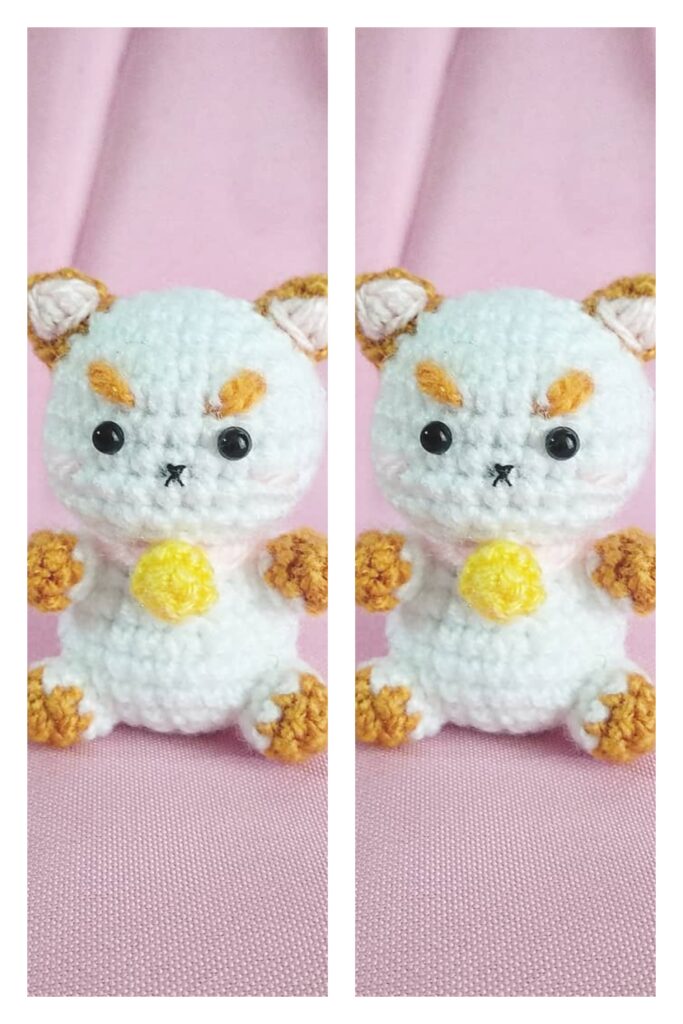
Bell
R1. (in Yellow/Gold) MR 5 (5)
R2. [ inc ]x 5 (10)
R3-R4. sc 10 (10)
R5. [ dec ]x 5 (5)
Finish off, leaving a tail for attaching later.
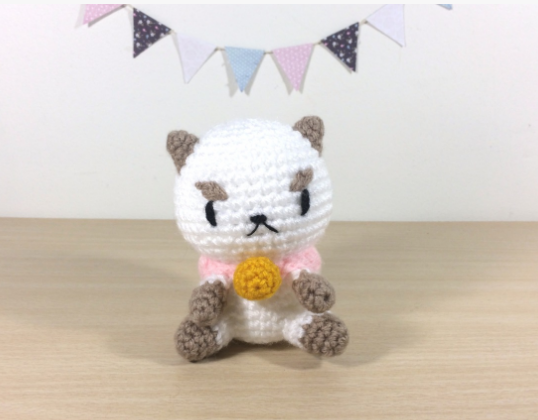
Assembly
Stuff the head, body and legs. The arms, ears and tail are too small and don’t need any stuffing to maintain their shape. I like to pin all of the pieces in place to make sure they look good before using the tails to attach them.
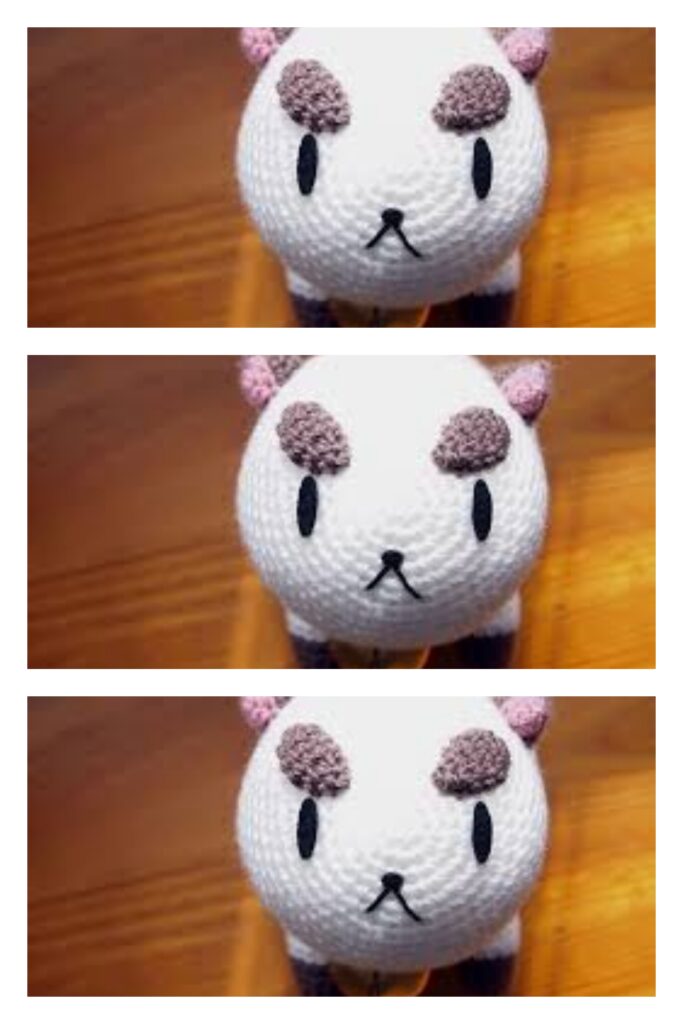
I usually attach the legs, then tail, then arms, before embroidering the face on and attaching the head. Take a length of black yarn and embroider the eyes and nose. The top of the eyes come out of row 10 and go back into row 12. The nose is on row 12 as well. There are about 4 stitches between the nose and the eyes on either side.
Then take a length of thinner black thread and embroider the mouth in a small upside “V” from the centre of the nose. Last thing left for the face is to take a length of the light brown yarn and embroider on the eyebrows.

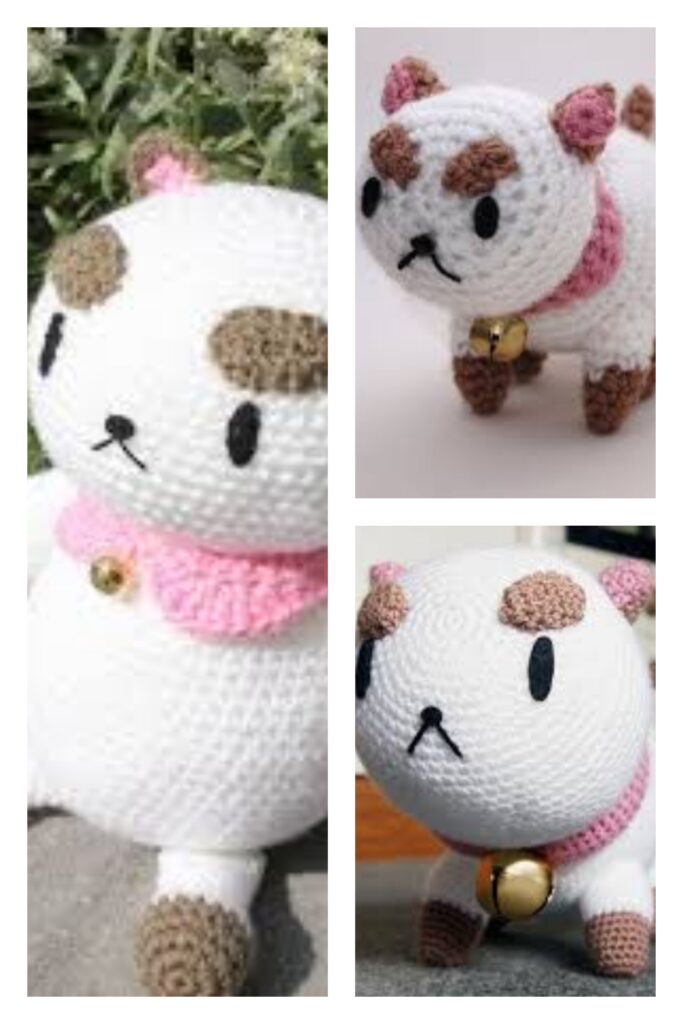
Once the face is done, attach the head and then the ears. I like to attach the head before the ears because it’s easier to find the right placement for the ears. They always end up wonky if I do it first.
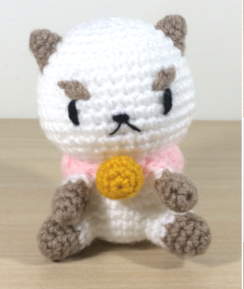
Then all that’s left to do is attach the collar and bell. Use the tails of the collar to attach it, the ends will be at the front and will get covered up by the bell.