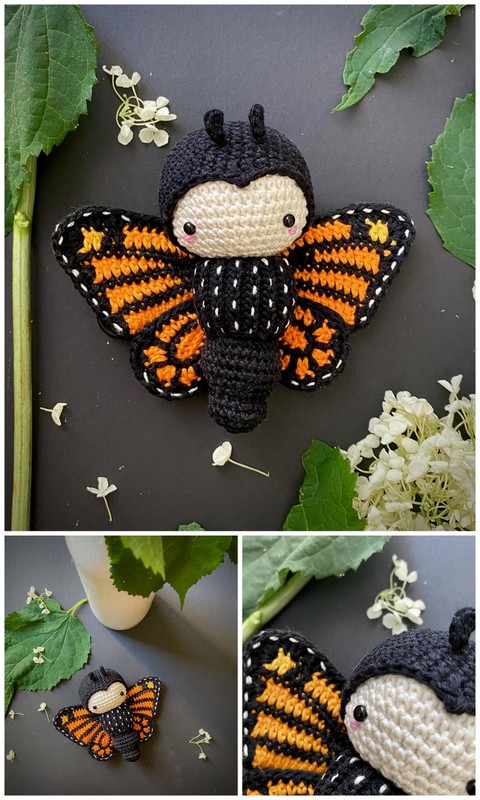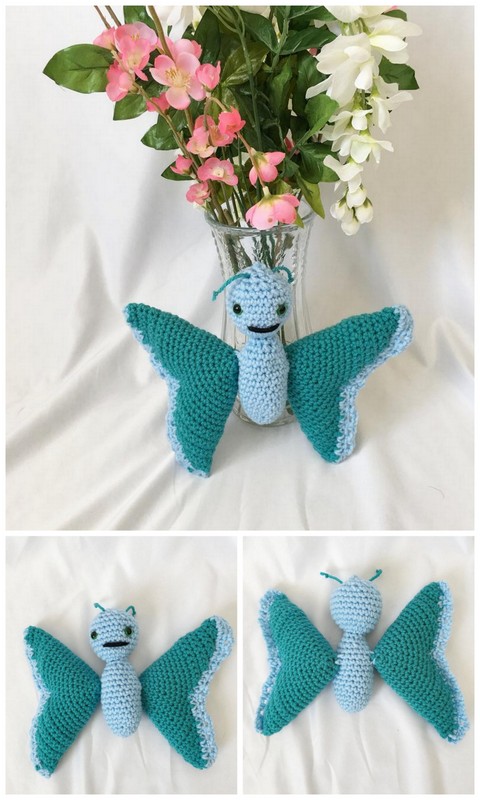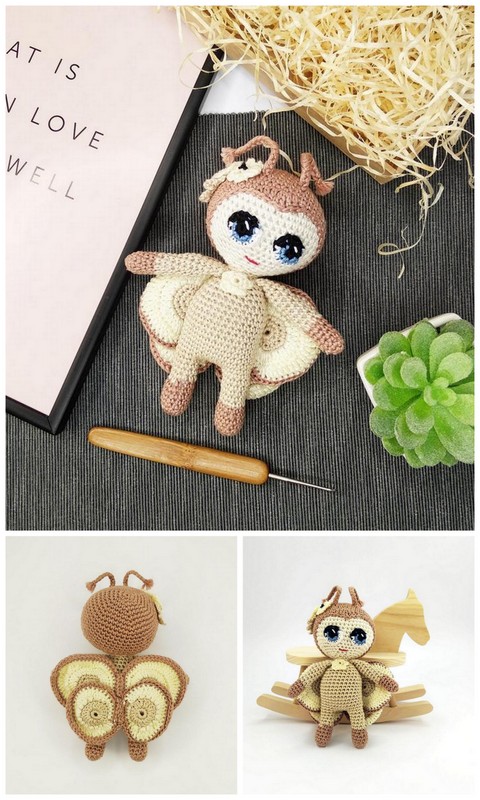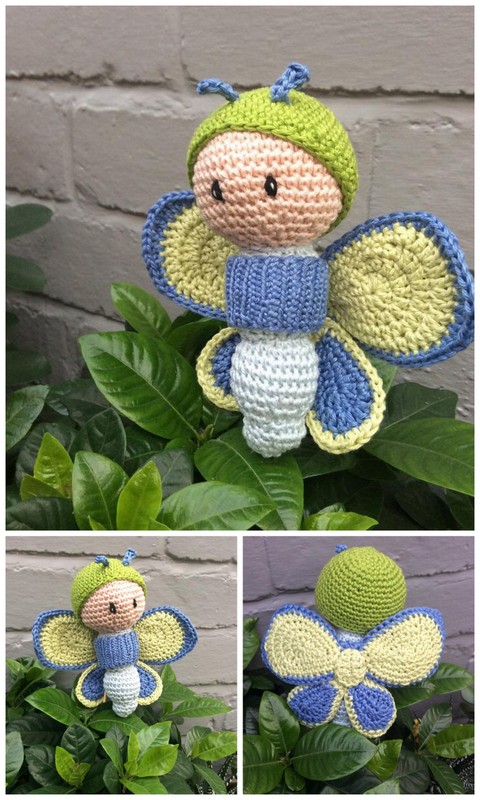
Amigurumi Sweet Butterfly Free Crochet Patterns
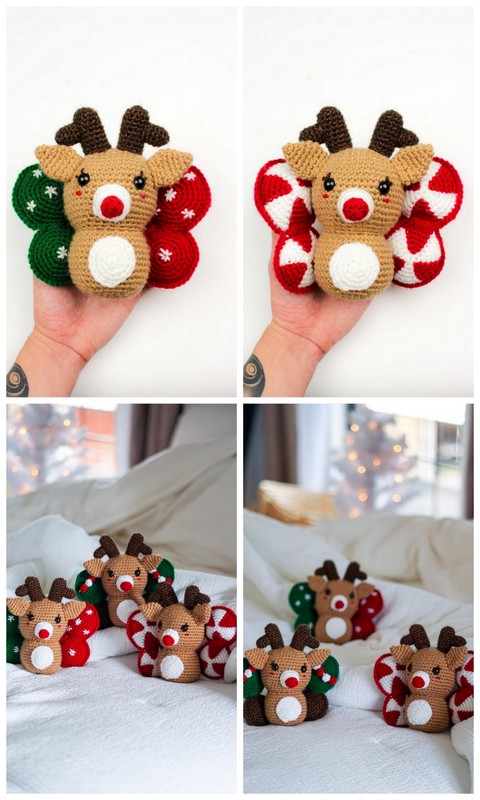
Hello dear visitors, I am here again with new amigurumi molds for you. I am sharing amigurumi patterns for you here for free. You can make your children happy by making these patterns. Amigurumi toys are very popular lately and are the most beautiful toys that don’t harm your kids. Your kids will love them. Let’s move on to our pattern and give them this gift.
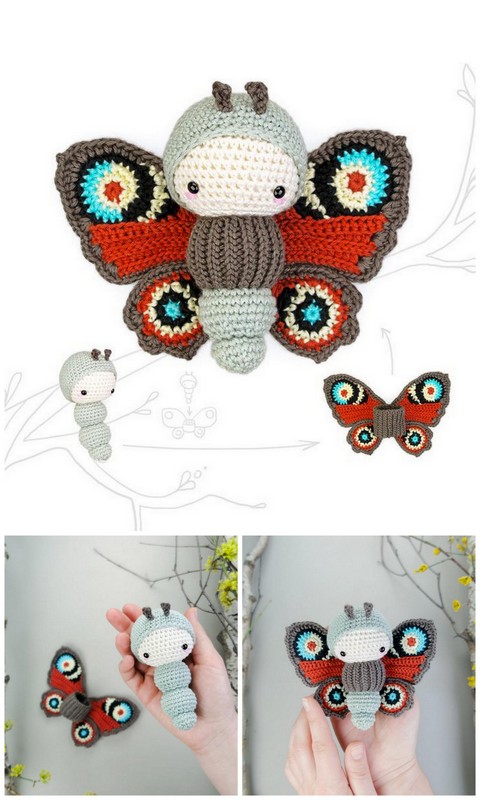
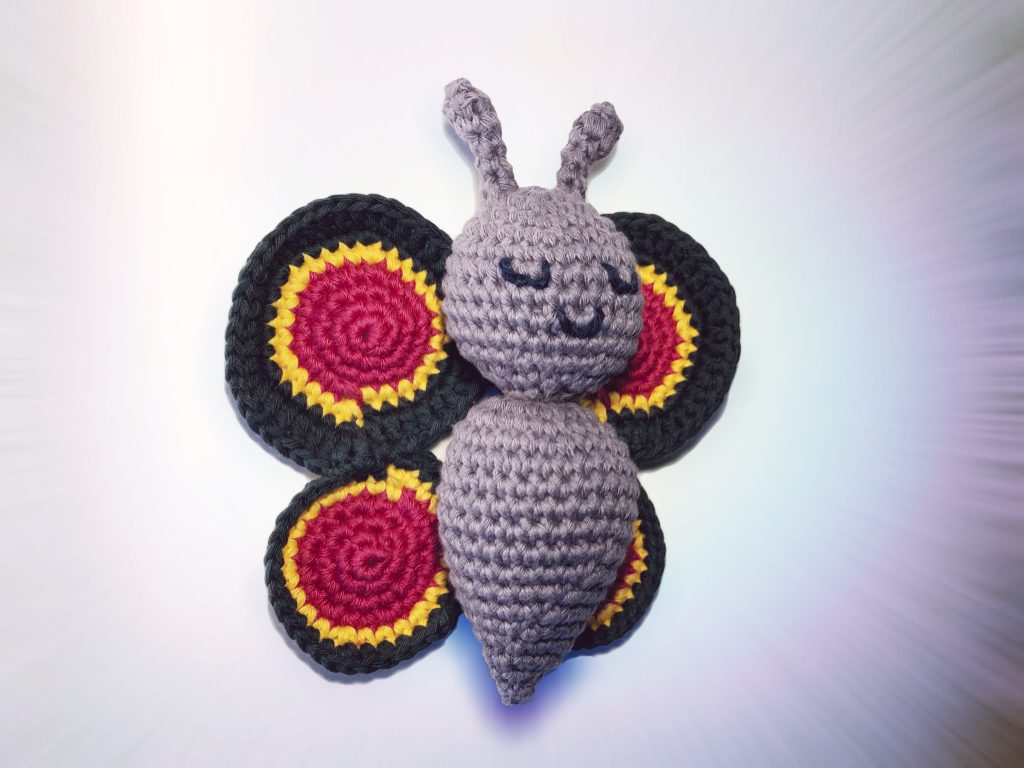
designer by: flausch_einhorn
You will need
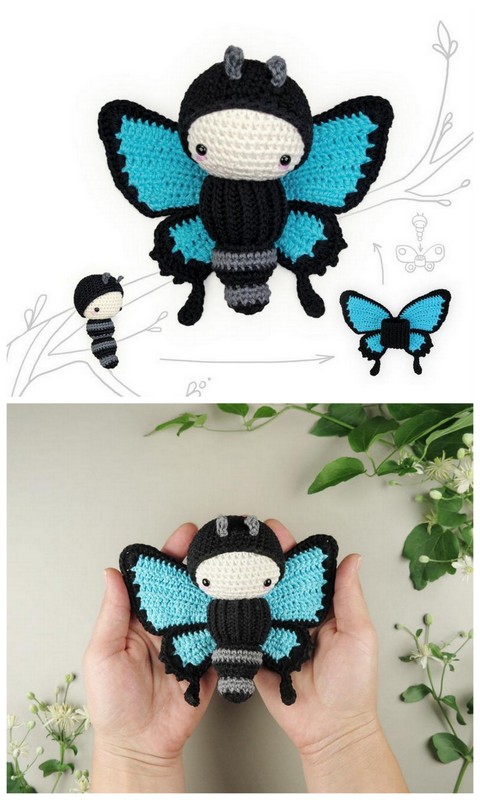
About half a skein of black, brown or grey yarn for the body of your butterfly
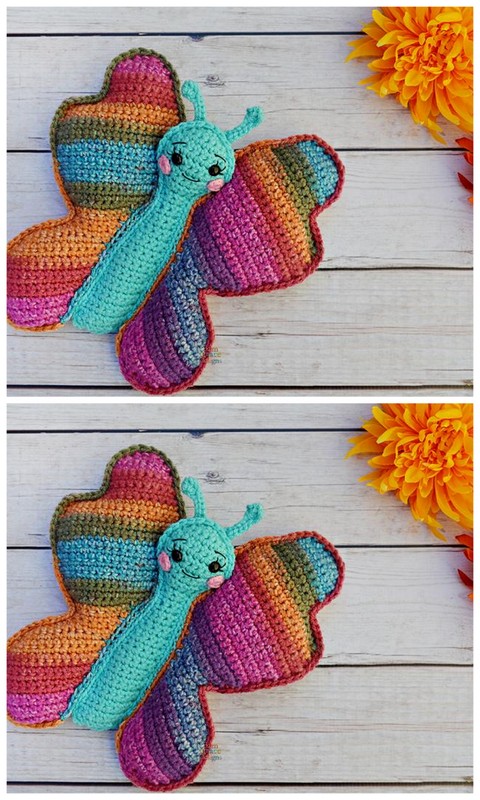
Less than half a skein of yarn in three colors you like
Filling
Crochet hook, which is slightly too small for your yarn (I use 2,5 when 3,5 is recommended),
Needle, scissors and everything you need for crocheting comfortably
Abbreviations
dc = double crochet
dec = decrease
inc = increase
sc = single crochet
sl = slip stitch
Body (in black, grey or brown)
R: 6 sc into magic ring
R: 6 inc (12 sc)
R: [sc, inc] 6 x (18 sc)
R: [2 sc, inc] 6 x (24 sc)
R: [3 sc, inc] 6 x (30 sc)
R: 30 sc
R: 30 sc
R: 30 sc
R: 30 sc
R: 30 sc
R: [3 sc, dec] 6 x (24 sc)
R: 12 dec (12 sc)
R: 6 dec (6 sc)
R: 6 inc (12 sc)
R: 12 inc (24 sc)
R: [3 sc, inc] (30 sc)
R: 30 sc
R: 30 sc
R: 30 sc
R: [8 sc, dec] 3 x (27 sc)
R: [7 sc, dec] 3 x (24 sc)
R: [6 sc, dec] 3 x (21 sc)
R: [5 sc, dec] 3 x (18 sc)
R: [4 sc, dec] 3 x (15 sc)
R: [3 sc, dec] 3 x (12 sc)
R: [2 sc, dec] 3 x (9 sc)
R: [sc, dec] 3 x (6 sc)
R: 3 x dec
Cuta yarn and weave in the end.
Antennae
R: crochet 4 sc in a little square directly to the top of the head (4 sc)
R: 4 sc
R: 4 sc
R: 4 sc
R: 4 inc (8 sc)
R: 4 dec (4 sc)
Cut yarn and weave in the end. Then do the other antenna in the same way on the other side of the head.
Wings
You can either do the wings one time (for example if you plan to hang the butterfly on a wall) or you do it twice and sew both pieces together so that they look the same from either side. If you want to do it simple, you’ll have to do the upper part of the wings 2x and the bottom part also 2x. When you want to do it twice. you’ll have to crochet the upper part 4 x and the bottom part also 4x.
Upper part (2 – 4 x)
Choose your first color:
R: 6 sc into magic ring
R: 6 inc (12 sc)
R: [sc, inc] 6 x (18 sc)
R: [2 sc, inc] 6 x (24 sc)
Change to your second color:
R: [3 sc, inc] 6 x (30 sc)
Change to your third color:
R: [4 sc, inc] 6 x (36 sc)
R: (do dc in this round) [5 dc, inc] 6 x (42 dc)
Cut yarn and weave in all ends
bottom part (2 – 4 x)
In your first color:
R: 6 sc into magic ring
R: 6 inc (12 sc)
R: [sc, inc] 6 x (18 sc)
R: [2 sc, inc] 6 x (24 sc)
Change to your second color:
R: [3 sc, inc] 6 x (30 sc)
Change to your third color:
R: [4 sc, inc] 6 x (36 sc)
Cut yarn and weave in all ends
Next you sew the two bottom parts together, so that they touch at the side. Then you sew the two upper parts together in the same way. Finally sew the upper part to the bottom part. If you did a second pair of wings, you should sew it onto the first pair of wings, now. In the end you sew the wings to the body of your crocheted butterfly.
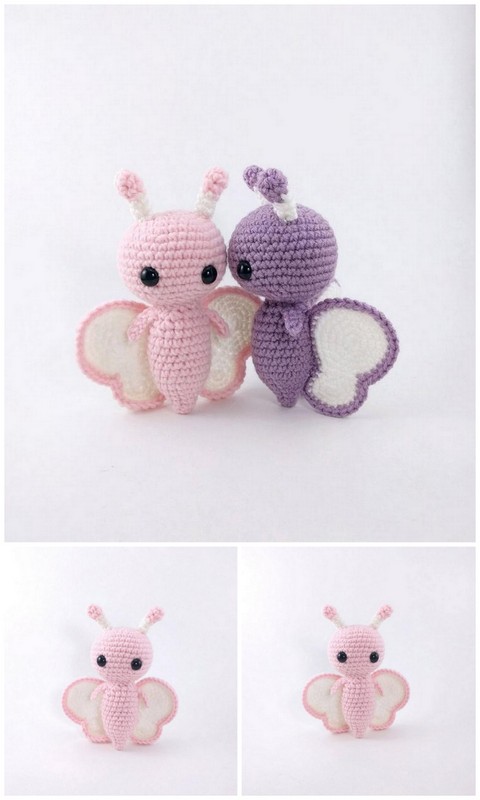
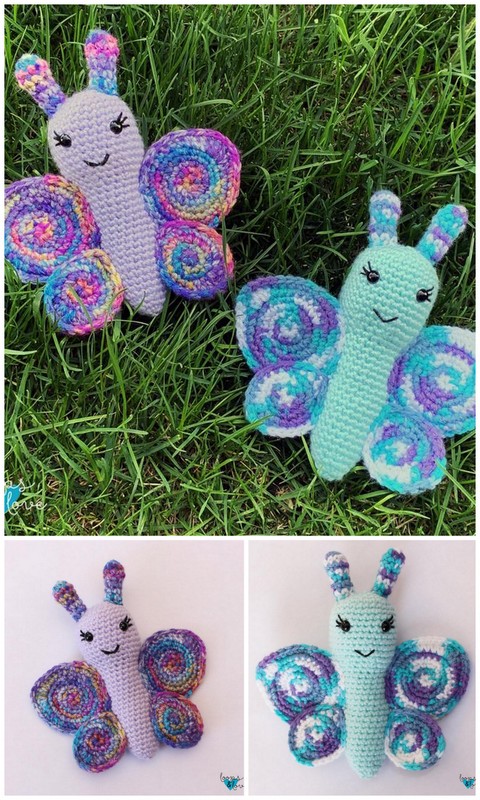
Note :of course you can embroider a face for your butterfly as you see it in the pictures.