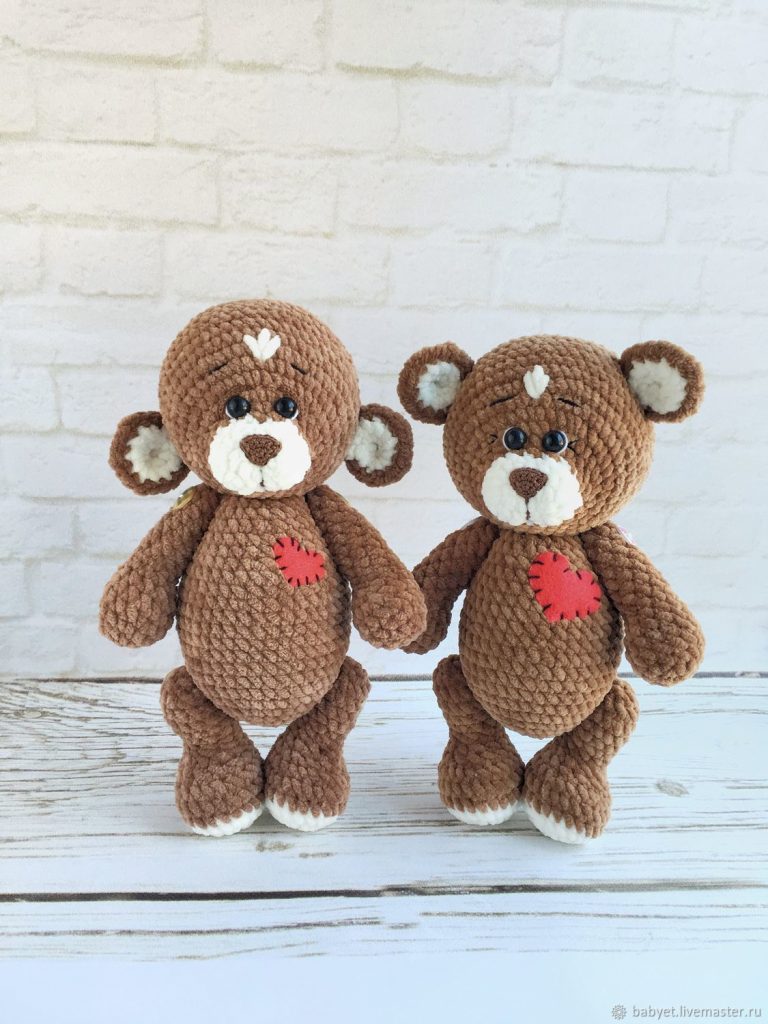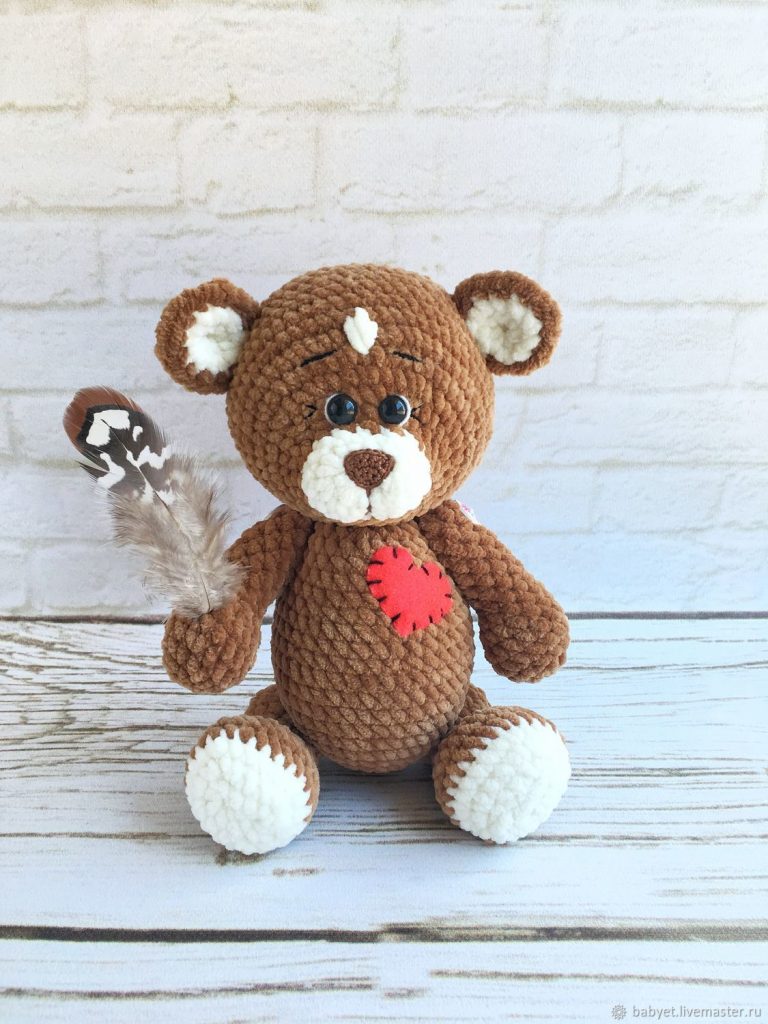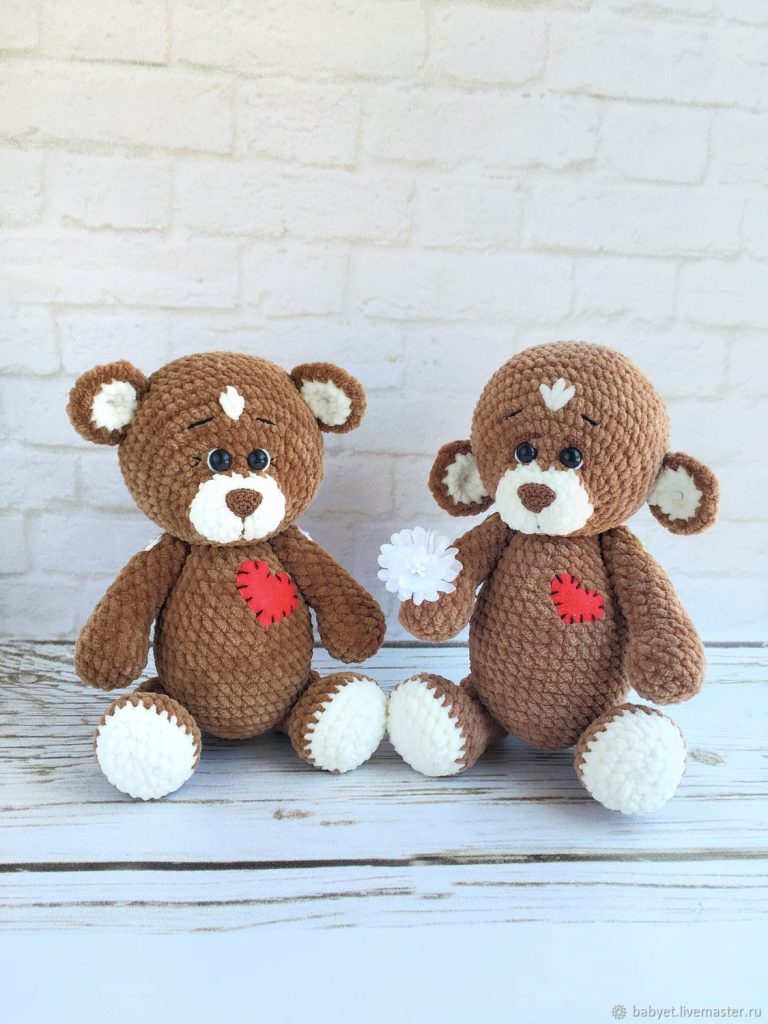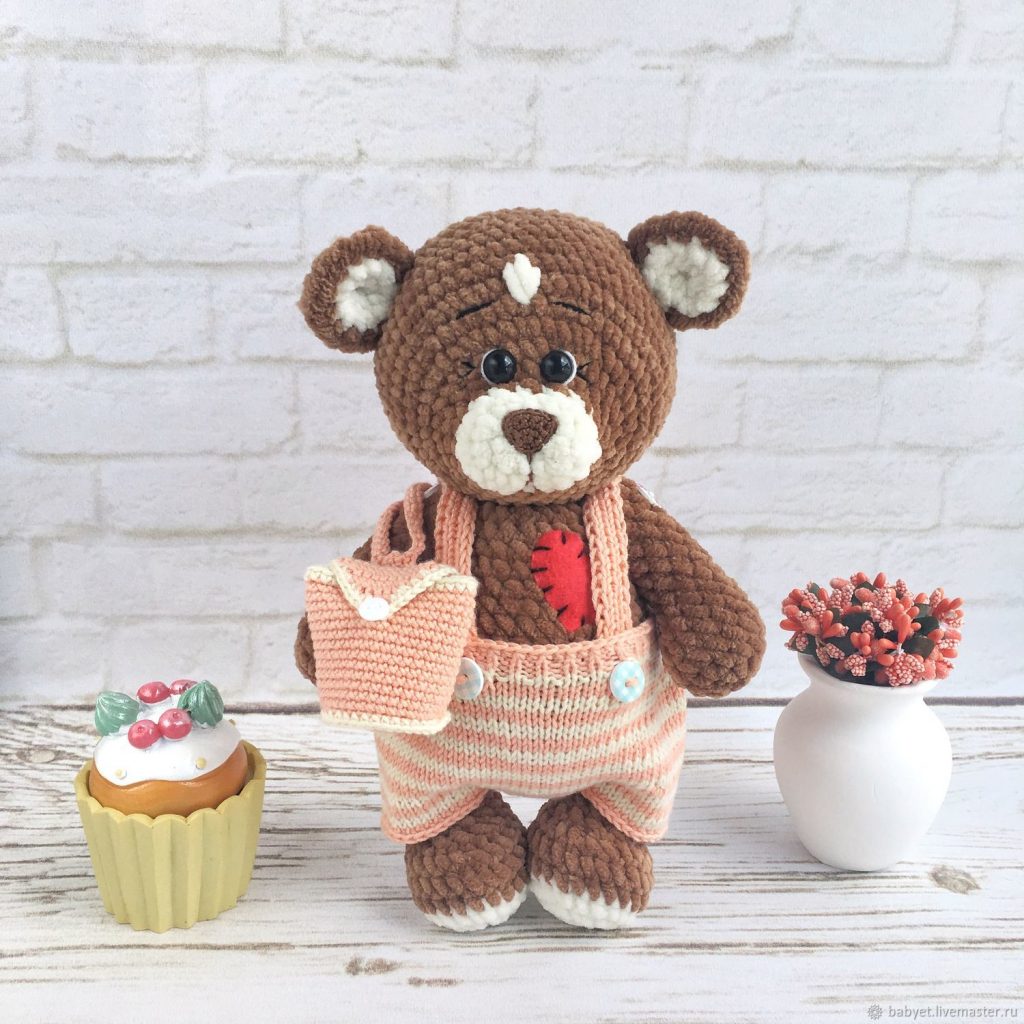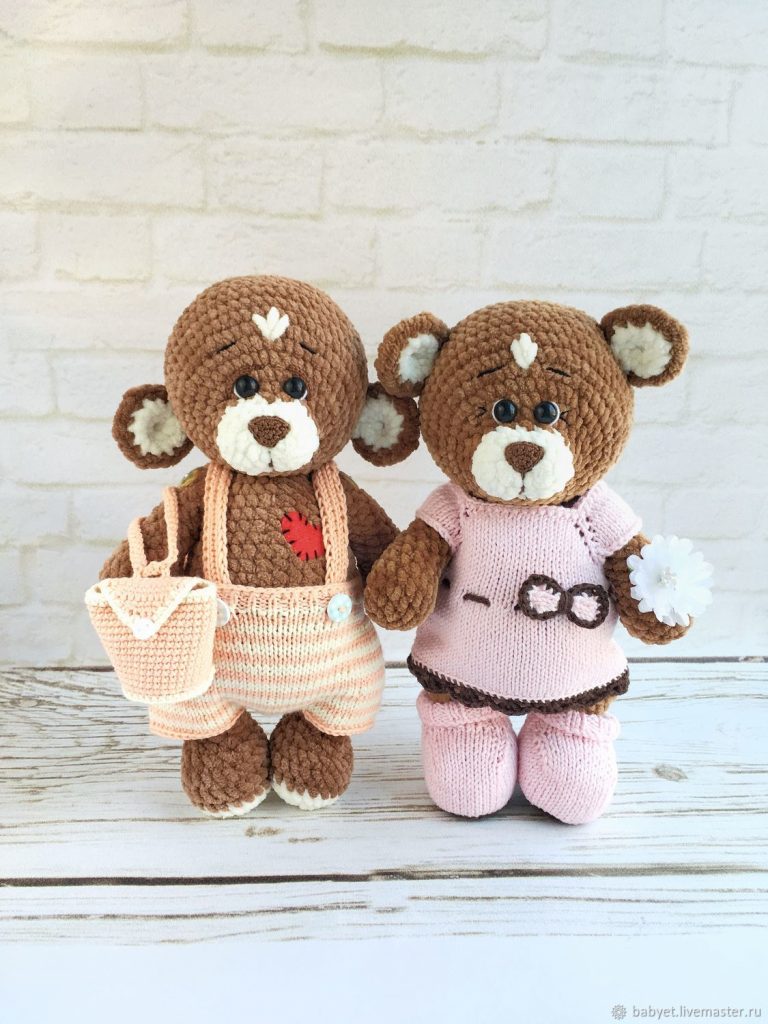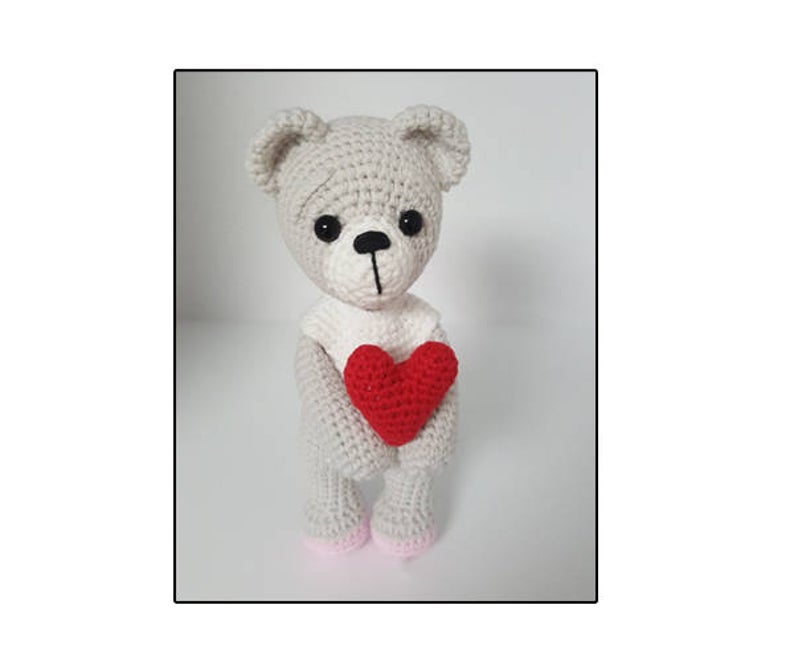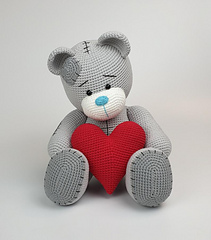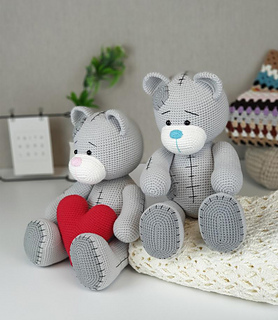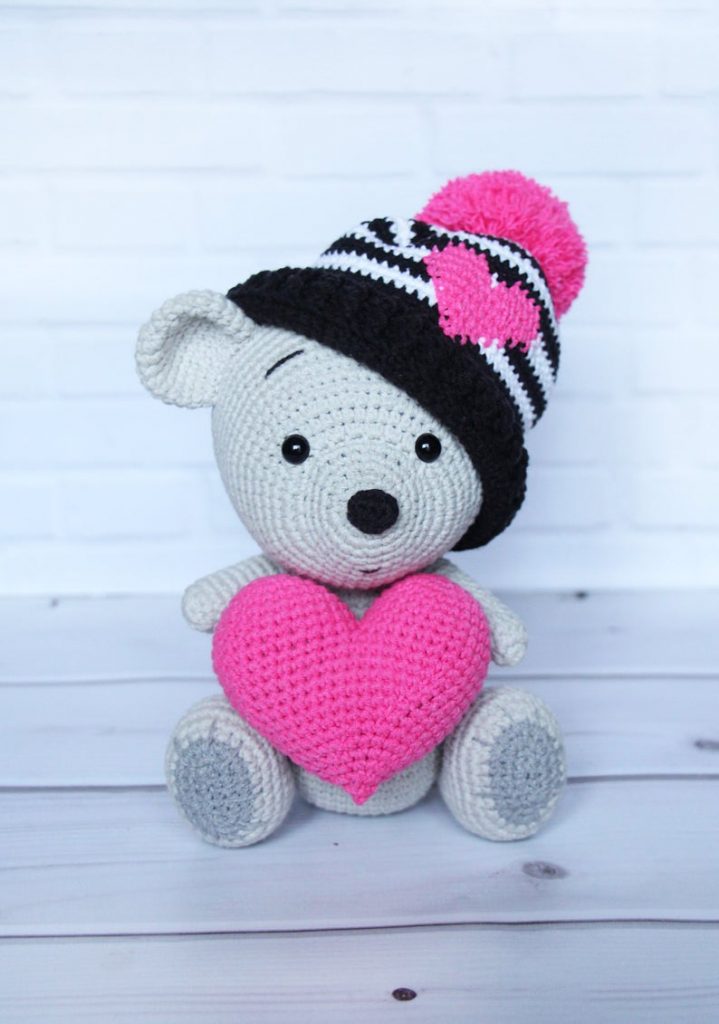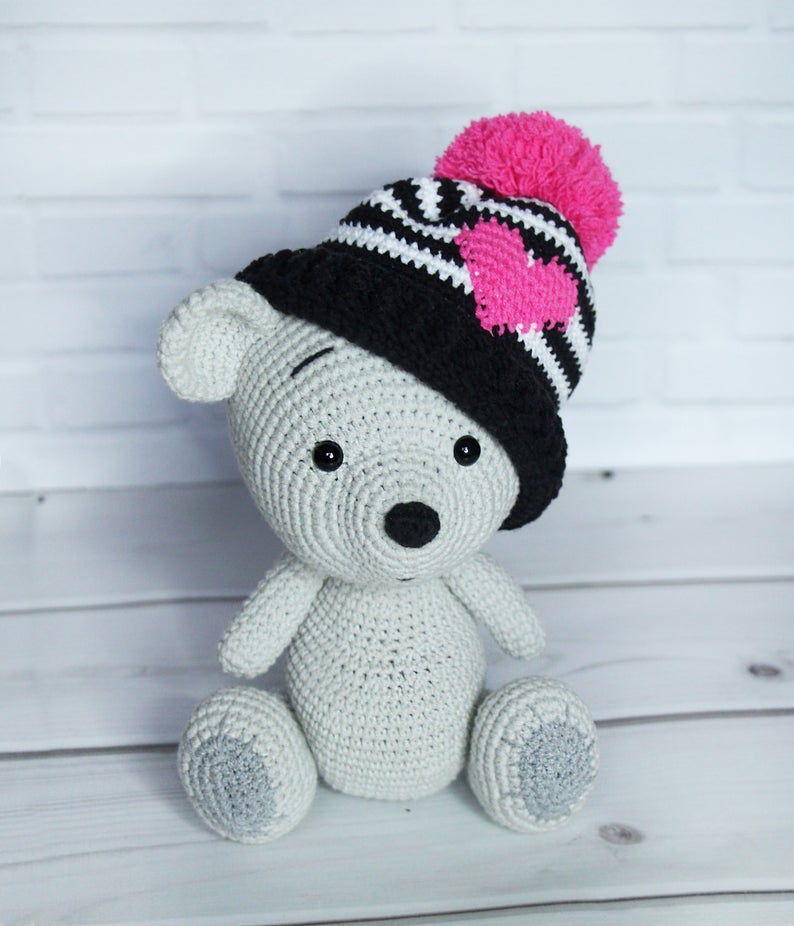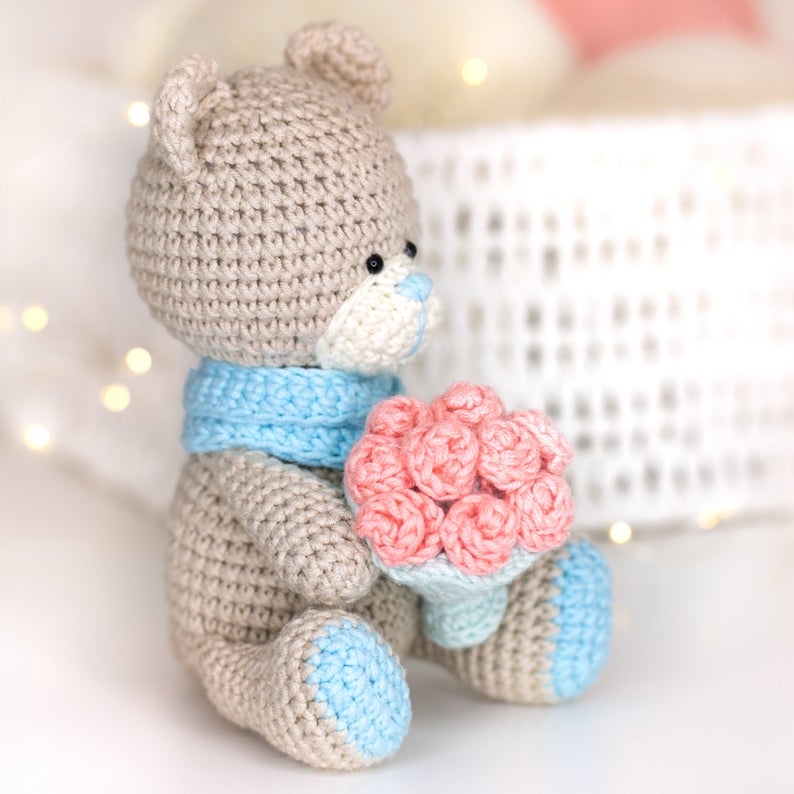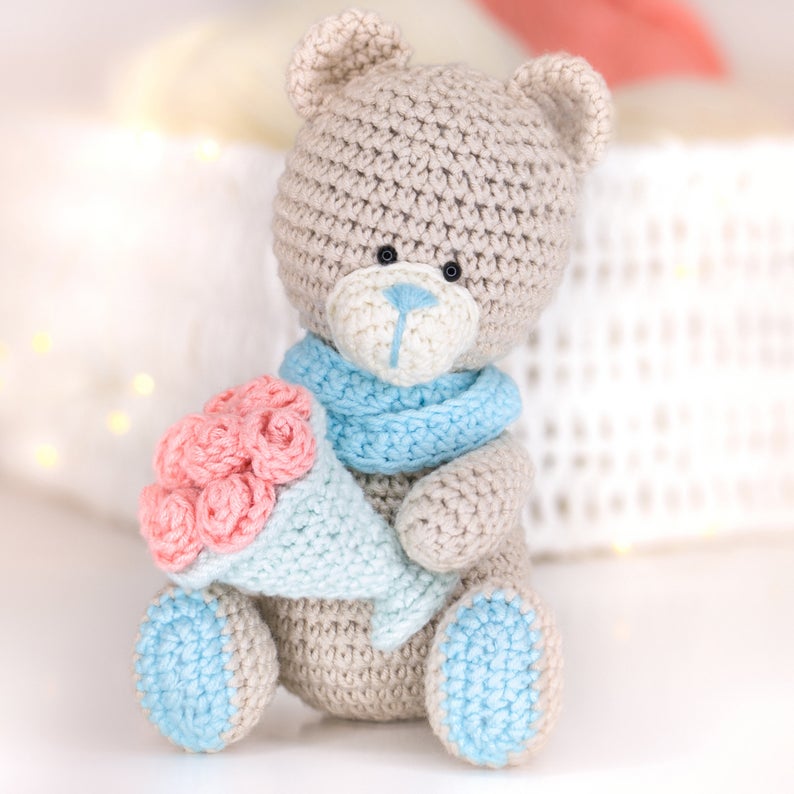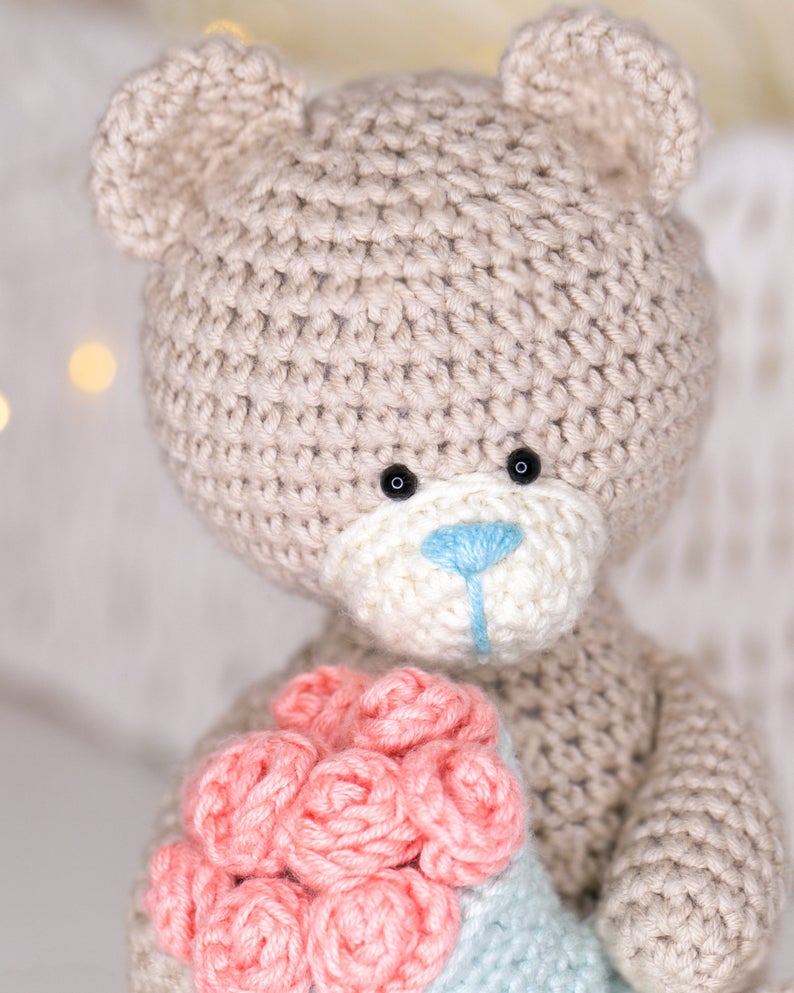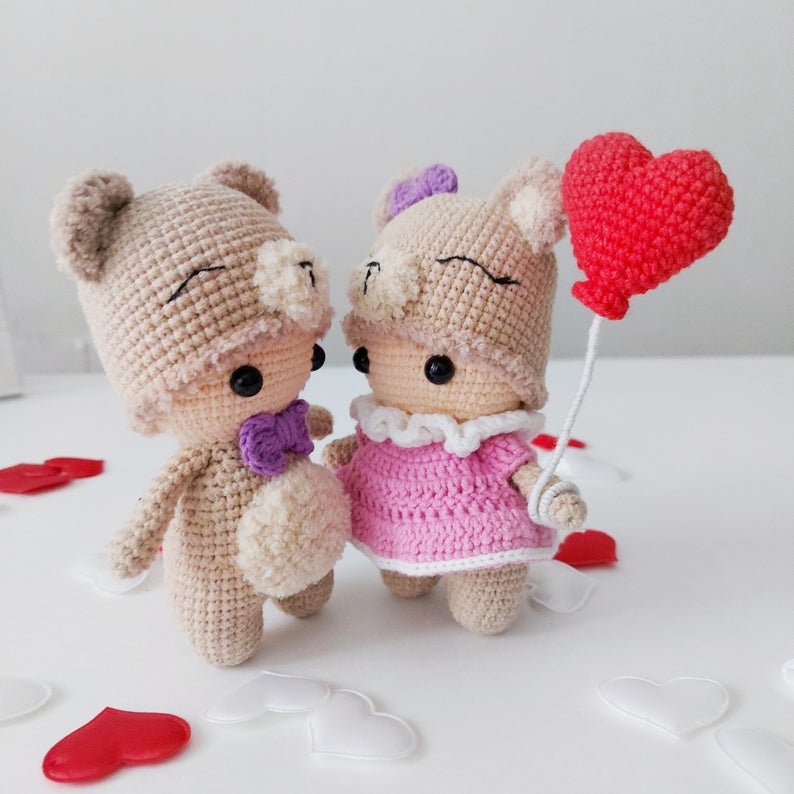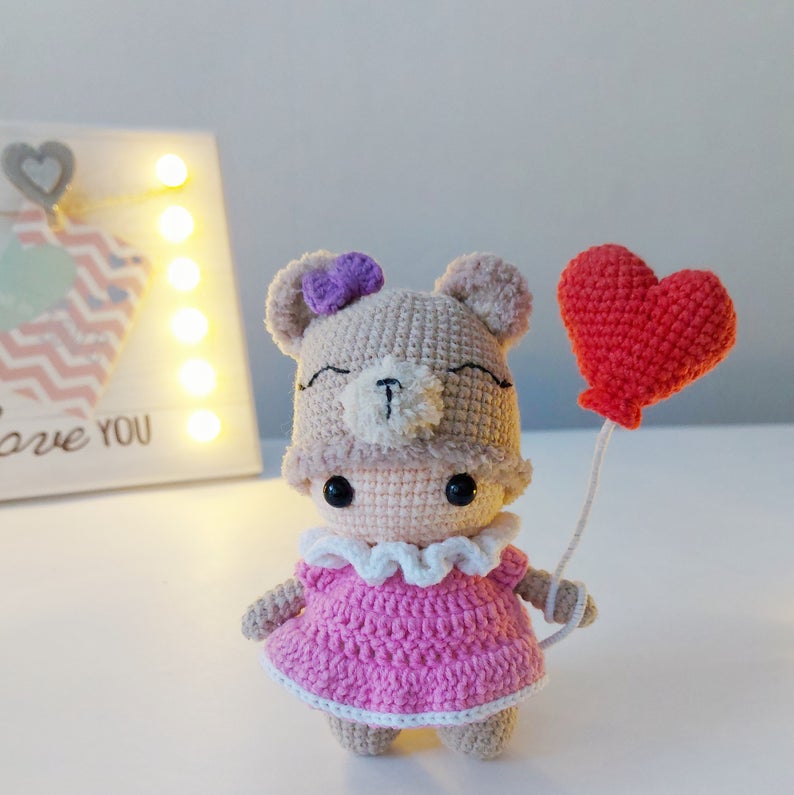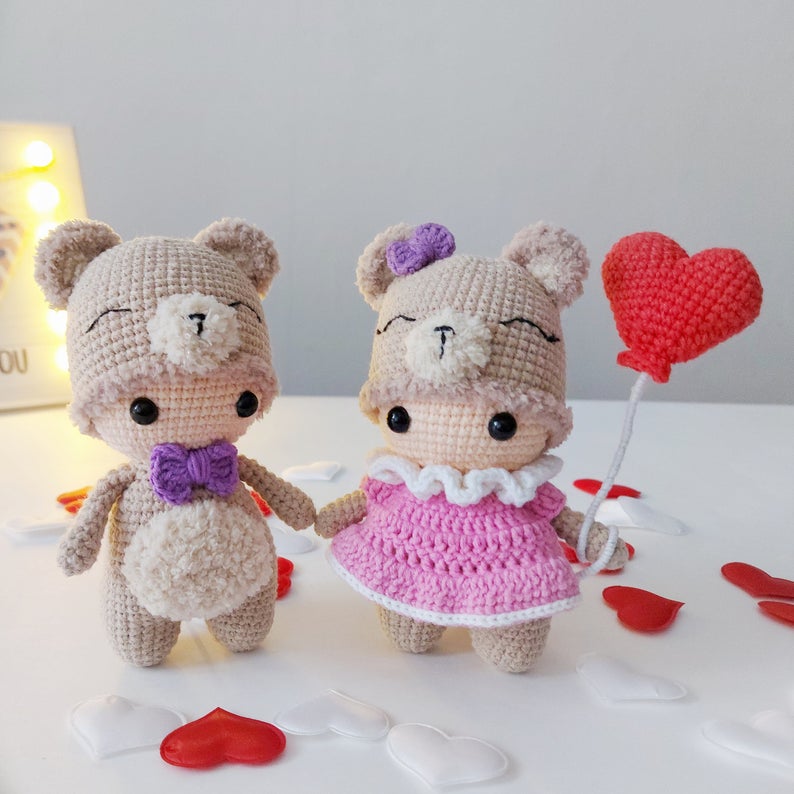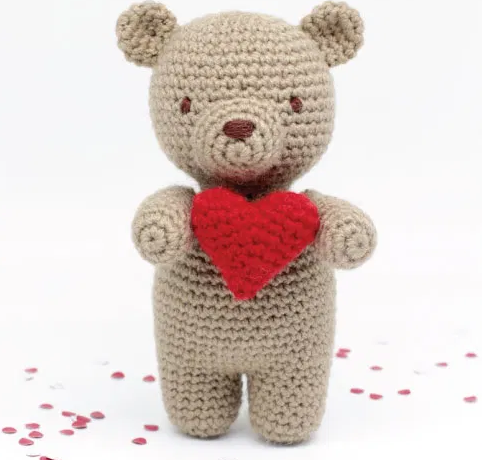
Amigurumi Sweet Valentine Bear Free Crochet Patterns
Hello dear visitors, I am here again with new amigurumi molds for you. I am sharing amigurumi patterns for you here for free. You can make your children happy by making these patterns. Amigurumi toys are very popular lately and are the most beautiful toys that don’t harm your kids. Your kids will love them. Let’s move on to our pattern and give them this gift.
You will need
3.5mm crochet hook
8ply (DK/Light worsted) acrylic yarn ball in light brown and red
dark brown or black embroidery thread
toy stuffing
yarn needle
scissors
pearl head pins
stitch marker (optional)
Abbreviations
Rnd – round
sc – single crochet
st / sts – stitch / stitches
inc – increase (2 sc in one stitch)
dec – single crochet decrease (sc 2 together)
rep – repeat
Pattern notes
You’ll need to know how to make a magic ring/circle.
You will be crocheting in spirals.
Invisible decrease technique was used for this pattern – if you’re not familiar with this decrease, a regular single crochet decrease is perfectly fine to do.
BEAR PATTERN
Use Brown yarn.
1st Leg
Rnd 1: Work 6 sc in magic ring (6 sts)
Rnd 2: Inc in each st around (12 sts)
Rnd 3: Sc 1, inc; rep 6 times (18 sts)
Rnds 4 – 8: Sc around (18 sts)
Fasten off and leave a short tail for sewing.
2nd Leg and Body
Rnd 1: Work 6 sc in magic ring (6 sts)
Rnd 2: Inc in each st around (12 sts)
Rnd 3: Sc 1, inc; rep 6 times (18 sts)
Rnds 4 – 8: Sc around (18 sts)
Next, join both legs.
Rnd 9: Sc around 1st leg (18 sts). Sc around 2nd leg (18 sts) (36 sts).
Stuff the legs firmly and continue to stuff the body firmly as you go.
Rnd 10: Sc around (36 sts)
Rnd 11: Sc 5, inc; rep 6 times (42 sts)
Rnds 12 – 20: Sc around (42 sts)
Rnd 21: Sc 5, dec; rep 6 times (36 sts)
Rnd 22: Sc around (36 sts)
Rnd 23: Sc 4, dec; rep 6 times (30 sts)
Rnd 24: Sc around (30 sts)
Rnd 25: Sc 3, dec; rep 6 times (24 sts)
Rnd 26: Sc around (24 sts)
Rnd 27: Sc 2, dec; rep 6 times (18 sts)
Fasten off and leave a long tail for sewing.
Head
Rnd 1: Work 6 sc in magic ring (6 sts)
Rnd 2: Inc in each st around (12 sts)
Rnd 3: Sc 1, inc; rep 6 times (18 sts)
Rnd 4: Sc 2, inc; rep 6 times (24 sts)
Rnd 5: Sc 3, inc; rep 6 times (30 sts)
Rnd 6: Sc 4, inc; rep 6 times 36 sts)
Rnd 7: Sc around (36 sts)
Rnd 8: Sc 5, inc; rep 6 times (42 sts)
Rnds 9 – 16: Sc around (42 sts)
Rnd 17: Sc 5, dec; rep 6 times (36 sts)
Rnd 18: Sc 4, dec; rep 6 times (30 sts)
Rnd 19: Sc 3, dec; rep 6 times (24 sts)
Rnd 20: Sc 2, dec; rep 6 times (18 sts)
Fasten off. Weave in and hide yarn tail. Stuff the head firmly.
Muzzle
Rnd 1: Work 6 sc in magic ring (6 sts)
Rnd 2: Inc in each st around (12 sts)
Rnd 3: Sc 1, inc; rep 6 times (18 sts)
Rnd 4: Sc around (18 sts)
Fasten off and leave a long tail for sewing.
Ear (Make 2)
Rnd 1: Work 6 sc in magic ring (6 sts)
Rnd 2: Inc in each st around (12 sts)
Rnds 3 – 4: Sc around (12 sts)
Rnd 5: Sc 1, dec; rep 4 times (8 sts)
Fasten off and leave a long tail for sewing.
Arm (Make 2)
Rnd 1: Work 7 sc in magic ring (7 sts)
Rnd 2: Inc in each st around (14 sts)
Rnds 3 – 7: Sc around (14 sts)
Stuff the arms and continue to stuff as you go – only stuffing the top of the arms very lightly.
Rnd 8: Sc 5, dec; rep 2 times (12 sts)
Rnd 9: Sc around (12 sts)
Rnd 10: Sc 4, dec; rep 2 times (10 sts)
Rnd 11: Sc around (10 sts)
Rnd 12: Sc 3, dec; rep 2 times (8 sts)
Rnd 13 Sc around (8 sts)
Flatten the opening of the arm then single crochet over the opening (crochet the two edges together) to close. Fasten off and leave a long tail for sewing.
Tail
Rnd 1: Work 5 sc in magic ring (5 sts)
Rnd 2: Inc in each st around (10 sts)
Rnd 3: Sc around (10 sts)
Fasten off and leave a long tail for sewing.
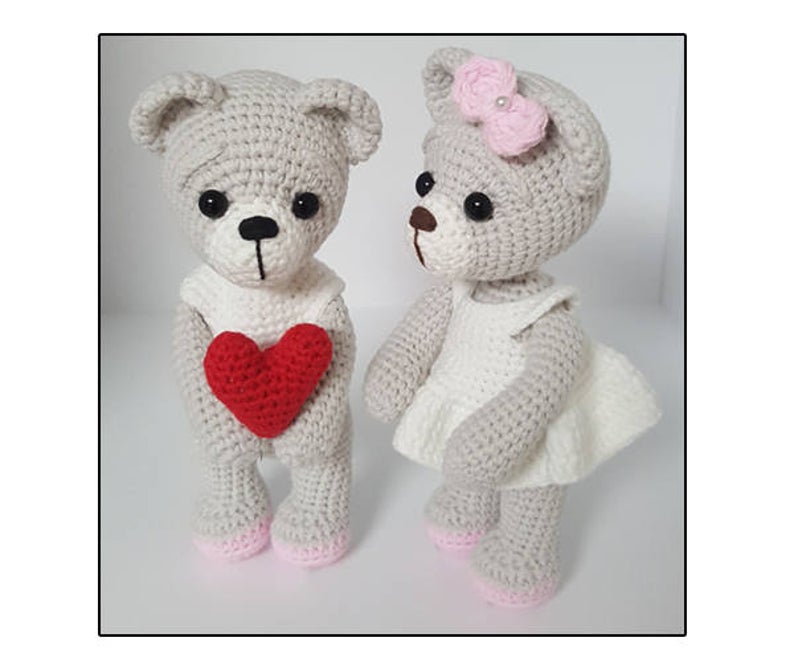
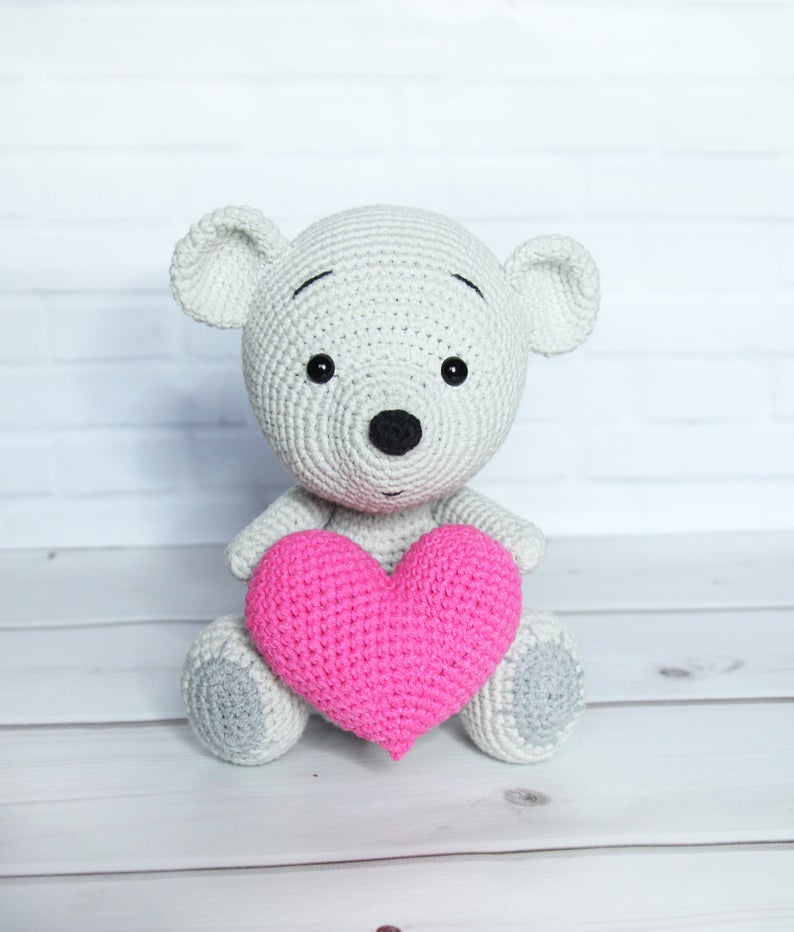
HEART PATTERN
Use Red yarn.
1ST Bump
Rnd 1: Work 6 sc in magic ring (6 sts)
Rnd 2: Inc in each st around (12 sts)
Rnd 3: Sc around (12 sts)
Fasten off and leave a tail for sewing.
2ND Bump
Rnd 1: Work 6 sc in magic ring (6 sts)
Rnd 2: Inc in each st around (12 sts)
Rnd 3: Sc around (12 sts)
Next, join both bumps.
Rnd 4: Sc around 1st bump (12 sts). Sc around 2nd bump (12 sts) (24 sts)
Rnd 5: Sc 2, dec; rep 6 times (18 sts)
Rnd 6: Sc around (18 sts)
Stuff the heart firmly and continue stuffing the heart until closed.
Rnd 7: Sc 1, dec; rep 6 times (12 sts)
Rnd 8: Sc around (12 sts)
Rnd 9: Dec 6 times (6 sts)
Rnd 10: Sc around (6 sts)
Fasten off and leave a long tail. Weave the tail through all 6 stitches (front loops only), then gently pull the tail to close the heart. Weave in and hide the tail through the piece several times.
Use the yarn tail from the 1st bump to sew the small opening between the bumps to close.
- To make round 4, join the 2nd bump to the 1st bump with a single crochet. Continue to single crochet all around the 1st bump (12 sts). Join the 1st bump to the 2nd bump with a single crochet. Continue to single crochet all around the 2nd bump (12 sts). Round 4 should have a total of 24 stitches.
- At the end of Round 10, weave the tail through the front loops of each stitch then pull the tail end carefully to close the heart.
- Sew the small gap between the 2 bumps to close, using the yarn tail from the 1st bump. Hide all yarn tails through the piece several times.
Assembly
- Sew the muzzle on the head over Rounds 12 and 18. Lightly stuff the muzzle before closing. Weave in and hide yarn tail.
- Embroider the nose onto the muzzle using dark brown or black embroidery thread. Use pins to plan where you want to embroider the nose. In this bear, I embroidered the nose between Rounds 2 and 3, about 2 stitches wide. Ensure that your embroidery thread is long enough to stitch the nose and eyes. Insert the needle under the head and come out through one of the stitch holes between Rounds 2 and 3 (or whichever spot you prefer), leave a short tail at the opening. Make several horizontal stitches about 2 stitches wide, keeping an even tension. Always insert the needle and come out of the same two stitch holes. Keep making horizontal stitches until you are happy with the size. Use the same thread for the eyes.
- Embroider the eyes on Round 12, with an interspace of 1 stitch from the muzzle. Mark the eyes with pins before embroidering. Make several vertical stitches, 1 stitch tall for each eye, keeping an even tension. Always insert the needle and come out of the same two stitch holes. Keep making several vertical stitches until you are happy with the size. Bring the needle back out of the opening and knot off both tails securely.
- Sew the ears on each side of the head over Rounds 6 and 8. Weave in and hide yarn tails.
- Use the yarn tail from the 1st leg to sew the gap close between the legs.
- Matching stitch for stitch, sew the head onto the neck of the body. Add more stuffing before closing. Don’t worry if the head has been sewn on slightly off centre – this can give your bear a bit of character!
- Position the arms on each side of the bear’s body on a slight downwards angle. Sew the arms to the body over Rounds 23 and 25.
- Sew the tail on the back of the body over Rounds 12 and 14. Weave in and hide yarn tail.
- Pin the heart on the bear, then using red or light brown yarn, sew each arm onto the heart. Weave in all yarn tails and ensure all pins have been removed.