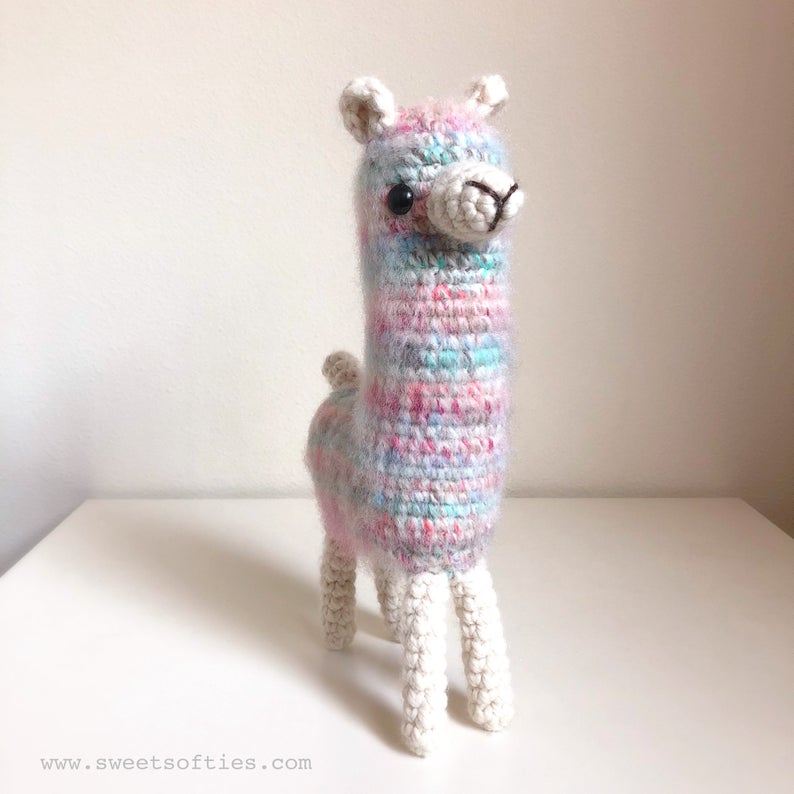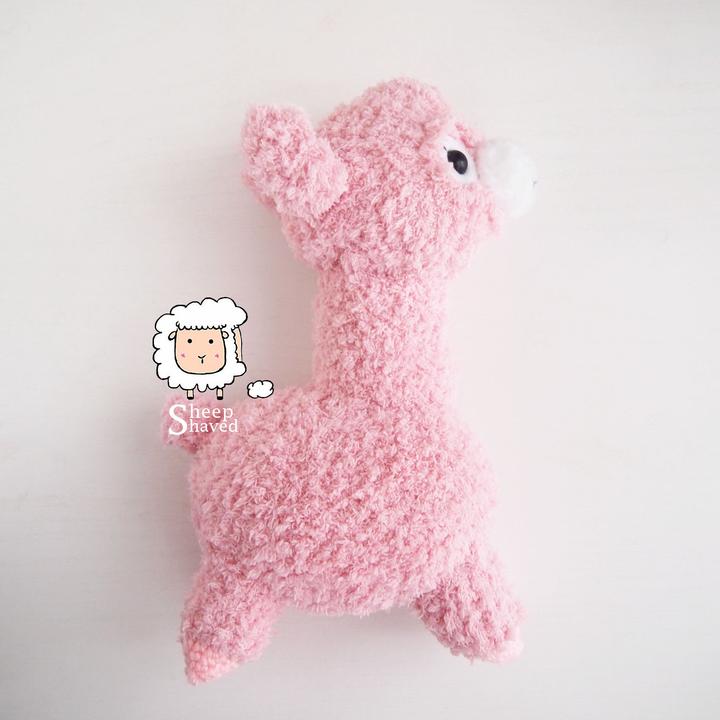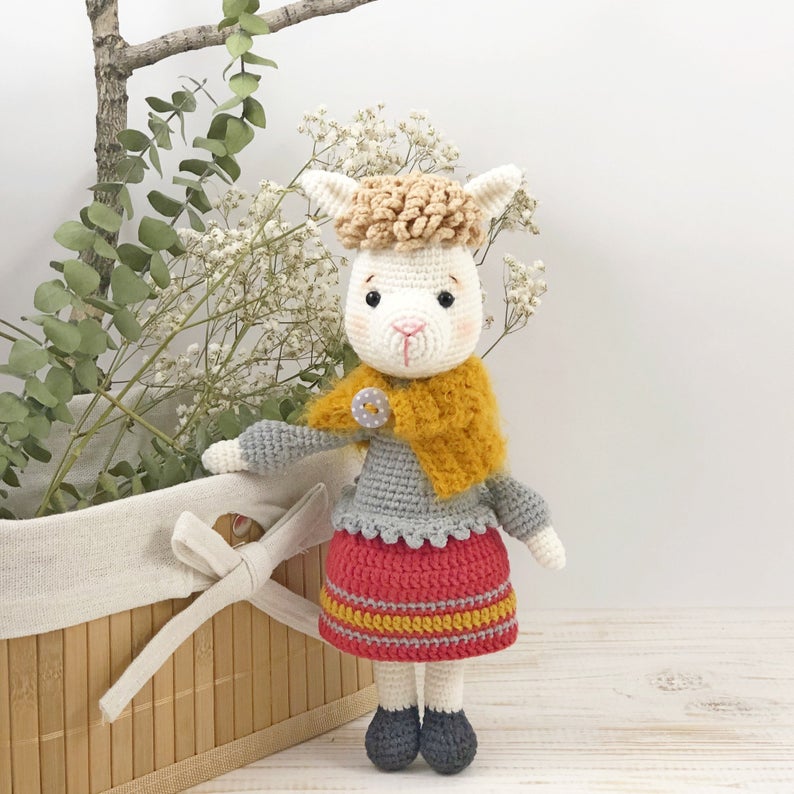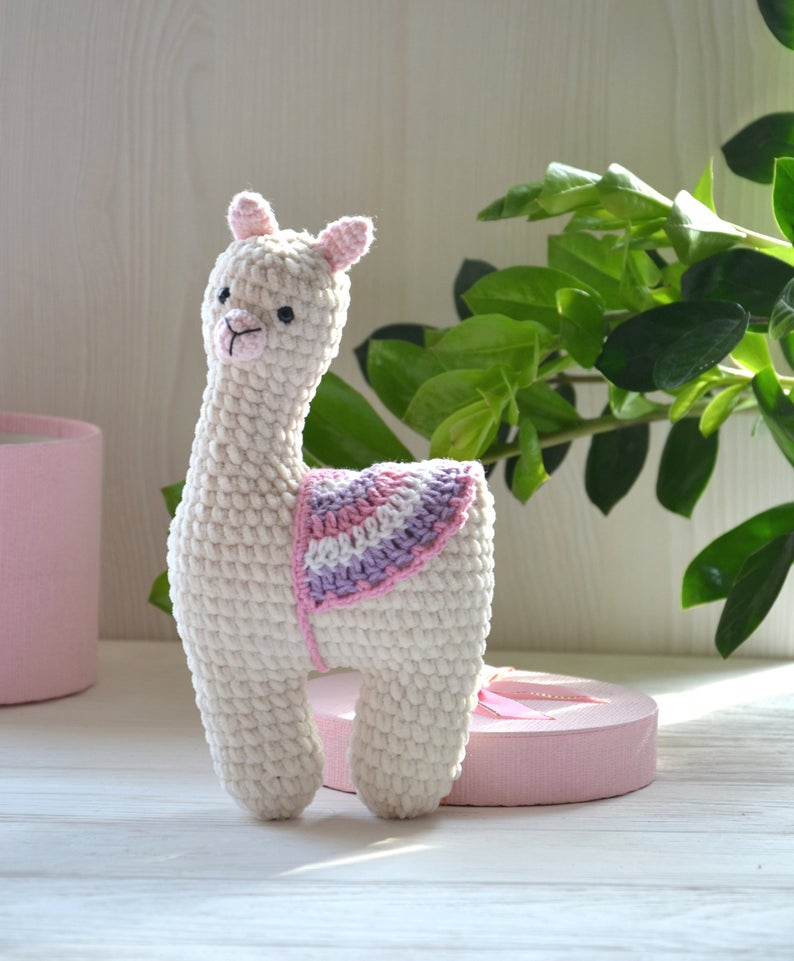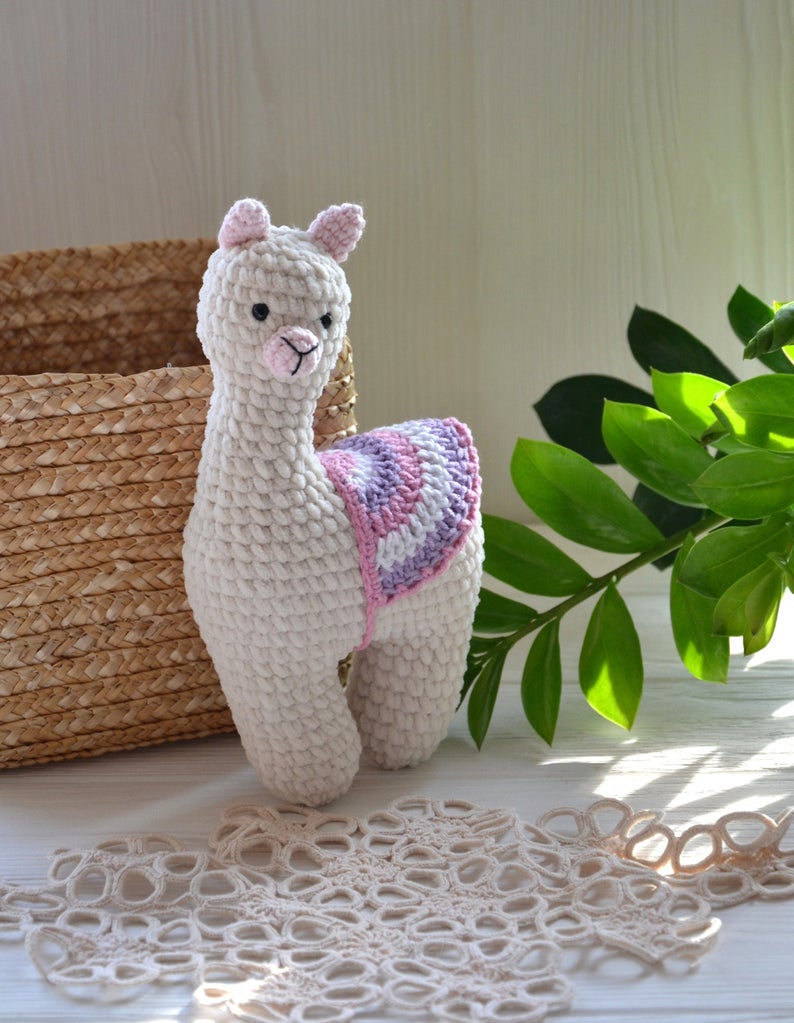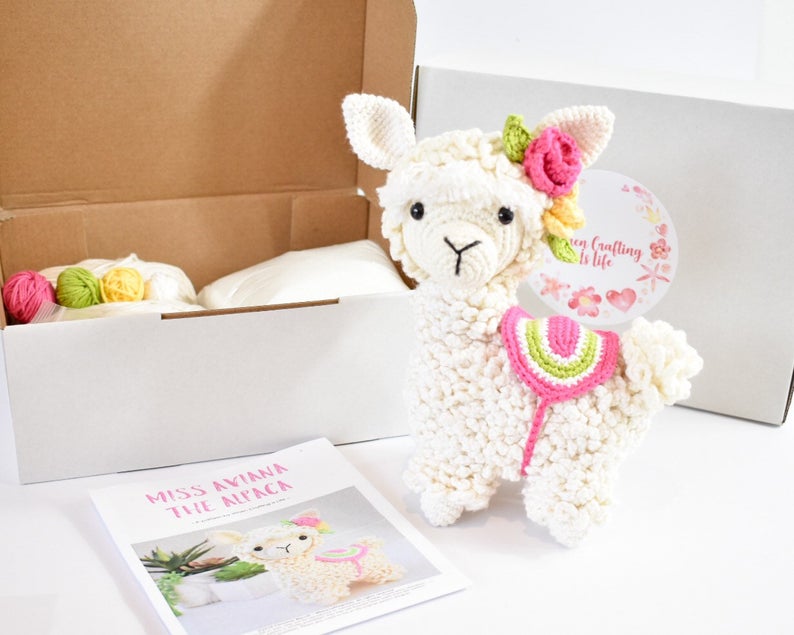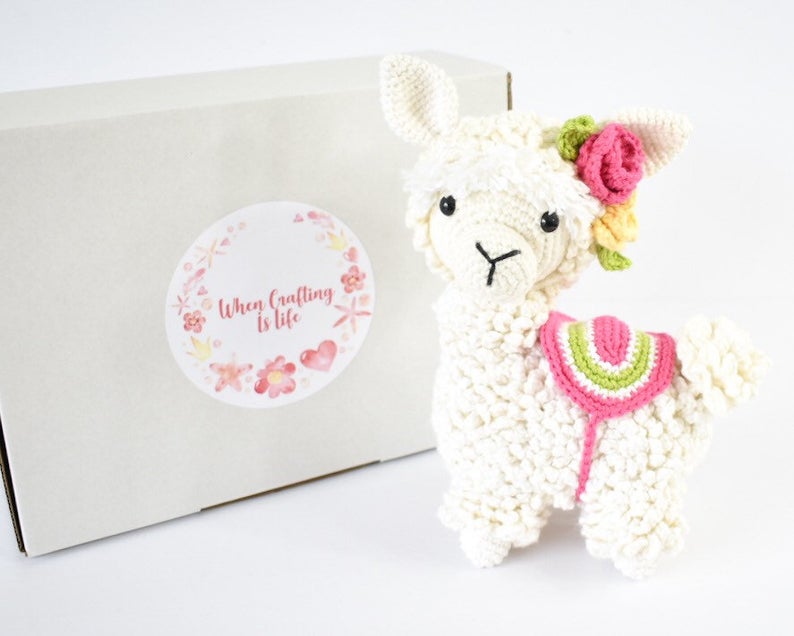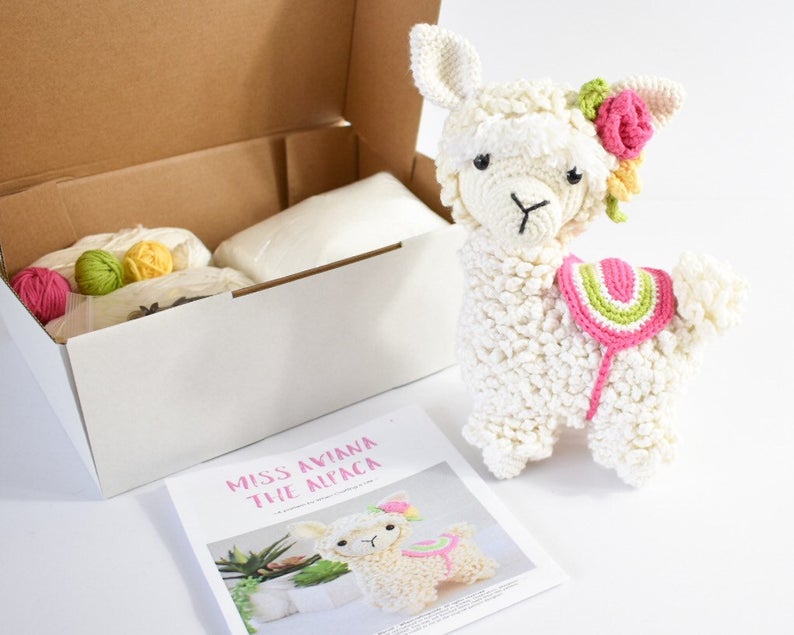
Amigurumi Alpaca Free Crochet Patterns
Hello dear visitors, I am here again with new amigurumi molds for you. I am sharing amigurumi patterns for you here for free. You can make your children happy by making these patterns. Amigurumi toys are very popular lately and are the most beautiful toys that don’t harm your kids. Your kids will love them. Let’s move on to our pattern and give them this gift.
You will need
Small amount of white/off white shade of dk weight yarn.
Small amount of black yarn for embroidering the eyes/Plastic safety eyes
2.75mm crochet hook
Large eye tapestry needle and scissors
Stuffing
Abbreviations
Ch – chain
MC – Magic Circle
Sl st – slip stitch
sc – single crochet
[Number] – Stitch count at the end of the round
Pattern Notes
This amigurumi alpaca free crochet pattern uses worsted weight yarn, however there is no gauge required, so your can use any yarn with a suitable hook.
A well stuff body and head prevent the dreadful wobbly head.
WARNING: Embroider the eyes if using it as a toy for babies. French knots work great. Plastic safely eyes can be a choking hazard.
Amigurumi always looks better when the stitches are tighter because it prevents the stuffing from poking out. Use 1 size smaller hook than your yarn calls for.
The look of the Amigurumi finished object depends a lot on how you stuff it, so don’t be impatient and stuff too much in one go. Do it in bits.
Always pin the body parts together before you start sewing because this helps in keeping them in the right place and visualize before sewing. Be it the limbs or the eyes, mouth, ears, antlers, horns, wings etc. Doesn’t matter even if they are really small parts, pinning them helps. I say this from personal experience as they always turn out better looking when you do this.
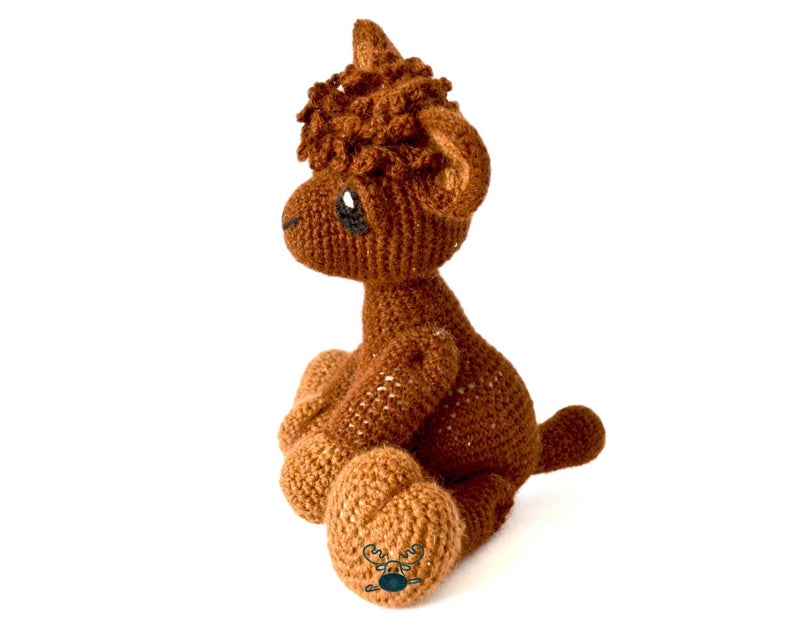
Legs (Make 4)
MC
R1: 4sc into the circle
R2: 2sc in each stitch around [8]
R3-6: 1sc in each stitch round [8]
Don’t cut yarn after making 4th leg.
R7: 1 sc in the next 4 stitches of the 4th leg, ch6, join new leg(let’s call it leg3) using 1sc, 1 sc in the 3 stitches of leg3, ch1, turn, 1 SC into the next 13 stitches [14]
This creates the belly of the alpaca.
R8-13: ch1, turn, 1 SC into the next 13 stitches [14]
Note: ch1 counts as a stitch here and the last SC will be in the ch1 we did in the previous round.
Now we will join the other 2 legs to the belly.
R14: turn, join new leg using 1sc, 1 sc in the next 3 stitches of this leg together with the belly stitches, 1sc into the next 6 stitches of just the belly, join another leg using 1sc, 1 sc in the next 3 stitches of this leg together with the belly stitches. [14]
Body
We have used 4 stitches of each leg and have 4 unworked stitches in each leg.
To form the body of the alpaca, we will work on the unworked stitches of a leg and the unworked stitches of the belly in an alternate way, all together in the round, which will give us a single large round at the end. Mark the first stitch using a stitch marker as this will be the beginning of the large single round.
R15: Turn, 1 sc in the next 4 stitches of the leg, 1 sc in the next 6 stitches horizontally along the belly, 1 sc in the next 4 stitches of the next leg, 1 sc in the next 6 stitches vertically along the belly, 1 sc in the next 4 stitches of the leg, 1 sc in the next 6 stitches horizontally along the belly , 1 sc in the next 4 stitches of the next leg, 1 sc in the next 6 stitches vertically along the belly [40]
At the end of R15, we have completed 1 round of the body, and reached the beginning of the round, so this leaves us with a total of 40 stitches.
From the beginning of the round (including the beginning stitch), count 16 and 19 stitches forward, then mark the 16th and 19th stitches because we will make increases in these 2 marked stitches.
R16: 1sc in the next 15 stitches, 2sc increase in the next stitch, 1sc in the next 2 stitches, 2sc increase in the next stitch, 1sc in the next 21 stitches [42]
R17: 1sc in each stitch around [42]
R18: 1sc in the next 38 stitches, sc2tog, 1sc in the next 2 stitches [41]
Mark the stitch that we just decreased, as we’ll be making decreases around this in the future rows.
R19: 1sc in the next 36 stitches, sc2tog, 1sc in the next stitch, sc2tog [39]
R20: 1sc in the next 37 stitches, sc2tog [38]
R21: sc2tog, 1sc in the next 34 stitches, sc2tog [36]
R22: *(1sc in the next 4 stitches, sc2tog); rep from * 6 times [30]
R23: 1sc in each stitch around [30]
Separating the back from the neck
Counting from the beginning of the round (including the beginning stitch), mark the 11th stitch and the 21st stitch.
R24: 1sc in the next 21 stitches, join back to the 11th stitch which we had marked earlier to work in a smaller round for the next. The joining stitch is the 12th stitch [12]
You can now remove markers if you want because we don’t need to remember the stitches we need to work on anymore. The stitches are quite obvious by this stage.
Neck
Now we’ll work only in these 12 stitches for the neck.
R25-30: Mark the first stitch, 1sc in each stitch around [12]
Stuff the neck portion as you go.
R31: *(1sc in the next 2 stitches, 2sc in the next stitch); rep from * 4 times. [16]
R32: *(1sc in the next 3 stitches, 2sc in the next stitch); rep from * 4 times. [20]
R33: 1sc in each stitch around [18]
R34: *(1sc in the next 3 stitches, sc2tog); rep from * 4 times. [16]
R35: *(1sc in the next 2 stitches, sc2tog); rep from * 4 times. [12]
R36: *(1sc in the next stitch, sc2tog); rep from * 4 times. [8]
Stuff the neck portion well, fasten off and thread the tail through a tapestry needle and cinch the hole shut, then weave in the end.
You will be now left with the open portion of the back. Stuff the back well and close the seam by whip stitching.
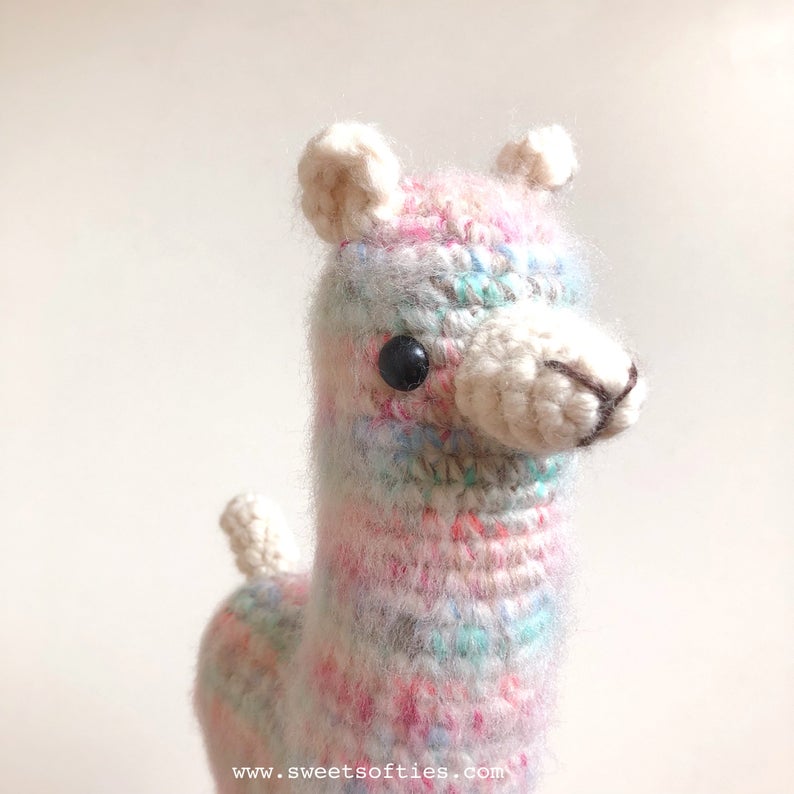
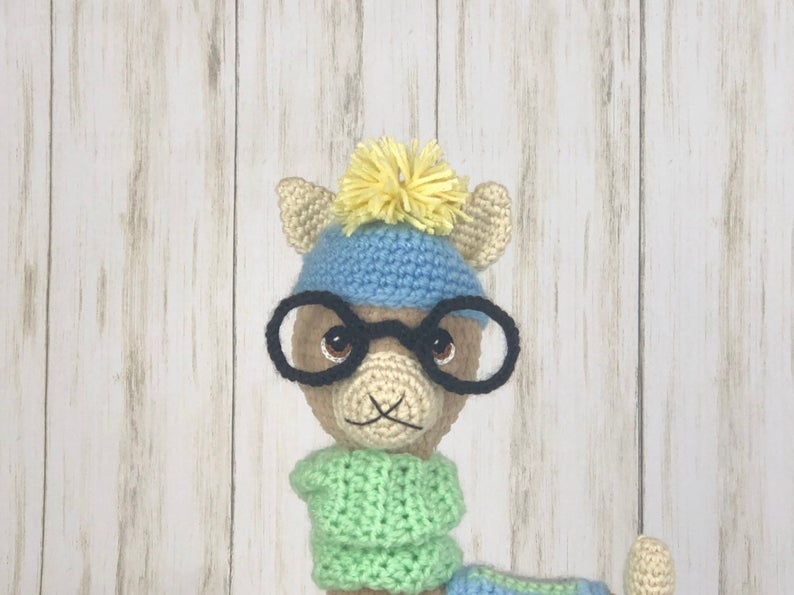
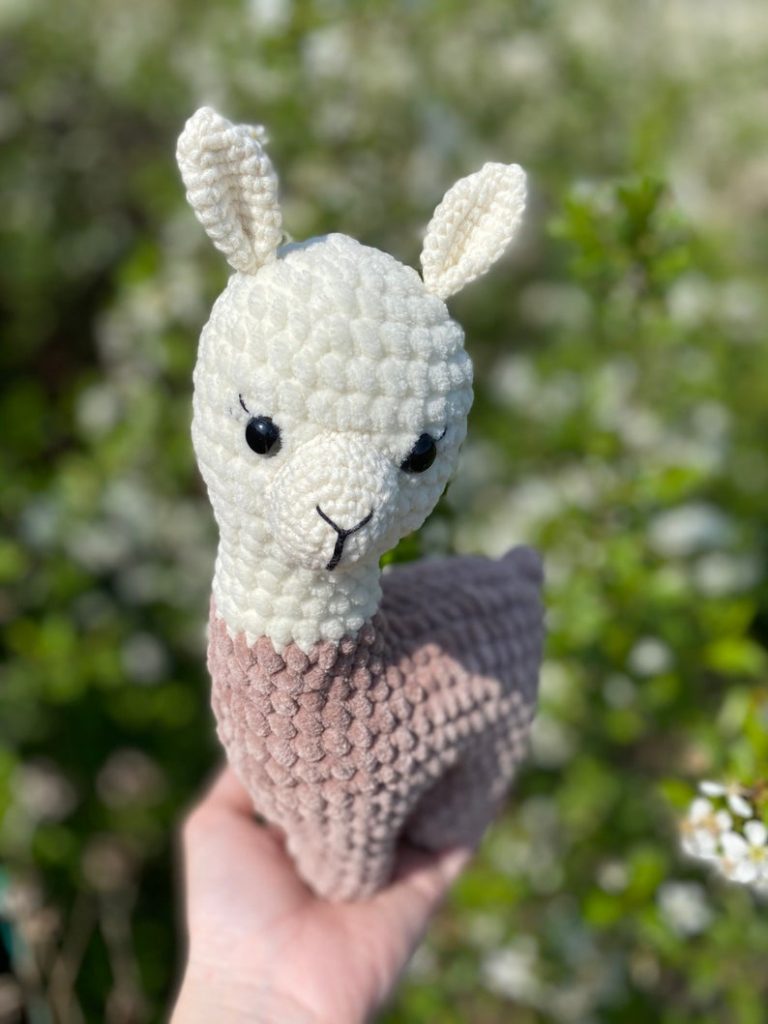
Mouth
MC
R1: 6sc into the circle [6]
R2: 2sc in each stitch around [12]
R3: *(1sc in the next stitch, sc2tog); rep from * 4 times. [8]
Fasten off with a long tail for sewing.
Pin the nose to the head and make adjustments if needed for the positioning and sew it.
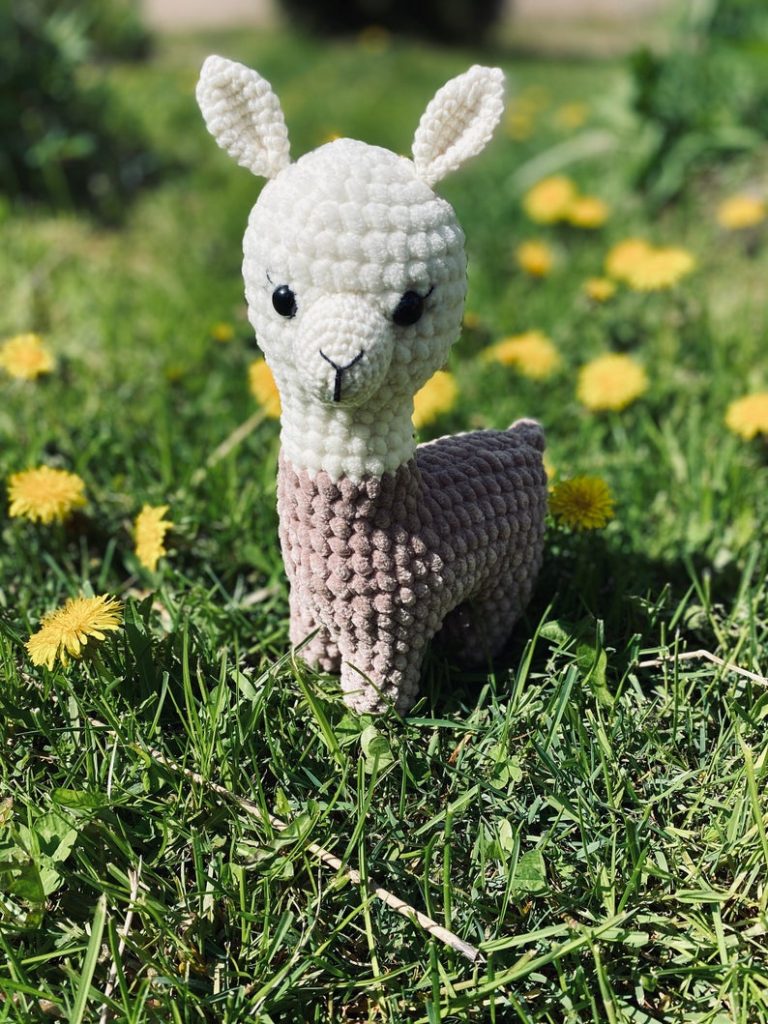
Ears (Make 2)
MC
R1-2: 6sc into the circle [6]
R3: *( 1sc, 2sc in next stitch,); rep from * 3 times [9]
R4-7: 1sc in each stitch round [9]
R8: *( 1sc, sc2tog in next stitch,); rep from * 3 times [6]
Fasten off with a long tail to sew.
Eyes
Place plastic eyes in the stitches first to see how the alpaca looks. If you are happy with the look, then remove them and make French Knots in those stitches.
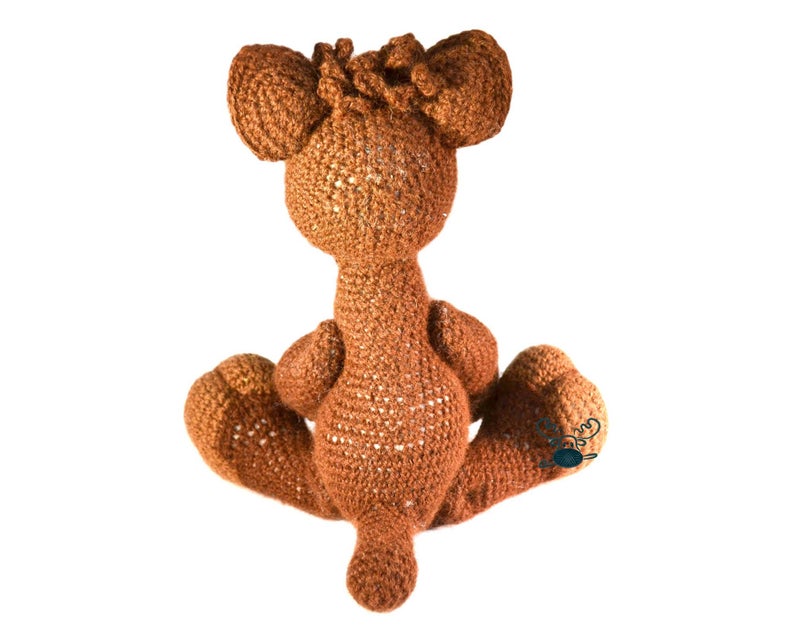
Tail
MC
R1: 6sc into the circle
R2: *( 1sc, 2sc in next stitch,); rep from * 3 times [9]
R3-5: 1sc in each stitch round [9]
Stuff the tail lightly.
Fasten off with a long tail end to sew.
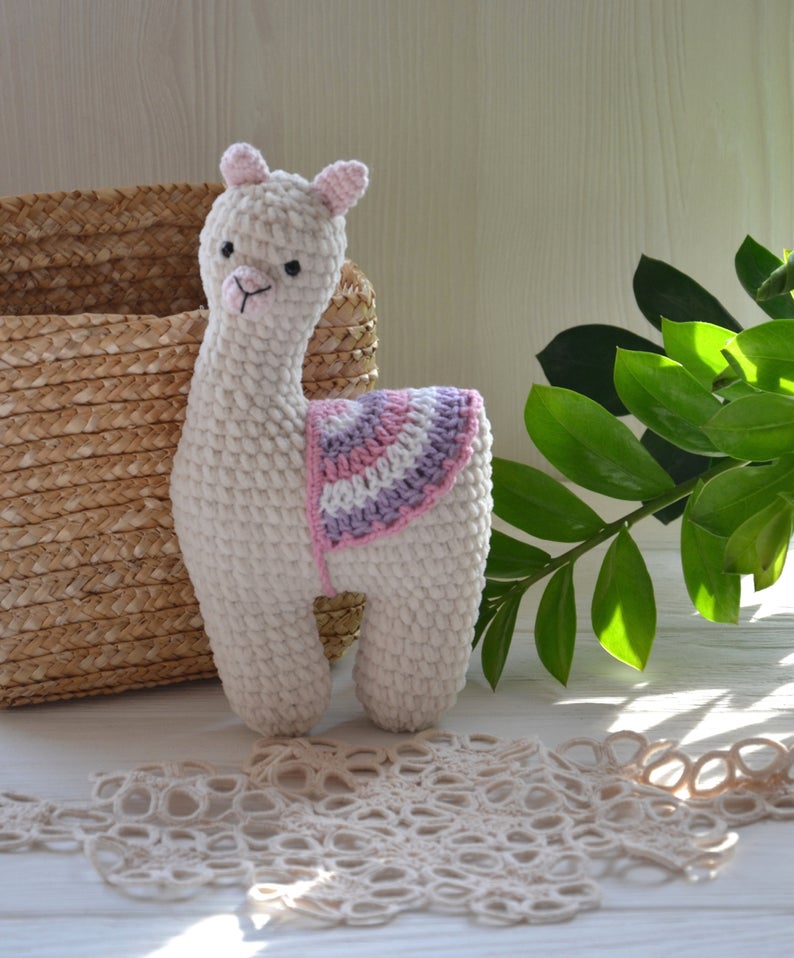
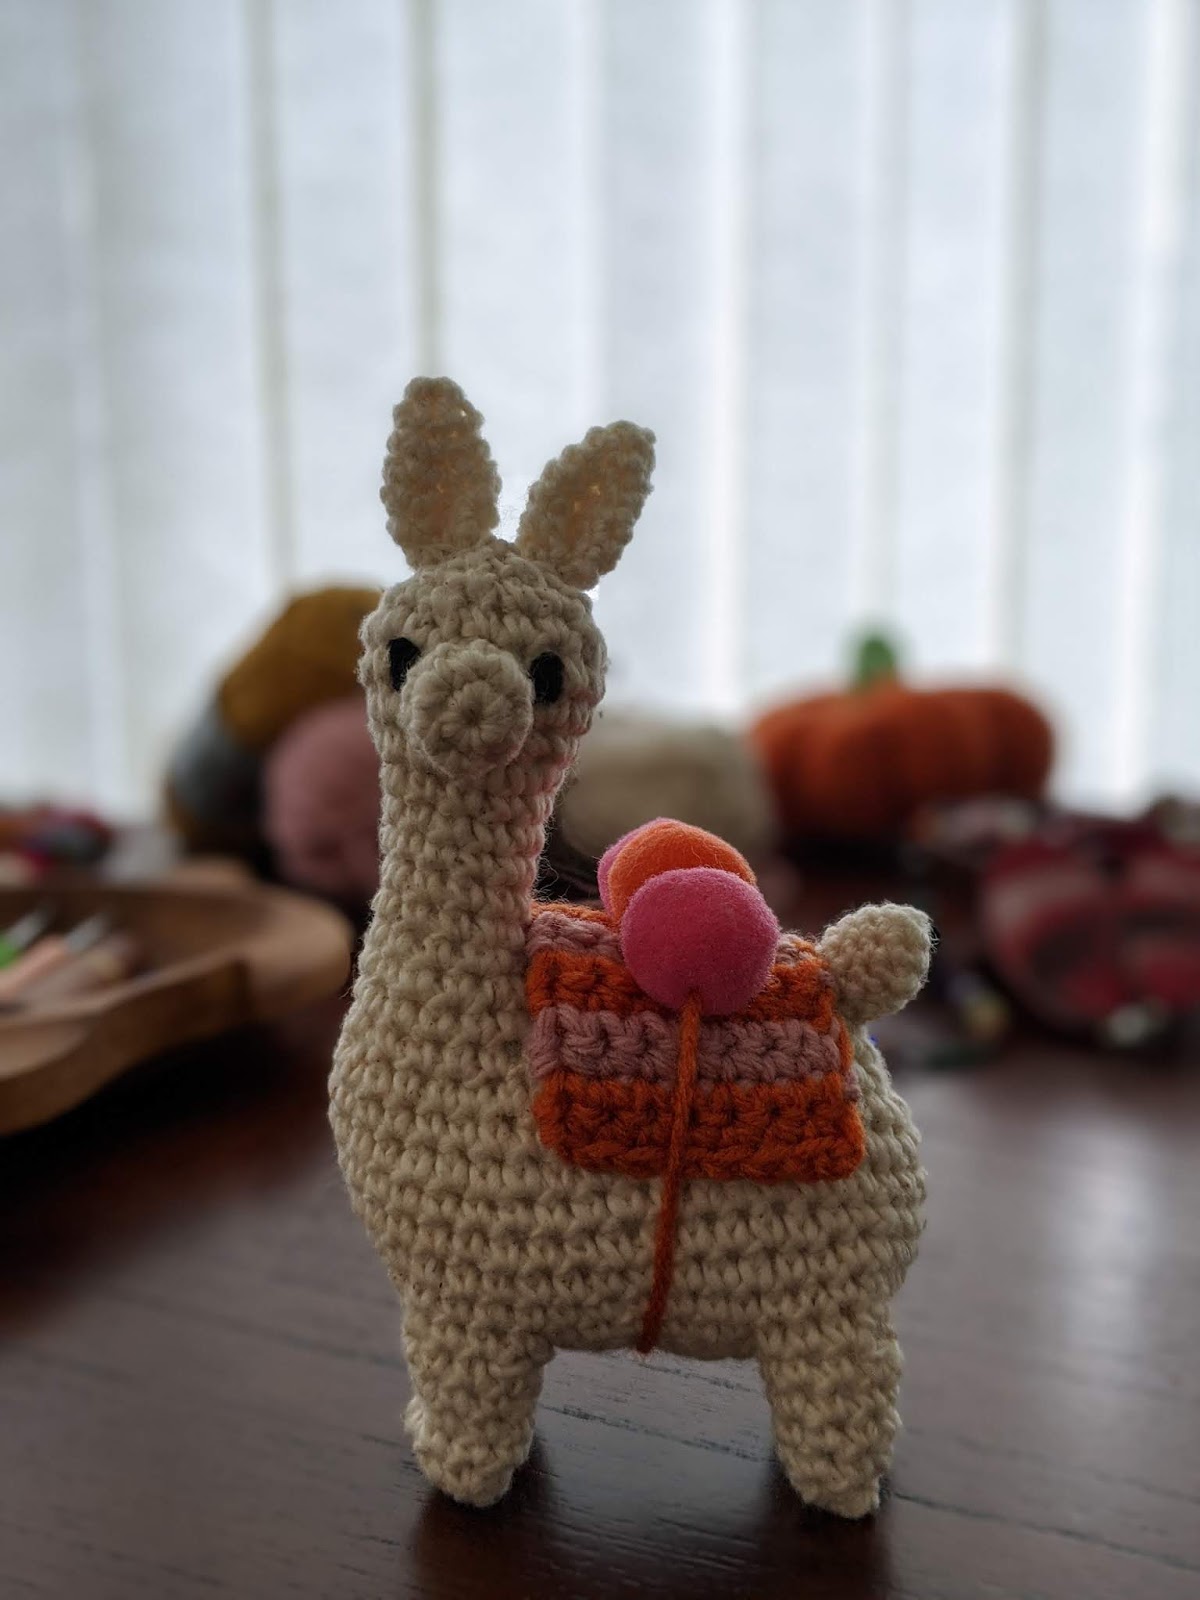
Saddle
Use yarn in 2 contrasting colours. I’ve used pink and orange and similar coloured pom-poms.
Ch11
R1-2: 1sc in each stitch [10]
R3-4: Switch colours, turn, 1sc in each stitch, turn
Repeat above 4 rows, 4 more times.
Fasten off and weave in the ends.
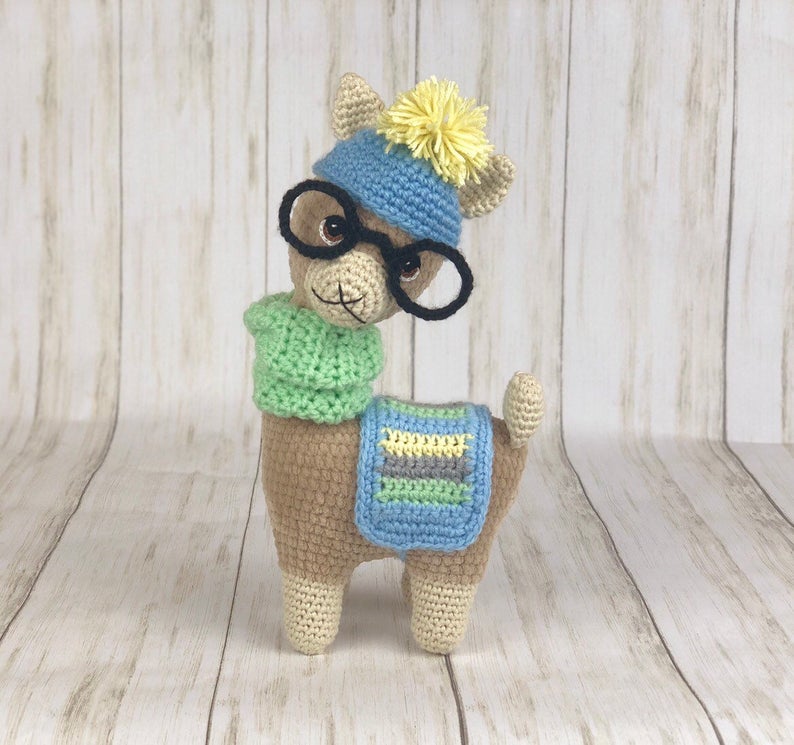
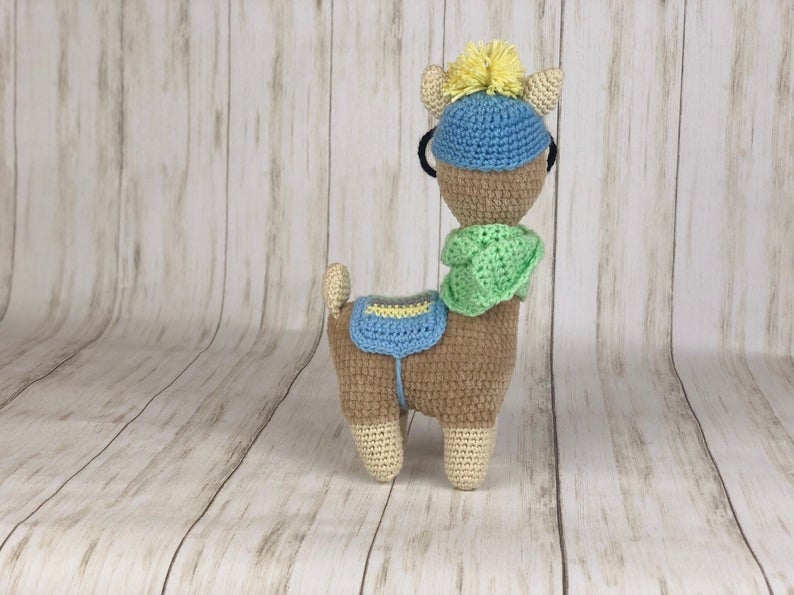
Finishing
Sew the mouth, ears to the head and the tail to the body of the alpaca. You can also use a piece of yarn to tie the saddle onto the alpaca’s back because it gives it a real feel to it. I’ve threaded 3 pom poms and then tied the saddle onto the back of the alpaca.