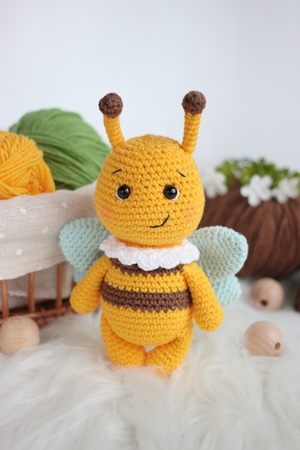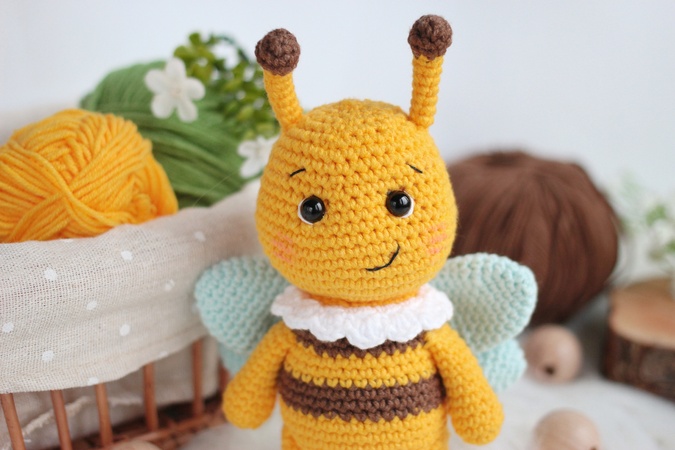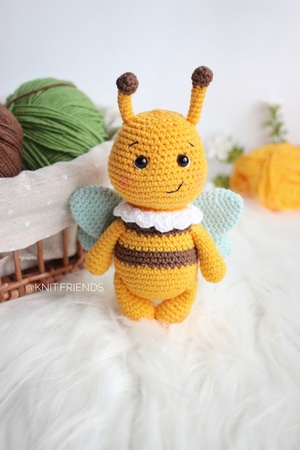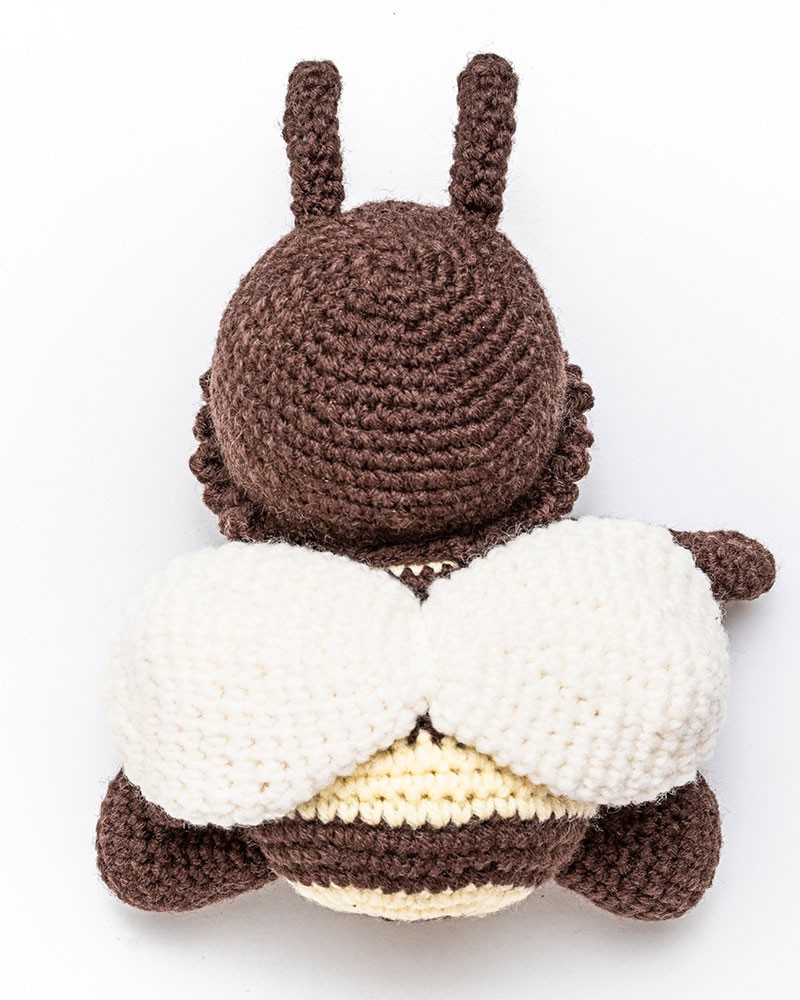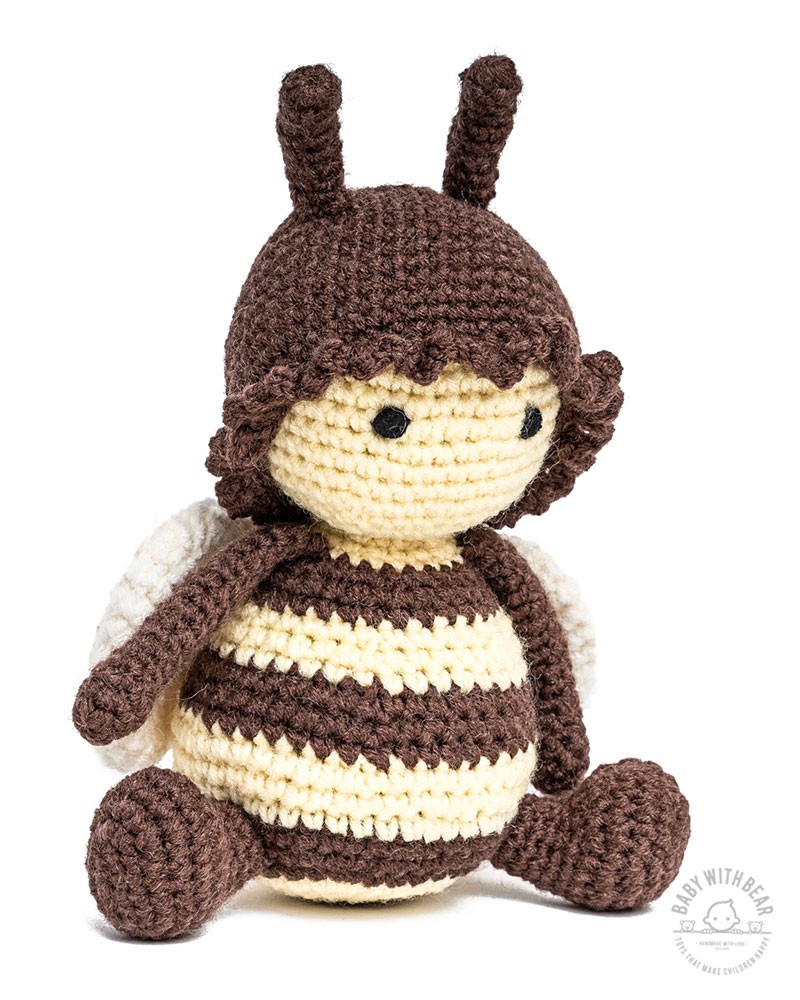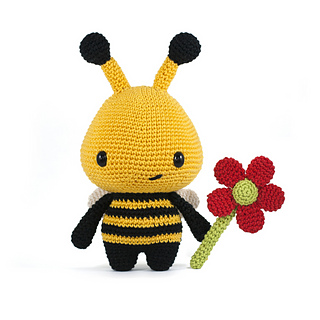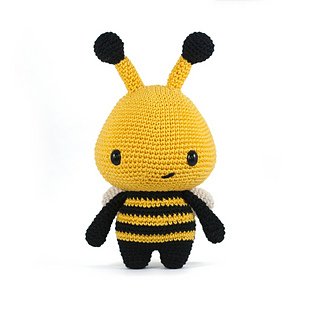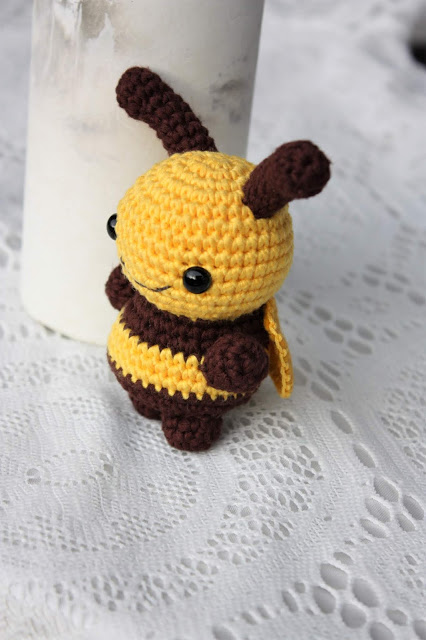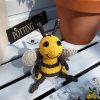
Amigurumi BumbleBee Free Crochet Patterns
Hello dear visitors, I am here again with new amigurumi molds for you. I am sharing amigurumi patterns for you here for free. You can make your children happy by making these patterns. Amigurumi toys are very popular lately and are the most beautiful toys that don’t harm your kids. Your kids will love them. Let’s move on to our pattern and give them this gift.
You will need
HOOK SIZE: 2.5 mm
YARN: Phildar Coton 3 100% cotton, 50g/121m
ciel (wings)
poussin (yellow stripes)
jeans (antennae)
Galet (grey stripes)
Craie (white bottom)
Toy filling
6mm black toy safety eyes
Black/dark brown thread for the mouth
Abbreviations
blo – back loops only
ch – chain
dec – decrease (invisible decrease, crocheting 2 stitches together through front
loops only)
inc – increase (2 stitches into the same stitch)
sc – single crochet
slst – slipstitch
( ) – everything between the bracket is into the same stitch
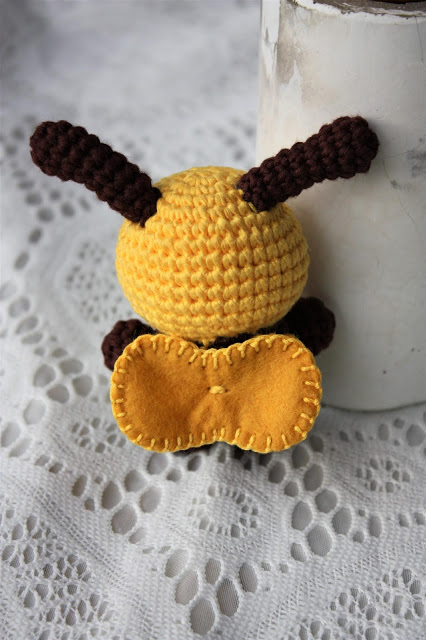
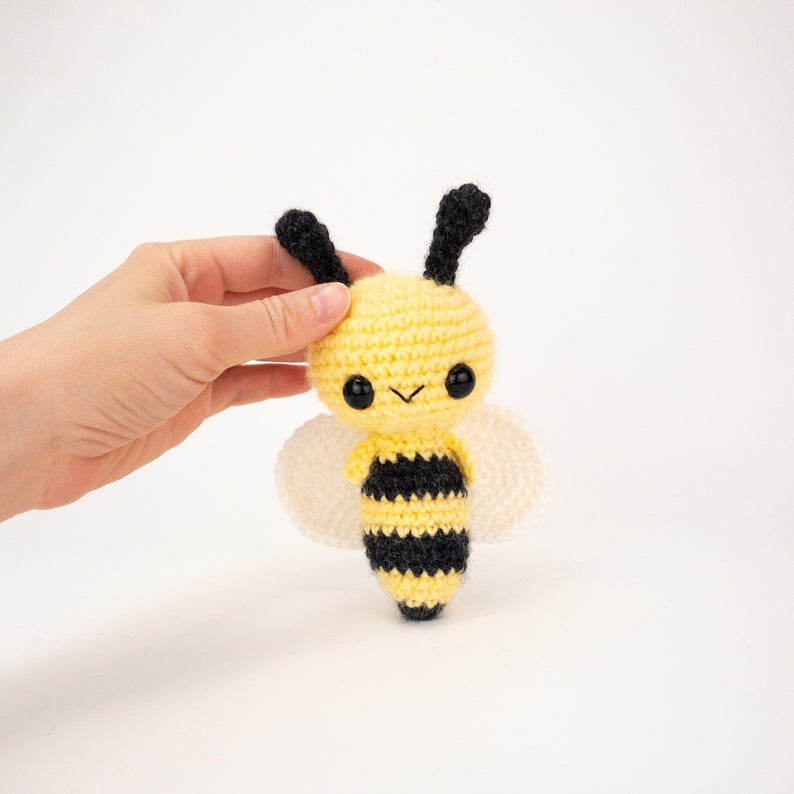
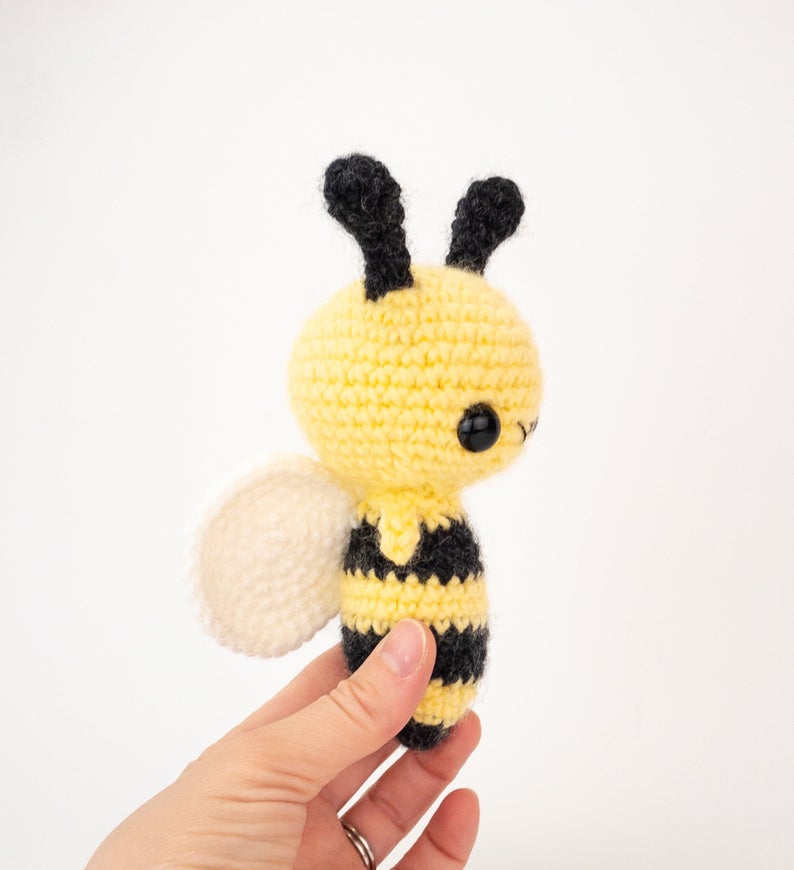
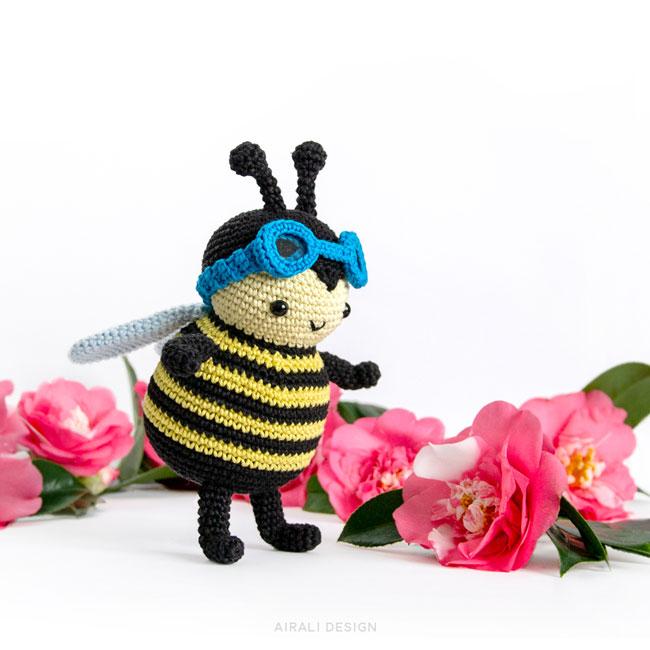
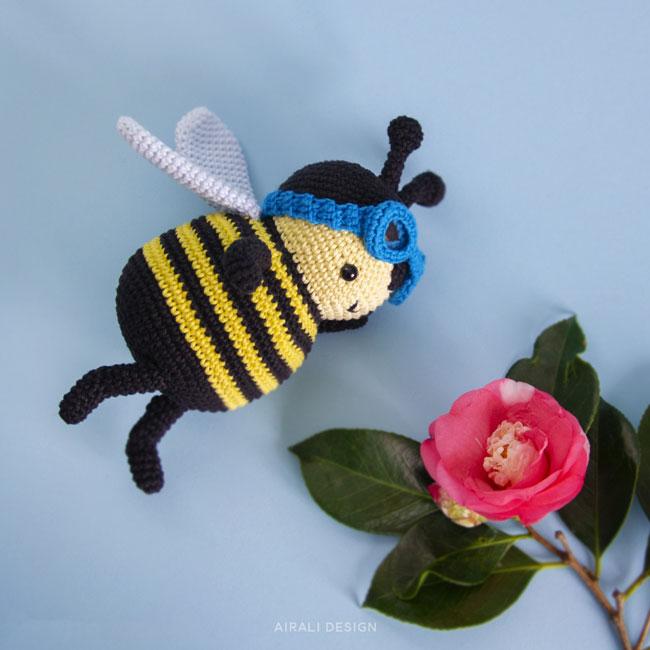
Antennae (make 2)
Using dark grey yarn, ch 9. Slst to back bumps from 2nd bump from hook (8 slst).
Cut yarn, fasten off and leave a long tail for sewing.
Head and Body (top-down)
Using yellow make a magic ring
R1: 6 sc into magic ring (6)
R2: 6 inc (12)
R3: (1 sc, inc) 6x (18)
R4: 1 sc, inc, (2 sc, inc) 5x, 1 sc (24)
R5: (3 sc, inc) 6x (30)
R6: 2 sc, inc, (4 sc, inc) 5c, 2sc (36)
R7: 36 sc (36)
R8: (5 sc, inc) 6x (42)
R9-11: 42 sc (3 rows in total) (42)
At the last stitch of R11 switch to grey- Don’t cut the yellow yarn, you can pick it up later.
R12: 42 blo-sc (42)
R13: inc, 3 sc, inc, 33 sc, inc, 3 sc (45)
Place the eyes between Rounds 10 and 11 with a distance of 11 stitches between them. Embroider the mouth between the eyes.
I find it the easiest to sew on the antennae at this point too. Place them 2 rows above the eyes, 1 stitch further from the center.
R14: 3 sc, inc, 5 sc, inc, 26 sc, inc, 5 sc, inc, 2 sc (49)
R15: 49 sc (49)
At the last stitch of R15 pick up the yellow yarn. Don’t cut the grey yarn, you can pick it up later.
R16: 49 blo-sc (49)
R17-18: 49 sc (2 rows in total) (49)
At the last stitch of R18 pick up the grey yarn. Cut yellow yarn.
R19: 49 blo-sc (49
R20: 3 sc, dec, 5 sc, dec, 26 sc, dec, 5 sc, dec, 2 sc (45)
R21: dec, 3 sc, dec, 33 sc, dec, 3 sc (42)
R22: 42 sc (42)
At the last stitch of R22, switch to white. Cut grey yarn.
R23: 42 blo-sc (42)
R24: (5 sc, dec) 6x (36)
R25: 2 blo-sc, blo-dec, (4 blo-sc, blo-dec) 5x, 2 blo-sc (30)
Start stuffing the body.
R26: (1 sc, dec) 10x (20)
R27: 10 dec (10)
R28: 5 dec (5)
Stuff the body a bit more, but make sure the bottom stays flat. Close the remaining stitches through the front loops and weave in ends.
Wings (make 2)
Using light blue make a magic ring.
R1: 6 sc in magic ring (6)
R2: 6 inc (12)
R3: (1 sc, inc) 6x (18)
R4: 1 sc, inc, (2 sc, inc), 1 sc (24)
Make an extra slst into the first st of the next row. Cut yarn and fasten off, leaving a long tail for sewing.
Legs (make 2)
Using yellow make a magic ring.
R1: 6 sc in magic ring (6)
R2: 6 inc (12)
R3-4: 12 sc (2 rows in total) (12)
Make an extra slst into the first st of the next row. Cut yarn and fasten off, leaving a long tail for sewing. Stuff the legs a bit.
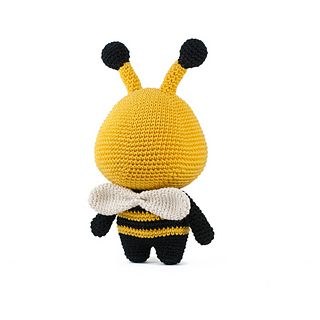
Assembly
Sew on the wings in the grey stripe opposite the antennae. Sew on legs in grey stripe under the antennae.