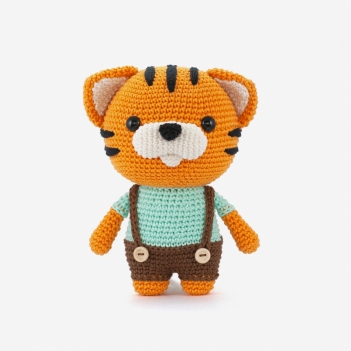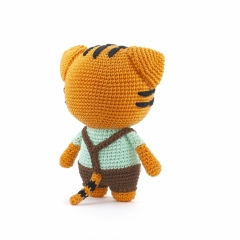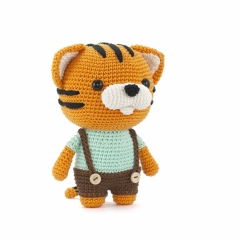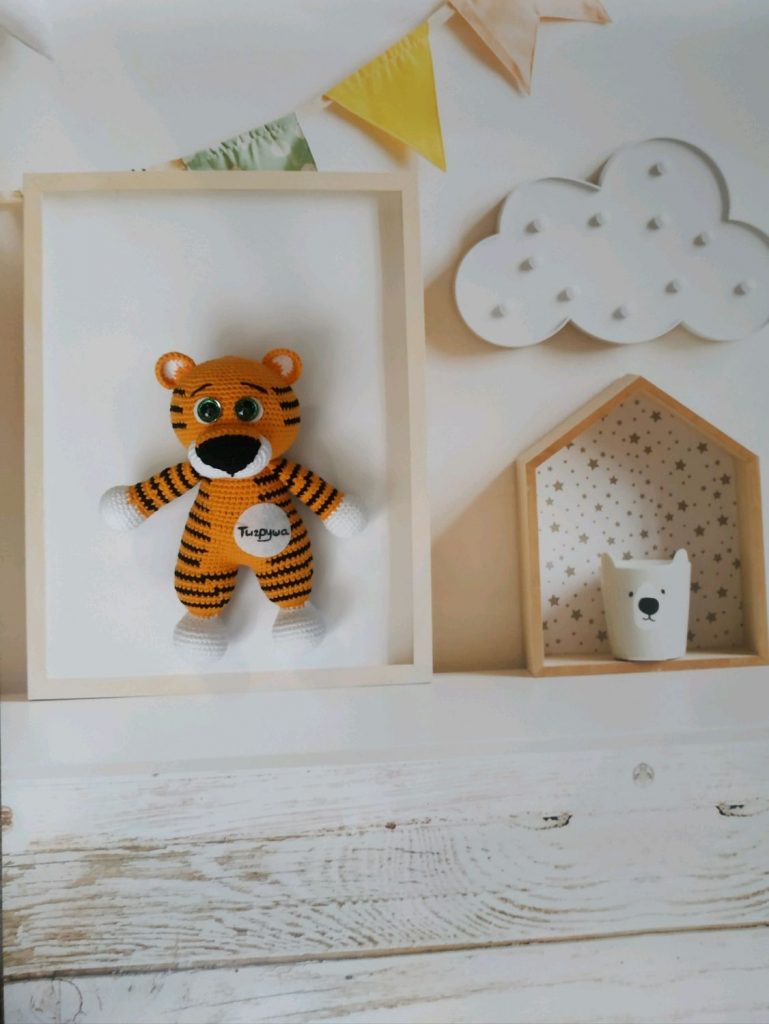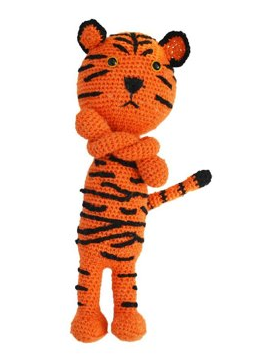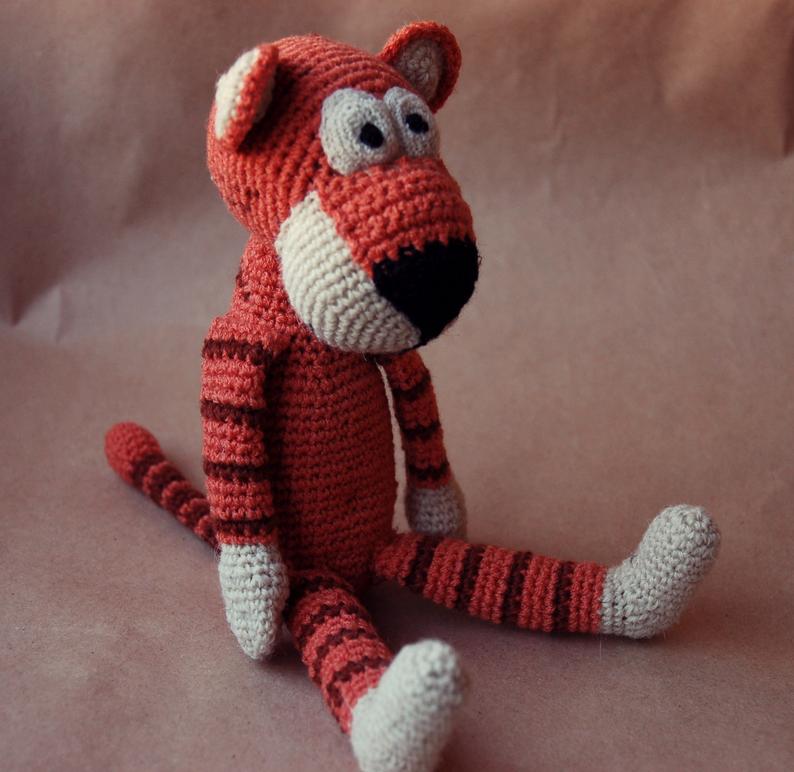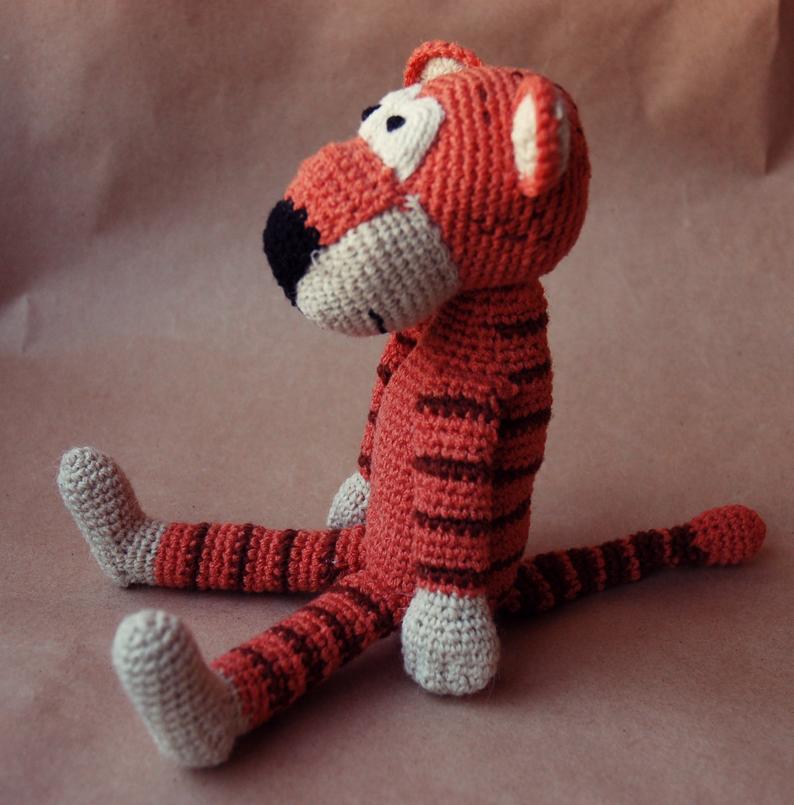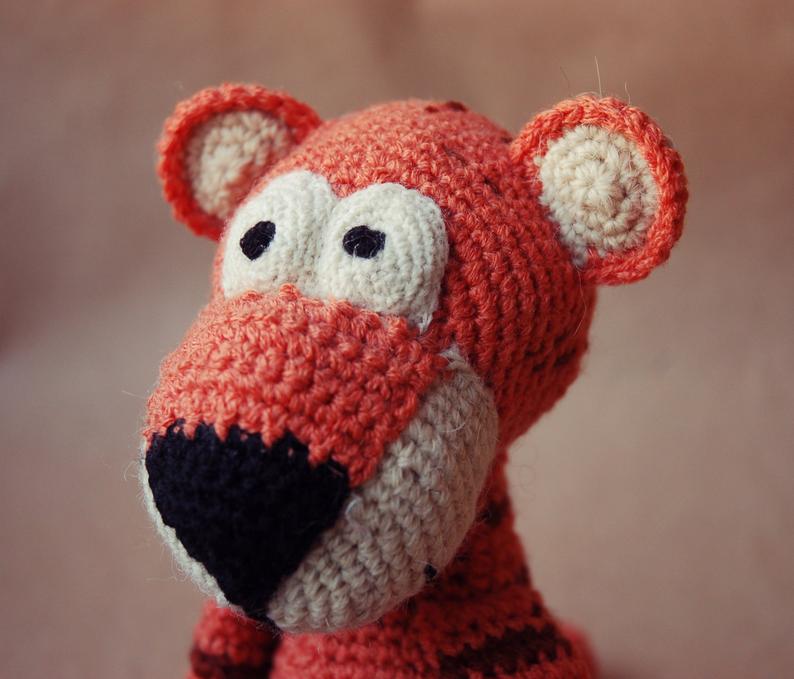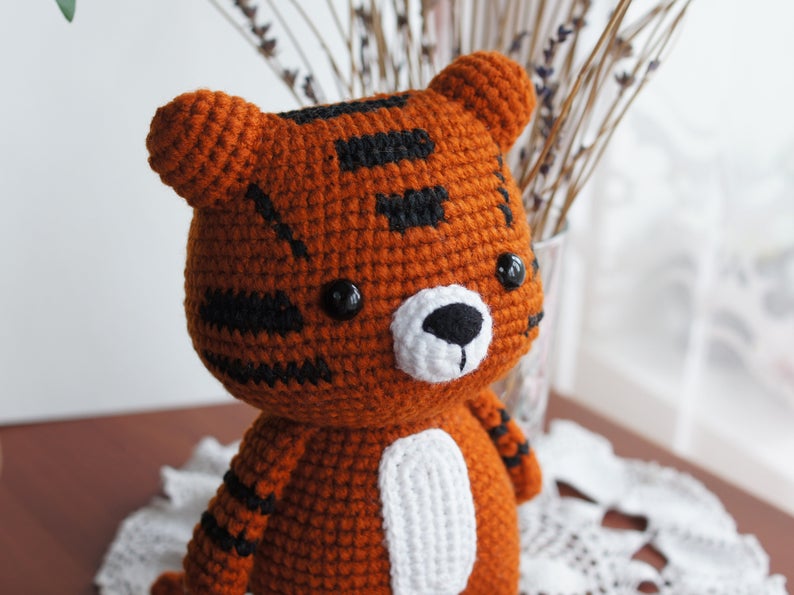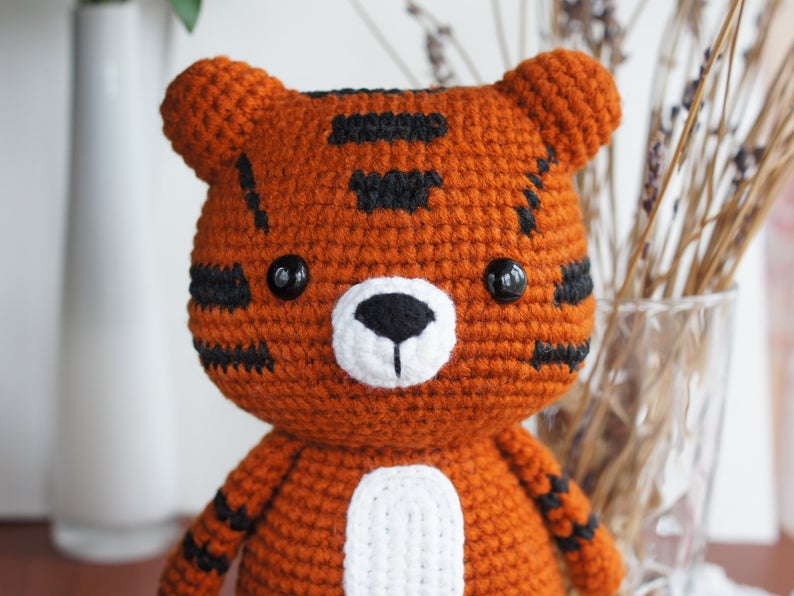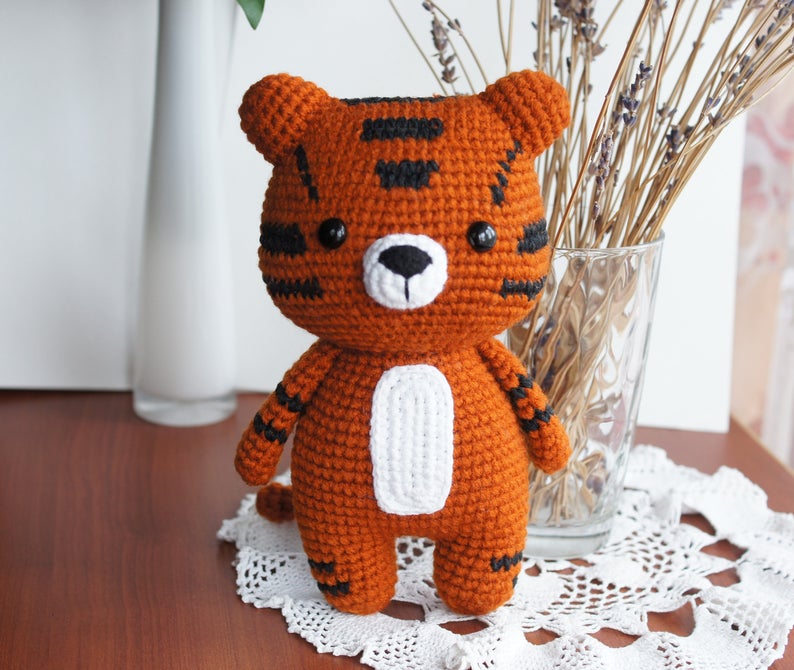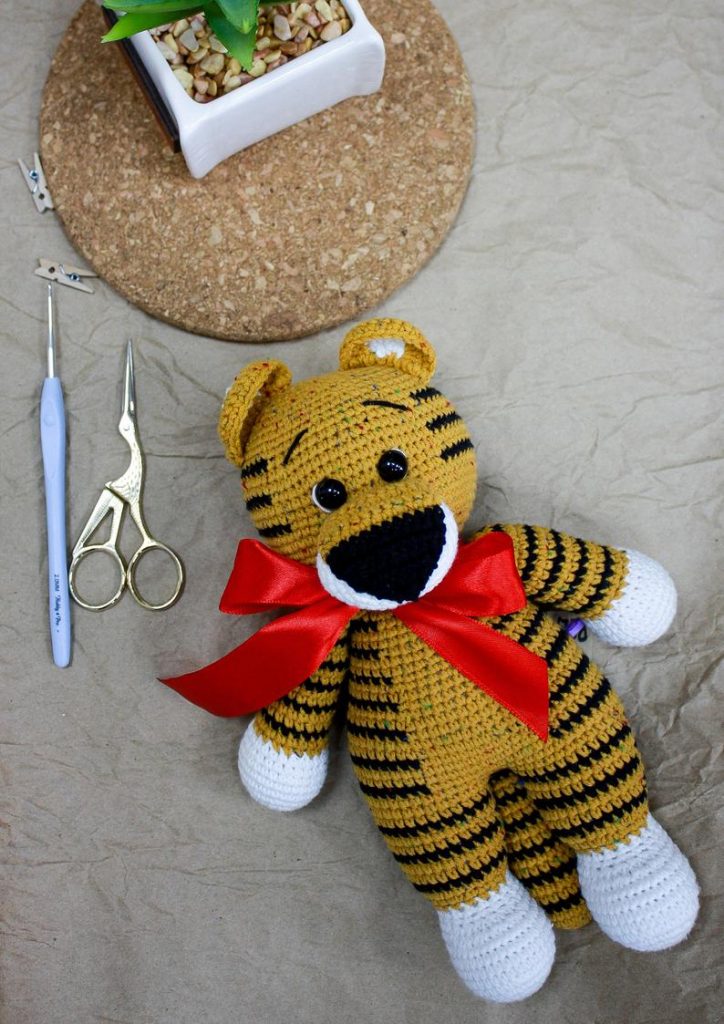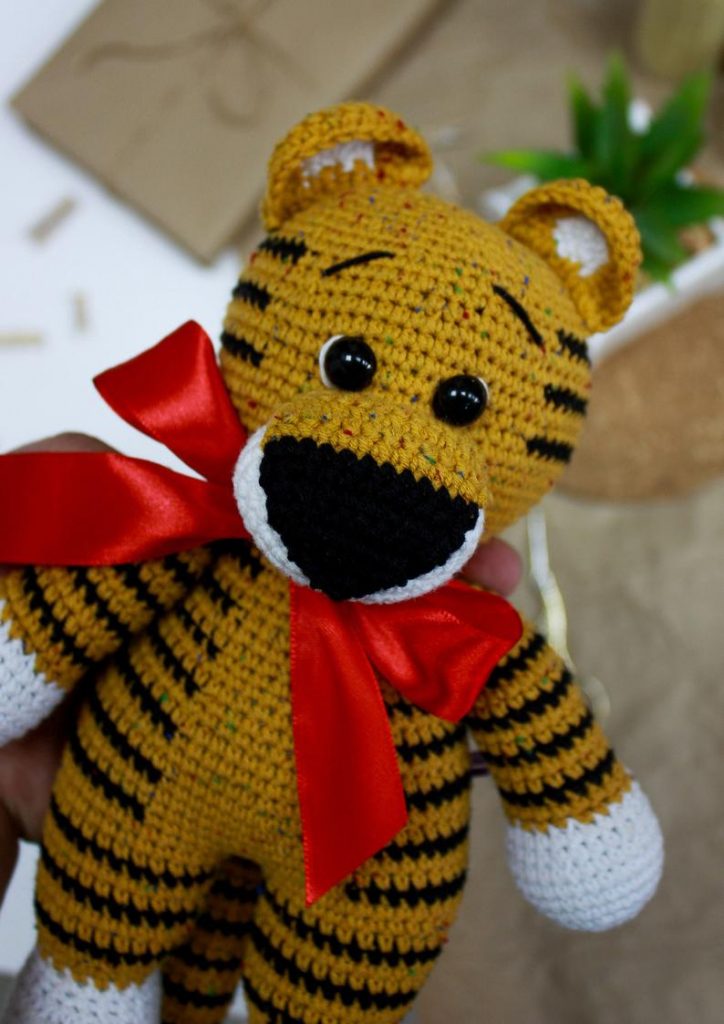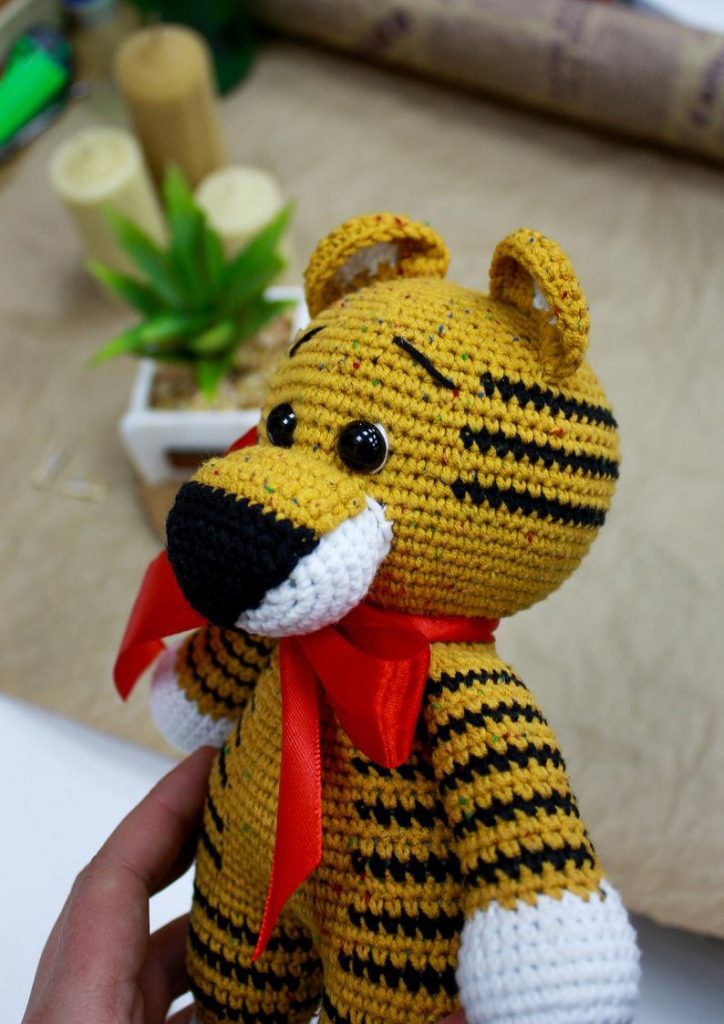
Amigurumi Baffled Tiger Free Crochet Patterns
Hello dear visitors, I am here again with new amigurumi molds for you. I am sharing amigurumi patterns for you here for free. You can make your children happy by making these patterns. Amigurumi toys are very popular lately and are the most beautiful toys that don’t harm your kids. Your kids will love them. Let’s move on to our pattern and give them this gift.
You will need
About 100g size 4 worsted weight yarn in orange or tan color
Small amount in desired sweater color
Small amount for snout color (ie white) and nose (ie black)
Small amount of black for the stripes
15mm safety eyes
Stuffing
3.75mm hook
Needle for sewing
Stitch marker
Abbreviations
SC- single crochet
SC INC- single crochet increase (2 SC in each stitch)
INV DEC- Invisible decrease (put hook through the FRONT LOOP ONLY of two consecutive stitches [two loops on hook] Yarn over pull through both loops. [two loops on hook] Yarn over pull through two loops)
Magic Circle- Make a loop, leaving a long tail to work with. Insert hook in center of loop, yarn over and draw up a loop. Yarn over, pull through to make the first chain (this does not count as a stitch!). Continue to crochet over the loop and tail with the number of stitches called for. (If you need 6 SC, then crochet 6 SC inside the ring.) Pull the tail to close the circle.
(Always move your stitch marker to the last stitch in the round. This pattern is worked in continuous rounds.)
Snout
With white:
Round 1: SC 5 in magic circle.
Round 2: SC INC in each around. (10)
Round 3: SC in the first, SC INC in the next. Repeat around. (15)
Round 4: SC in the first 2, SC INC in the next. Repeat around. (20)
Round 5: SC in the first 3, SC INC in the next. Repeat around. (25)
Round 6-7: SC in each around. (25)
Slip stitch in the next two stitches in order to flatten the edge.
Nose
with black:
DC 10 in a magic circle. Pull tight and slip stitch to the first stitch. Pull the edges of the circle so it becomes more oval and attach to the top of the snout. You will see 5 “edges.” Sew the nose in the middle of one of those edges. Then when you attach you will have a slight point at the bottom.
Legs and Body
Note: When you get to the orange on the legs you will do two rows of orange, followed by one row of black. This pattern repeats, even when you get to the attaching of legs and until you change to the shirt color.
With white:
Round 1: In a magic circle, SC 6
Round 2: SC INC in each stitch around (12)
Round 3: SC in first, SC INC in next. Repeat around. (18)
Change to orange and begin the stripe process (see note above)
Round 4-10: SC in each stitch around. (18)
Fasten off.
Repeat for the second leg but do not fasten off. Instead, chain 3 and then SC in the next stitch of the other leg. Take care to crochet over the tail left over by fastening off. SC around the entire leg. When you come to the three chains, SC in each chain to the next leg. Crochet in each stitch around the other leg. SC over the chain back to the other leg. In the last SC on the last chain place your stitch marker. (This is round 11.)
Rounds 12-14: SC in each around. (42)
Change to sweater color.
Rounds 15-20: SC in each around. (42)
Round 21: SC in the first 4, INV DEC in the next. Repeat around. (35)
Rounds 22-23: SC in each around (35)
Round 24: SC in the first 3, INV DEC in the next. Repeat around. (28)
Round 25: SC in each around. (28)
Round 26: SC in the first 2, INV DEC in the next. Repeat around. (21)
Change to orange.
Round 27: SC in the first , INV DEC in the next. (14)
Round 28: SC in each around.
Fasten off and leave a long tail to attach the head with.
Head
With orange:
Round 1: 6 SC in a magic ring
Round 2: SC INC in each around. (12)
Round 3: SC in first, SC INC in next. Repeat around. (18)
Round 4: SC in first 2, SC INC in next. Repeat around. (24)
Round 5: SC in first 3, SC INC in next. Repeat around. (30)
Round 6: SC in first 4, SC INC in next. Repeat around. (36)
Round 7: SC in first 5, SC INC in next. Repeat around. (42)
Round 8: SC in first 6, SC INC in next. Repeat around. (48)
Round 9: SC in first 7, SC INC in next. Repeat around. (54)
Round 10: SC in each stitch around. (54)
Starting the stripes. Change to black.
Round 11-12: SC in the next 38 stitches. Change to orange. SC in the remaining 16 stitches. (54)
Rounds 13-14: SC in each stitch around. (54)
Round 15-16: SC in the next 38 stitches. Change to orange. SC in the remaining 16 stitches. (54)
Rounds 17-21: SC in each around. (54)
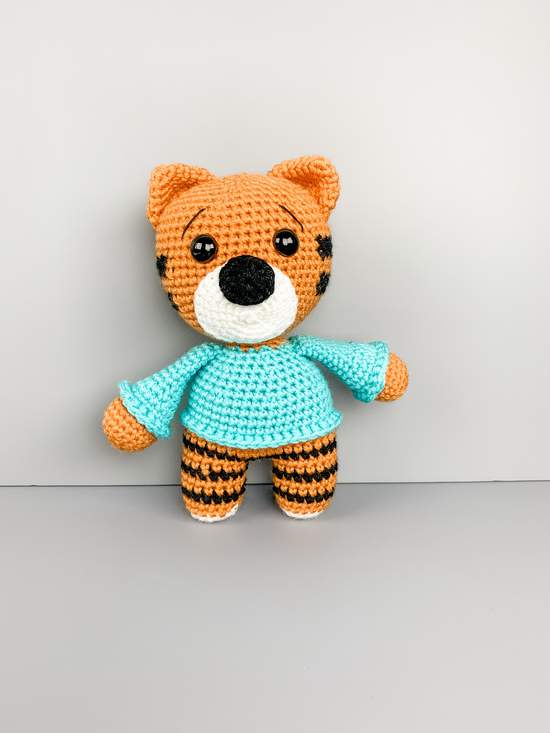
Place the safety eyes in between rows 18 and 19, seven stitches apart. Sew on eyelashes or eyebrows here. Sew the snout on. The bottom should be on about row 6. The top should be about one row below the eyes.
HINT: Before you sew the snout, slightly stretch and flatten it. It should not be domed.
Round 22: SC in the first 7, INV DEC in the next. Repeat around. (48)
Round 23: SC in the first 6, INV DEC in the next. Repeat around. (42)
Round 24: SC in the first 5, INV DEC in the next. Repeat around. (36)
Round 25: SC in the first 4, INV DEC in the next. Repeat around. (30)
Round 26: SC in the first 3, INV DEC in the next. Repeat around. (24)
Round 27: SC in the first 2, INV DEC in the next. Repeat around. (18)
Round 28: SC in the first, INV DEC in the next. Repeat around. (12)
Round 29: INV DEC around. (6)
Ears (make 2)
With Orange:
Round 1: 6 SC in a magic ring
Round 2: SC INC in each around. (12)
Round 3: SC in each around. (12)
Round 4: SC in first, SC INC in next. Repeat around. (18)
Round 5: SC in first 2, SC INC in next. Repeat around. (24)
Round 6: SC in each around. (24)
Leave a long tail to sew on. Attach the ears about 3 rows out from the middle on the top.
Arms (make 2)
With orange:
Round 1: 6 SC in a magic ring
Round 2: SC INC in each around. (12)
Round 3: SC in first, SC INC in next. Repeat around. (18)
Rounds 4-6: SC in each around. (18)
Change to shirt color.
Rounds 7-9: SC in each around. (18)
Round 10: SC in the first, INV DEC in the next. Repeat around. (12)
Rounds 11-18: SC in each around. (12)
Fasten off and leave a long tail to sew on.
Add the edge of the sweater sleeve by attaching yarn around the post on the first row of color. Chain 2 and HDC in each post around the bottom of the sleeve. Attach with a slip stitch to the first stitch. Fasten off and weave in the ends. Attach the arm around round 26. Add the same edge in the same way to the bottom of the sweater.

