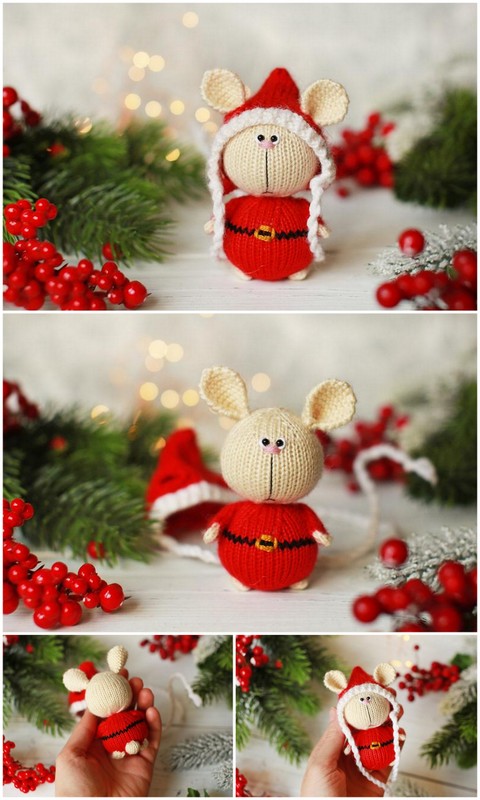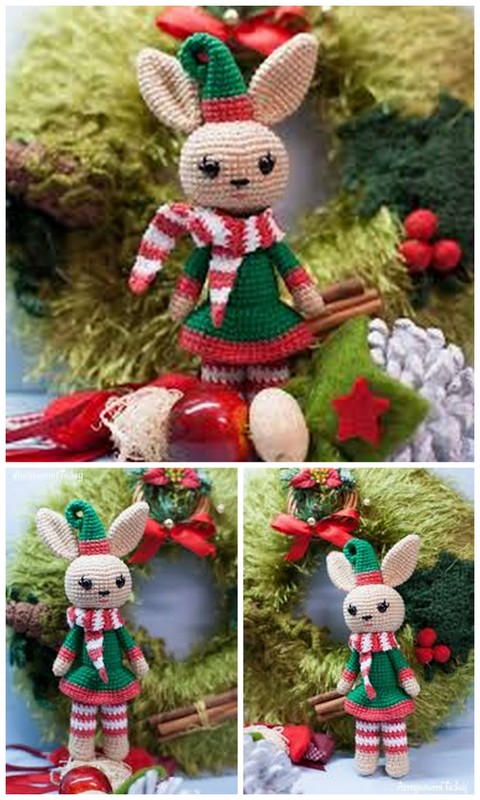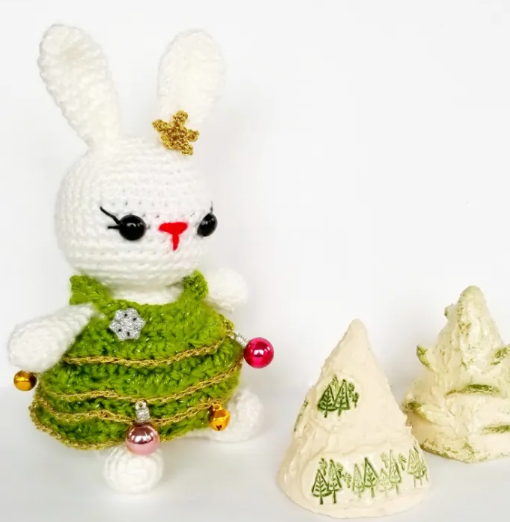
Amigurumi Christmas Tree Bunny Free Crochet Patterns
Hello dear visitors, I am here again with new amigurumi molds for you. I am sharing amigurumi patterns for you here for free. You can make your children happy by making these patterns. Amigurumi toys are very popular lately and are the most beautiful toys that don’t harm your kids. Your kids will love them. Let’s move on to our pattern and give them this gift.
Abbreviations
MR: Magic Ring
CH: Chain
SC: Single Crochet
SL ST: Slip Stitch
INC SC: Increase Single Crochet-make 2 single crochet into 1 stitch
INC HDC: Increase Half Double Crochet-make 2 half double crochet into 1 stitch
INC DC: Increase Double Crochet-make 2 double crochet into 1 stitch
INV DEC: Invisible Decrease
FLO: Front Loop Only
BLO: Back Loop Only
()X…: Repeat everything within the brackets
FO: Fasten Off
You will need
Hook: 3.5 mm, 1-2 mm hook if making embroidered star
Yarn: Worsted Weight: Approx. 125 yards-Green, Fur colour, small amount of red and yellow.
10 mm Safety Eyes or Embroidered Eyes
Buttons, Pearls or Beads for dress closure
Polyfill
Needle
Optional: Stitch Markers and pins, decorative buttons, embroidery thread, tiny ornaments
Other Notes
Magic Ring alternative if you do not feel comfortable doing a magic ring, you can also chain 2 and work the indicated number of stitches into the first chain
Continuous Rounds – The bunny body is completed in continuous rounds
Dress Fitting- Depending on the type of yarn used (stiff vs. loose) and the way in which you complete your SC when making amigurumi (yarn over vs. yarn under), you may find that the dress fits a bit differently than the model. The dress is designed with a bit of extra overlap at the bottom to help with these variances. When sewing on the bottom button, pull the dress across the back until it sits as you like it before fastening.
Stitch Markers – The end stitches when creating the dress can be easy to miss, so I recommend marking the first and last stitch of each row, especially when completing a row after making the shells
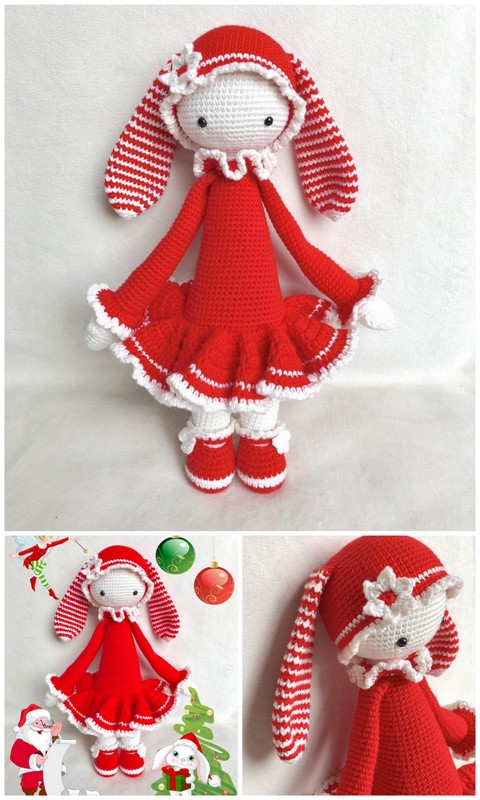
Dress
The dress is worked in ROWS, where the CH 1 or CH 2 at the beginning of a new row does not count as a stitch. Two button hole loops are made with CH 5, indicated in the pattern below. Depending on the size of buttons you use, you may need to increase/decrease the number of chains to fit around the buttons. When you get to this stage, check to make sure the loop fits around your button before continuing on.
In this pattern, you will be making a series of rows of shells to shape the branches’ of the dress. These are worked into either the front or back loops of the previous row. The row after the branches are then completed by working into the same row, but in the unworked stitches. It is very easy to lose a stitch or two when working these rows, so I suggest marking the first and last stitch and counting carefully!
In green colour yarn:
R1: CH 32, add additional 5 CH and SL ST to first additional st. Working back across the CH 32,4 SC, CH 5, skip 7 st, 10 SC, CH 5, skip 7 st, 4 SC (18 SC, 5 CH)
R2:CH 1, turn. INC SC, 3 SC, 5 SC around 5 CH, 5 SC, INC SC, 4 SC, 5 SC around 5 CH, 3 SC, INC SC (31 st)
R3: CH 1, turn. (4 SC, INC SC) X6, SC (37 st)
R4: CH 1, turn. In BLO, (SL ST, skip st, 3 INC HDC, skip st) x6, SL ST (43 st) to add second button hole, CH 5, SL ST to first additional CH.
R5: (No CH 1) working into the unworked stitches from R3, 6 SC, INC SC) x6, SC (43 st)
R6: CH 1, turn. (6 SC, INC SC) x6, SC (49 st)
R7: CH 1, turn. In FLO, (SL ST, skip 2 st, 3 INC DC, skip 2 st) x6, SL ST (47 st)
R8: CH1, turn. In unworked stitches from R6, SC across (49 st)
R9: CH 1, turn. SC across (49 st)
R10:CH 1, turn. In BLO, (SL ST, skip 2 st, 3 INC DC, skip 2 st) X6, SL ST (47 st)
R 11: In unworked stitches of R9, CH 1, turn. SC across (49 st)
R12: CH 1, turn. SC across (49 st)
R13: CH 1, turn. (SL ST, skip 2 st, 3 INC DC, skip 2 st) x6, SL ST (47 st) you can choose to work this row in the FLO, but it is unnecessary unless you choose to extend the dress (see below)
FO and weave in ends.
If you wish to extend the dress, you can repeat the last three rows. If you do so, make sure that in R13 you work in the FLO before adding additional rows
To make arm ruffles, connect yarn just before the beginning of the arm strap with a SL ST. working around the chain of the arm strap, 3 SC, 4 HDC, 3 SC, SL ST to stitch after the end of the arm strap. FO, and weave in the ends. Repeat on other side.
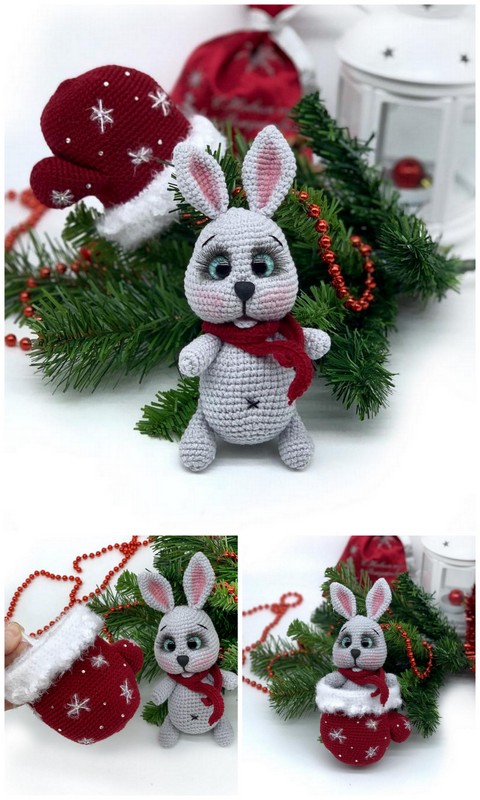
Head
In fur colour yarn:
R1: 6 SC into MR (6 st)
R2: INC SC around (12 st)
R3:(SC, INC SC) X6 (18 st)
R4: (2 SC, INC SC) x6 (24 st)
R5:3SC, INC SC) x6 (30 st)
R6:(4 SC, INC SC) X6 (36 st)
R7-R13: SC around (36 st)
R14: (4 SC, INV DEC) x6 (30 st)
Place 10 mm eyes between R10 &11, 5 st apart. If you wish to sew on eyelashes, do not add washers to the back of the safety eyes yet! Remove the eyes once you like their placement, using embroidery thread, sew on two or three eyelashes for each eye, starting where the safety eyes will go and out on an angle. Make sure they are long enough otherwise they will be hidden by the eyes.
Reinsert the eyes and add washers to the back.
Using red yarn, stitch a nose, running the needle through several times horizontally, in line with the eyes, and one time vertically, 2 rows down.
R15: (3 SC, INV DEC) x6 (24 st)
Start stuffing, making sure to stuff VERY firmly
R16: (2 SC, INV DEC) x6 (18 st)
R17: (SC, INV DEC) x6 (12 st)
FO, and finish stuffing. Leave a long piece of yarn for sewing on later.
Body
In fur colour yarn:
R1: 6 SC into MR (6 st)
R2: INC SC around (12 st)
R3: (SC, INC SC) x6 (18 st)
R4: (2 SC, INC SC) x6 (24 st)
R5:3SC, INC SC) X6 (30 st)
R6:04 SC, INC SC) X6 (36 st)
R7-R11: SC around (36 st)
R12:4 SC, INV DEC) x6 (30 st)
R13: SC around (30 st)
R14: (3 SC, INV DEC) x6 (24 st)
R15: SC around (24 st)
R16: (2 SC, INV DEC) x6 (18 st)
R17: SC around (18 st)
Start stuffing, and stuff subsequent rounds, checking to make sure that it is stuffed firmly enough that the dress fits!
R18:(SC, INV DEC) x6 (12 st)
R19: SC around (12 st)
FO, weaving in ends.
Sew head and body together and weave in ends.
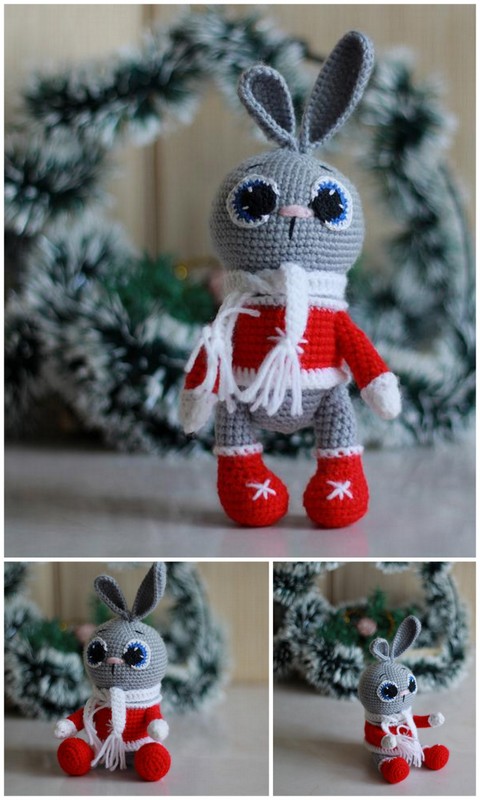
Arms (make 2)
In fur colour yarn:
R1: 5 SC in MR (5 st)
R2: INC SC (10 st)
R3-R4: SC around (10 st)
R5:3SC, INV DEC) x2 (8 st)
Stuff tip of hand lightly
R6-R9: SC around (8 st)
To close, pinch sides closed and 4 SC across through top of stitches of both sides. Finish off, leaving length of yarn.
Place the dress around the body with the back held together to determine arm placement. Pin the arms in place and remove the dress. Sew arms to the body and weave in the ends.
Ears (make 2)
In fur colour yarn:
R1:5 SC into MR (5 st)
R2:INC SC around (10 st)
R3: (4 SC, INC SC) X2 (12 st)
R4-R6: SC around (12 st)
R7:04 SC, INV DEC) X2 (10 st)
R8-R11: SC around (10 st)
FO, leaving a long tail for sewing. Flatten ears and pinch base in half, sewing back and forth a few times. Pin ears to the head and sew in place, two to three rows down from the top of the head on either side. Weave in ends.
Legs (make 2)
In fur colour yarn:
R1: 6 SC in MR (6 st)
R2:INC SC (12 st)
R3-5: SC around (12 st)
R6:04 SC, INV DEC) x2 (10 st)
Stuff at base of foot, and continue to lightly stuff up to halfway up the leg
R7: (3 SC, INV DEC) x2 (8 st)
R8-R11: SC around (8 st)
To close, pinch sides closed and 4 SC across through top of stitches of both sides. Finish off, leaving length of yarn.
Pin the legs to the base of the body and sew on. Weave in ends.
Tail
In fur colour:
R1:4 SC in MR (4 st)
R2:INC SC X4 (8 st)
R3:03 SC, INC SC) x2 (10 st)
R4: SC around (10 st)
SL ST to first stitch of row
FO, leaving long tail for sewing. Pin to the back of body so it is positioned in a way that supports it sitting up (a few rows up from the base) and sew to body. Weave in ends.
Finishing Touches
Put the dress on your bunny, noting where the button loops sit, and sew the buttons in place. The back of your dress may overlap near the bottom.
Star
To make a star, use yellow yarn and your 3.5 mm hook for a larger star, or use a small 1-2 mm hook and embroidery thread to make a small star
In yellow colour:
R1: In MR, 5 SC, SL ST to first st (5 st)
R2: (CH 3, SL ST into 2nd and 3rd CH from hook, SL ST in next stitch) x5
FO, leaving tail for sewing to bunny
Ornaments
Attach small bells, or other ornaments to the dress. Sparkly yarn or embroidery
thread can also be used to accent the shells of each shell row of the dress. You can also make your own ornaments by SC 6 into a MR and connecting with a SL ST to the first SC and FO. Play with different sized yarns and hooks for ornaments of different sizes!