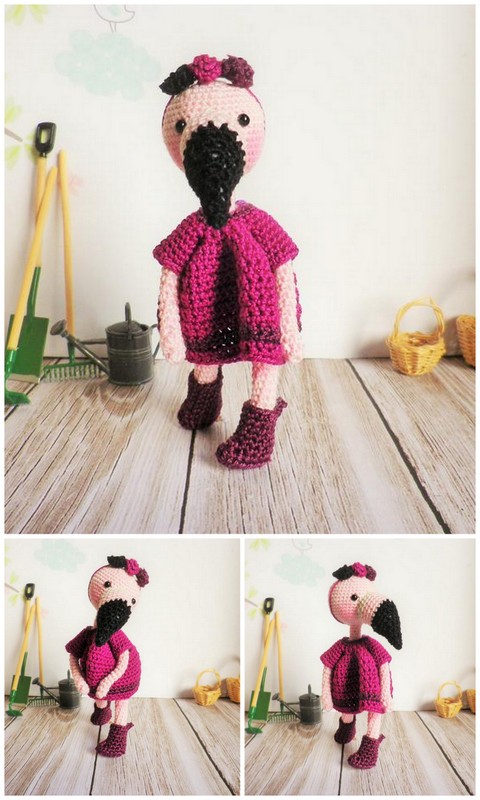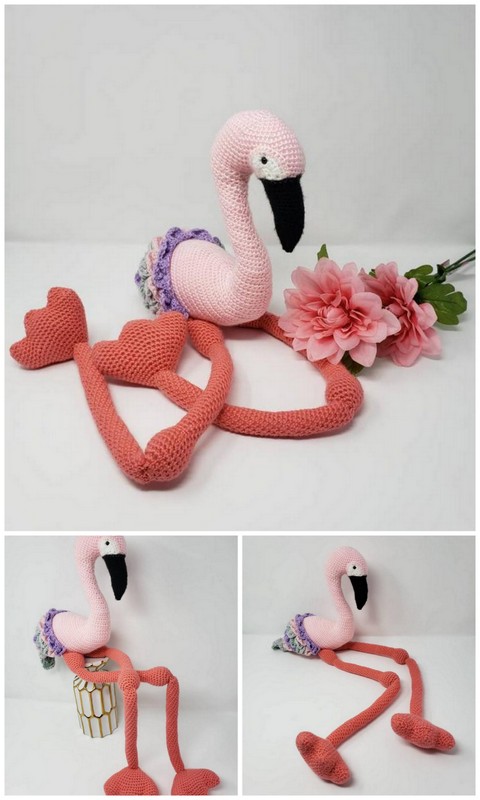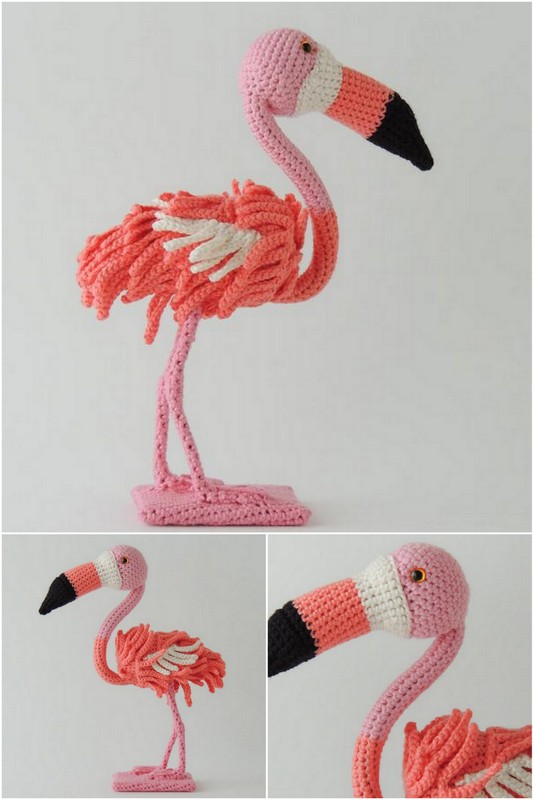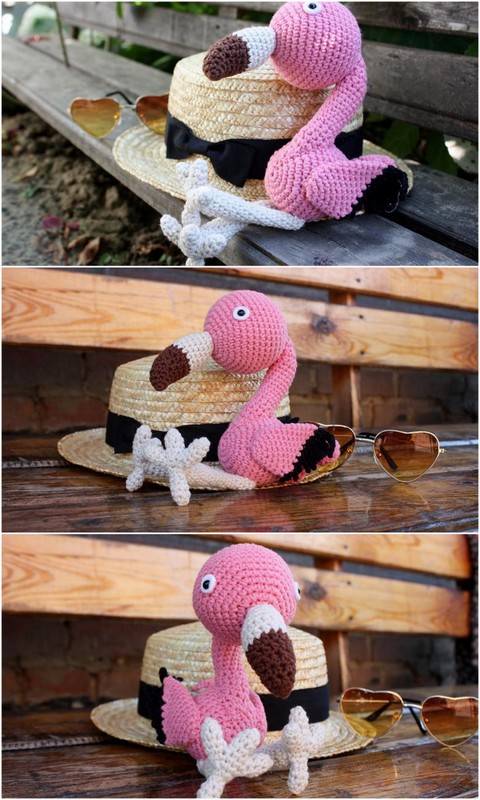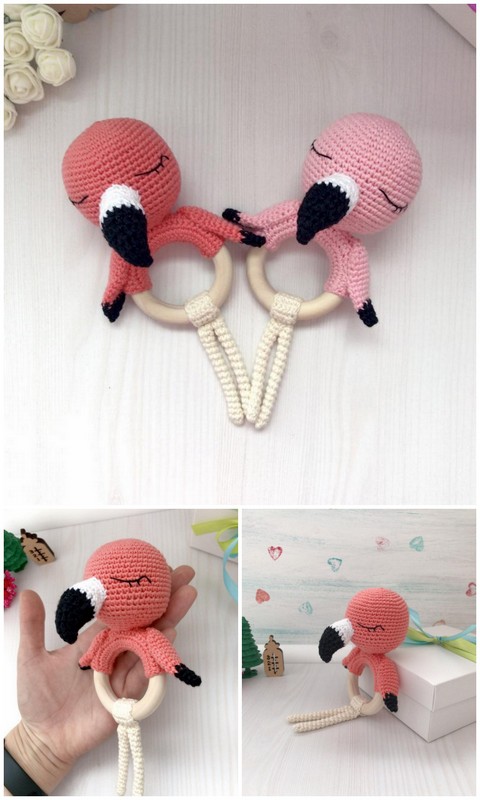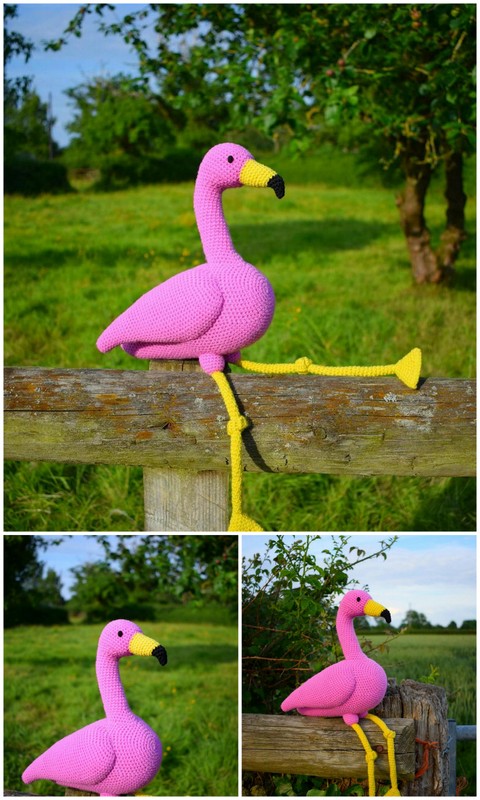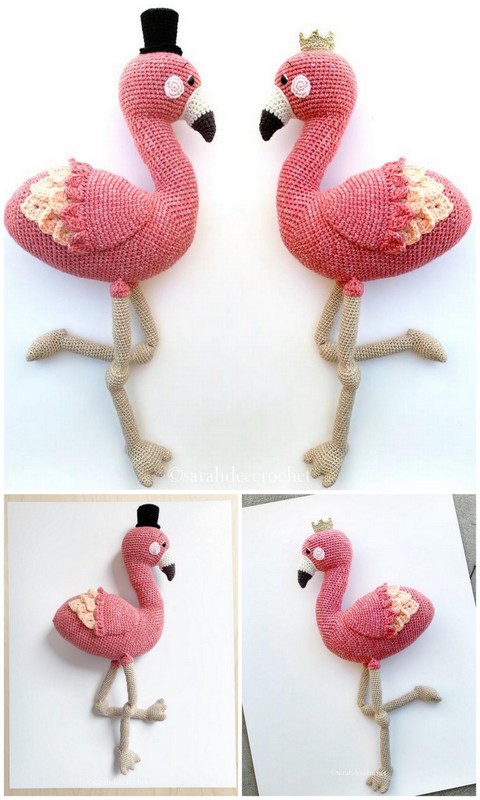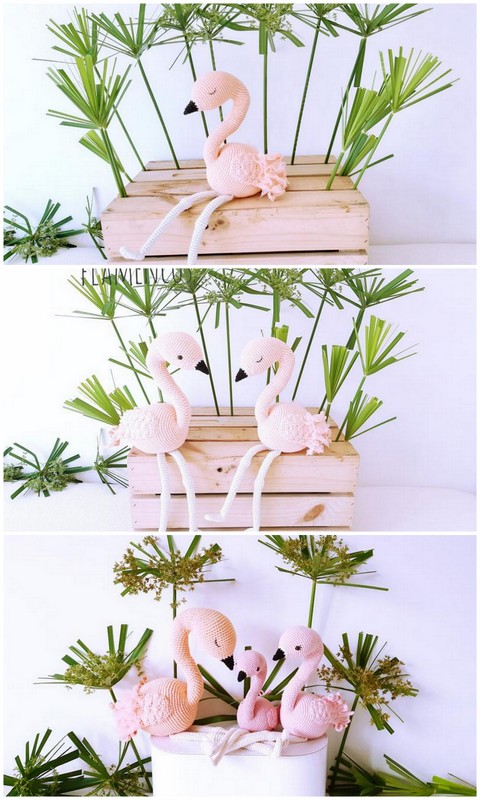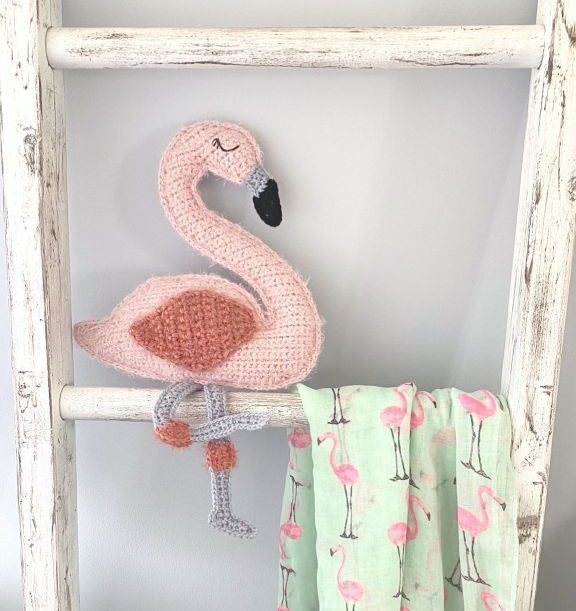
Amigurumi Flamingo Free Crochet Patterns
Hello dear visitors, I am here again with new amigurumi molds for you. I am sharing amigurumi patterns for you here for free. You can make your children happy by making these patterns. Amigurumi toys are very popular lately and are the most beautiful toys that don’t harm your kids. Your kids will love them. Let’s move on to our pattern and give them this gift.
Designer by: spinayarncrochet
You will need
3.25mm hook for main
5.5mm hook for wing;
Powder (one 140g skein);
Rust (small amounts);
Any lightweight/category 3 yarn in grey – small amounts
Any lightweight/category 3 yarn in black – small amounts
Crochet Thread in black for eyes;
Black sewing thread and sewing needle (for eyes – optional)
Stuffing
Tapestry needle;
Stitch markers.
Abbreviations
Ch – Chain
Slst – Slip stitch
Sc – Single crochet
Inc – Increase. Work a regular sc increase.
Dec – Decrease. Work a regular sc decrease.
Sc3tog – Single crochet 3 sts together.
Reading this Pattern
The panels are worked from the bottom up. The beak is crocheted onto each panel first and then the panels are crocheted together.
At the beak, you will need to switch from grey to black from one row to the next. When switching to a new colour, insert your hook into the stitch for the last stitch of Colour A and pull up a loop, then, with Colour B, yarn over and complete the stitch by pulling through both loops with Colour B. Drop your working yarn in Colour A and continue with Colour B.
Body
Using a 3.25mm hook, ch 1 and turn at the end of each row, unless specified otherwise.
Row 1: Ch 21, sc 20, ch 6, turn (20 sts + 6 chs)
Row 2: Starting in 2nd ch from hook, sc 5 along chs, continue across row, sc 20, ch 4, turn (25 sts + 4 chs)
Row 3: Starting in 2nd ch from hook, inc in first ch, sc 2 across rem chs, continue across row, sc 23, inc twice (31 sts)
Row 4: Inc twice, sc 29 (33 sts)
Row 5: Inc, sc 30, inc twice (36 sts)
Row 6: Inc, sc 35 (37 sts)
Row 7: Inc, sc 35, inc (39 sts)
Row 8: Inc, sc 38 (40 sts)
Row 9: Sc 39, inc (41 sts)
Row 10: Inc, sc 40 (42 sts)
Row 11: Sc 41, inc (43 sts)
Row 12: Sc across (43 sts)
Now we will start the neck. You will be crocheting only part way across the previous row before chaining and turning.
Row 13: Sc 8 (8 sts)
Row 14: Sc 6, dec (7 sts)
Row 15: Sc across (7 sts)
Row 16: Inc, sc 6 (8 sts)
Row 17: Dec, sc 6 (7 sts)
Row 18: Inc, sc 6 (8 sts)
Row 19: Dec, sc 6 (7 sts)
Row 20: Inc, sc 4, dec (7 sts)
Row 21: Sc 6, inc (8 sts)
Row 22: Inc, sc 5, dec (8 sts)
Row 23: Dec, sc 5, inc (8 sts)
Row 24: Inc, sc 5, dec (8 sts)
Row 25: Dec, sc 5, inc (8 sts)
Row 26: Inc, sc 5, dec (8 sts)
Row 27: Dec, sc 5, inc (8 sts)
Row 28: Inc, sc 5, dec (8 sts)
Row 29: Dec, sc 5, inc (8 sts)
Row 30: Sc 6, dec (7 sts)
Row 31: Dec, sc 4, inc (7 sts)
Row 32: Inc, sc 4, dec (7 sts)
Row 33: Dec, sc 5 (6 sts)
Row 34: Inc, sc 3, dec (6 sts)
Row 35: Dec, sc 4 (5 sts)
Row 36: Inc, sc 2, dec (5 sts)
Rows 37-41: Sc across (5 sts)
Row 42: Dec, sc 2, inc (5 sts)
Row 43: Inc, sc 4 (6 sts)
Row 44: Dec, sc 2, inc twice (7 sts)
Tie off.
Head
With 3.25mm hook, ch 1 and turn at the end of each row.
Row 1: Ch 4, sc 3 (3 sts)
Row 2: Inc, sc 1, inc (5 sts)
Row 3: Inc, sc 3, inc (7 sts)
Row 4: Sc across (7 sts)
Row 5: Sc 6, inc (8 sts)
Row 6: Sc across (8 sts)
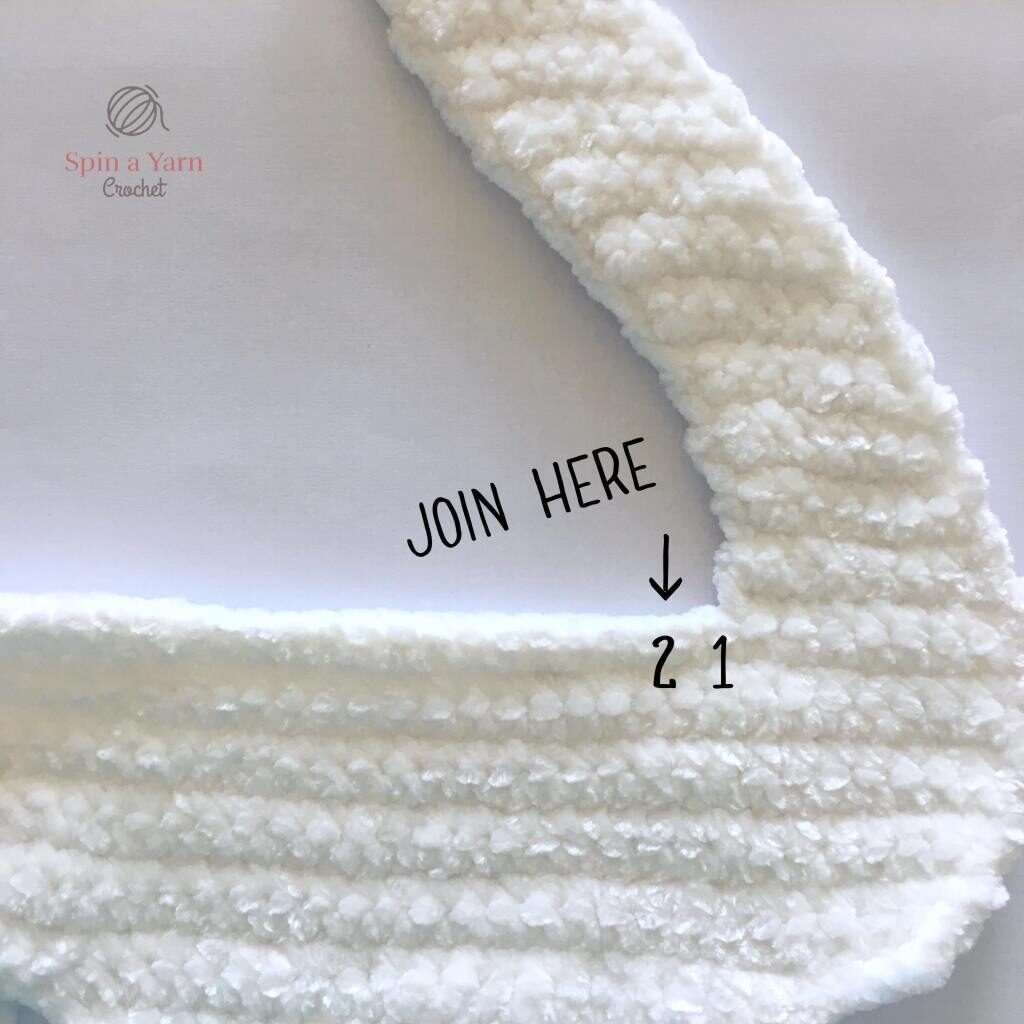
Now we will join both the head and the neck together by crocheting across both in the next row (photos are from the Swan pattern; pretend they’re pink!). Ch 1 and turn.
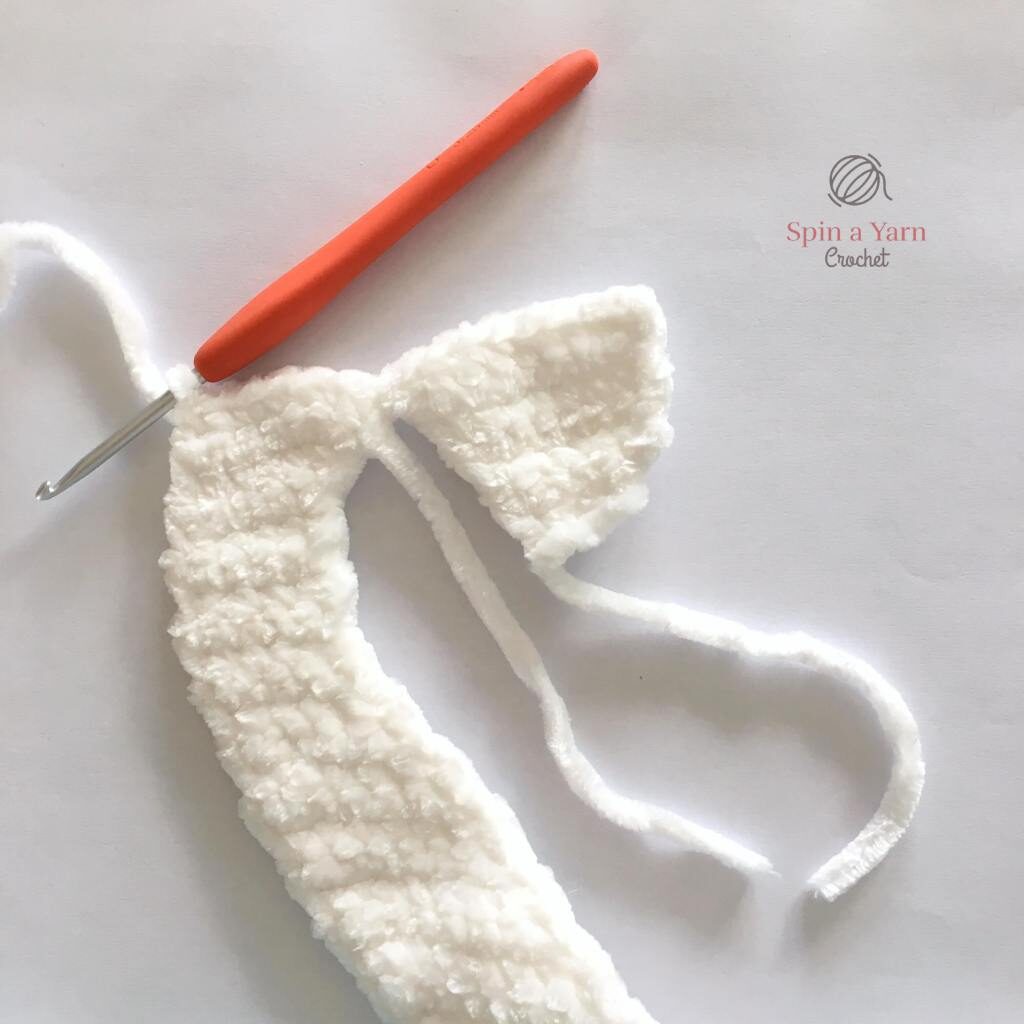
Row 7: Sc 7, inc, continue crocheting across neck, sc 7 (16 sts)
Row 8: Dec, sc 12, dec (14 sts)
Row 9: Dec, sc 10, dec (12 sts)
Row 10: Dec, sc 8, dec (10 sts)
Row 11: Dec twice, sc 2, dec twice (6 sts)
Row 12: Dec three times (3 sts)
Tie off.
Finish Body
Now we will go back and finish the body (we’re starting at row 13 because that’s where we stopped previously before starting the neck). With 3.25mm hook, ch 1 and turn at the end of each row.
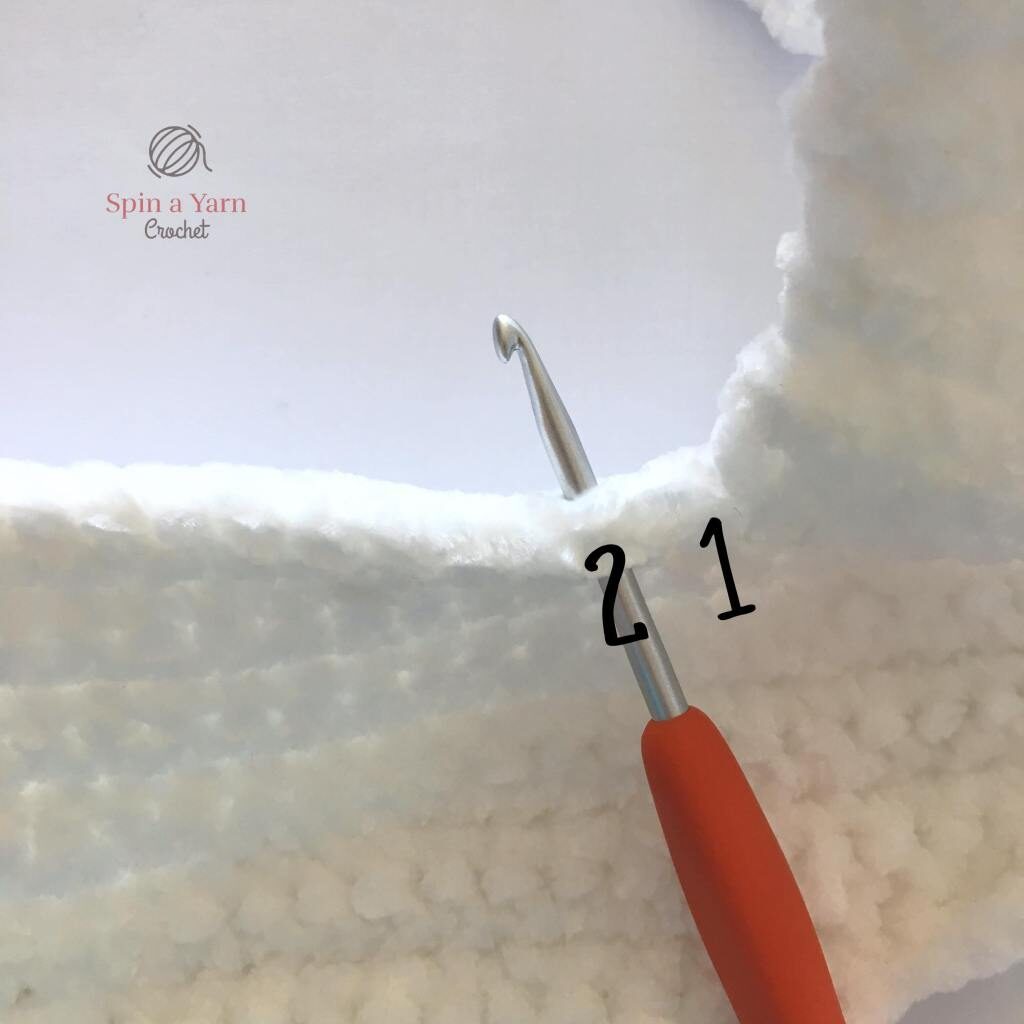
With the neck on the right, skip 1 st next to the neck and join your yarn into the next st (again, pretend these panels are pink!)
Row 13: Sc 33, inc (35 sts)
Row 14: Sc 1, slst 4, sc 30 (35 sts)
In the next row, we will crochet only part way across the previous row before chaining and turning.
Row 15: Dec, sc 26 (27 sts)
Row 16: Dec, sc 25 (26 sts)
Row 17: Dec, sc 22, dec (24 sts)
Row 18: Dec, sc 20, dec (22 sts)
Row 19: Dec, sc 16, dec twice (19 sts)
Row 20: Dec, sc 13, dec twice (16 sts)
Row 21: Dec twice, sc 10, dec (13 sts)
Row 22: Dec twice, sc 5, dec twice (9 sts)
Tie off.
Beak
With 3.25mm hook and lightweight/DK grey yarn, join your yarn in a stitch at the bottom of the head.

Row 1: Sc 4 (4 sts)
Row 2: Sc across (4 sts)
Row 3: Inc, sc 1, dec (4 sts)
Row 4: Dec, sc 1, inc (4 sts)
Switch to Black.
Row 5: Inc, sc 1, dec (4 sts)
Row 6: Dec, sc 1, inc (4 sts)
Row 7: Inc, sc 1, dec (4 sts)
Row 8: Dec, sc 2 (3 sts)
Row 9: Sc 1, dec (2 sts)
Row 10: Dec (1 st)
Tie off.
Repeat all of the above for the back panel. When crocheting the beak on the back panel, make sure you crochet it in the SAME four stitches as you did for the front panel so that they line up perfectly.
Straight Leg
Using lightweight/dk grey yarn and 3.25mm hook. We will start with the foot and then attach the yarn to the foot to crochet the leg.
Row 1: Ch 2, sc 1 (1 st)
Row 2: Inc (2 sts)
Rows 3-6: Sc 2 (2 sts)
Row 7: Dec (1 st)
Tie off. Join your yarn to the top of the foot:

Rows 1-9: Sc 2 (2 sts)
Switch to Rust for the joint:
Row 10: Sc 1, inc (3 sts)
Rows 11-12: Sc 3 (3 sts)
Row 13: Dec, sc 1 (2 sts)
Switch back to grey:
Rows 14-27: Sc 2 (2 sts)
Tie off. Repeat the above for the back leg panel. Put both panels together and crochet around the entire piece in grey, switching to pink for the joint and then back to grey. Stuff lightly. Close with a slst to first st and tie off. Poke the yarn tail back inside the piece.
Bent Leg
Using lightweight/dk grey yarn and 3.25mm hook (Feel free to skip this one and make both legs straight if you’d prefer!)
Row 1: Ch 2, sc 1 (1 sts)
Row 2: Inc (2 sts)
Rows 3-6: Sc 2 (2 sts)
Row 7: Dec (1 st)
Row 8: Inc (2 sts)
Rows 9-17: Sc 2 (2 sts)
Switch to Rust for the joint.
Row 18: Sc 1, inc (3 sts)
Rows 19-20: Sc 3 (3 sts)
Row 21: Dec, sc 1 (2 sts)
Tie off. Turn the leg sideways so that the pink joint is on the left. Join your grey yarn into the stitch on top of the pink joint to start the leg.

Rows 22-23: Sc 2 (2 sts)
Row 24: Inc, sc 1 (3 sts)
Row 25: Dec, inc (3 sts)
Row 26: Inc, dec (3 sts)
Rows 27-36: Repeat rows 25 and 26.
Row 37: Dec, inc (3 sts)
Tie off. Repeat the above for the back leg panel. Put both panels together and crochet around the entire piece in grey, switching to pink for the joint and then back to grey. Stuff lightly. Close with a slst to first st and tie off. Poke the yarn tail back inside the piece.
Wing
Using Rust and a 5.5mm hook.
Row 1: Ch 4, sc 3 (3 sts)
Row 2: Inc, sc 1, inc (5 sts)
Row 3: Sc across (5 sts)
Row 4: Inc, sc 3, inc (7 sts)
Row 5: Sc across (7 sts)
Row 6: Inc, sc 5, inc (9 sts)
Rows 7-10: Sc across (9 sts)
Row 11: Dec, sc 5, dec (7 sts)
Row 12: Sc across (7 sts)
Row 13: Dec, sc 3, dec (5 sts)
Row 14: Sc across (5 sts)
Row 15: Dec, sc 1, dec (3 sts)
Row 16: Sc across (3 sts)
Row 17: Sc3tog (1 st).
Tie off. Weave in ends.
Assembly
Step 1: Eye and Wing
The first thing we need to do is stitch on the eye. I used a sewing needle and black sewing thread to stitch crochet thread in place to give the eye a nice curve. Feel free to add eyelashes or use a safety eye instead.
Next, stitch on the wing to the front body panel using Rust. I opted to stitch down only the front half (closest to the neck) and leave the back half unstitched to create some dimension.
Step 2: Body
Before you begin, cut a length of Powder yarn about 30cm/12″ long and set it aside for later. Place the two panels together matching up all sides. Make sure the front is facing you as you crochet around.
Starting on the left side of the neck at the top, begin attaching the panels together. Insert your hook into both panels, chain 1, and then single crochet around the outside of the panels.
When crocheting around, try to crochet with a looser tension than usual. Crocheting loosely, especially around the curved areas, helps keep all the edges curved.
Crochet down the neck and across the top of the body. [Sc, ch 1, sc] in the tip of the tail.
Continue to crochet down around the bottom. Stop about halfway across the bottom.
Begin stuffing the body now (it’s important to stuff the body as much as you can before you join the legs in the next step, because it will be trickier to reach the tail for stuffing after the legs are attached).
Using the length of yarn you set aside earlier, insert the legs between the panels and stitch them in place by stitching through all three pieces: the back panel, the leg and the front panel. Once secure, tie a knot and hide the yarn tails inside the panels.
Top up stuffing as much as you can. The body should be mostly stuffed now.
Continue crocheting across the bottom. When you get to the legs, crochet into the stitches of the front panel only, since this section is already sewn shut. Continue crocheting both panels together as usual once you are past the legs.
Crochet all the way up the neck and around the bottom of the head, making sure to stop after every four or five stitches to stuff. Use a chopstick or the back of your hook to help stuff if you need to. Make sure the stuffing is very firm so that the neck is strong enough to withstand its own weight.
Switch to grey and then black yarn when crocheting around the beak. [Sc 1, ch 1, sc} in the tip of the beak.
Switch back to pink. Stuff the beak and head. Continue to crochet around the top of the head, stuffing as you go.
When you are satisfied with the stuffing, close with a slst and tie off. Poke yarn tails back inside the piece.
