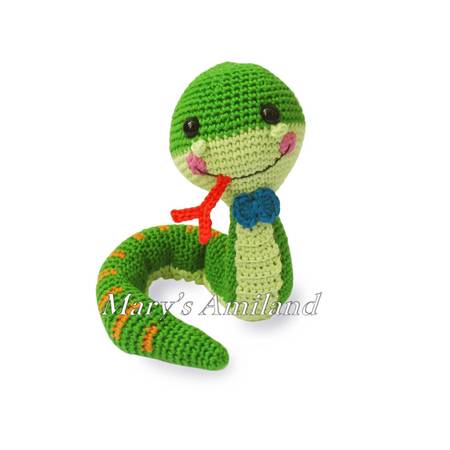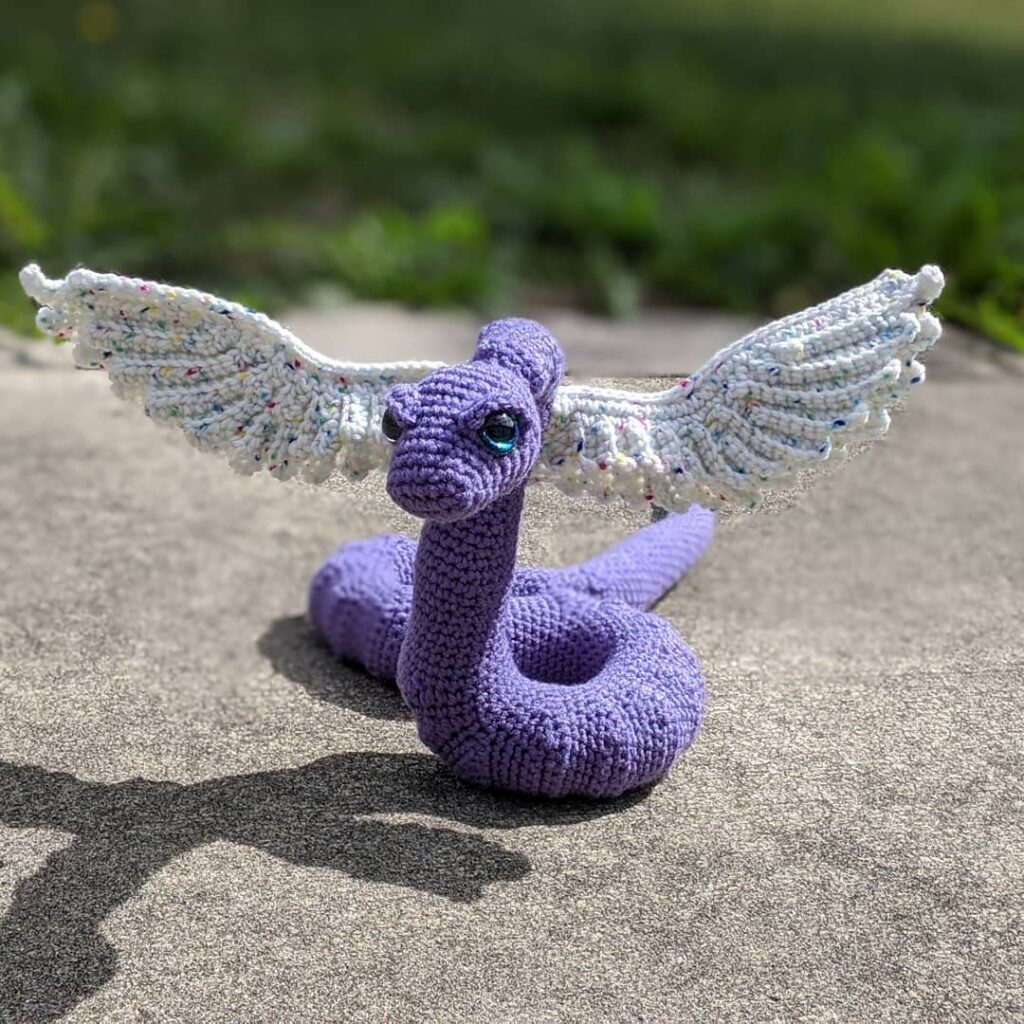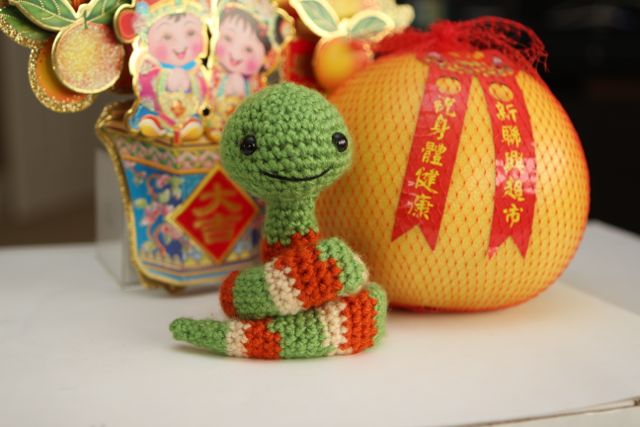
Amigurumi New Year Snake Free Crochet Patterns
Hello dear visitors, I am here again with new amigurumi molds for you. I am sharing amigurumi patterns for you here for free. You can make your children happy by making these patterns. Amigurumi toys are very popular lately and are the most beautiful toys that don’t harm your kids. Your kids will love them. Let’s move on to our pattern and give them this gift.
You will need
3/3.25 crochet hook
Worsted weight yarn
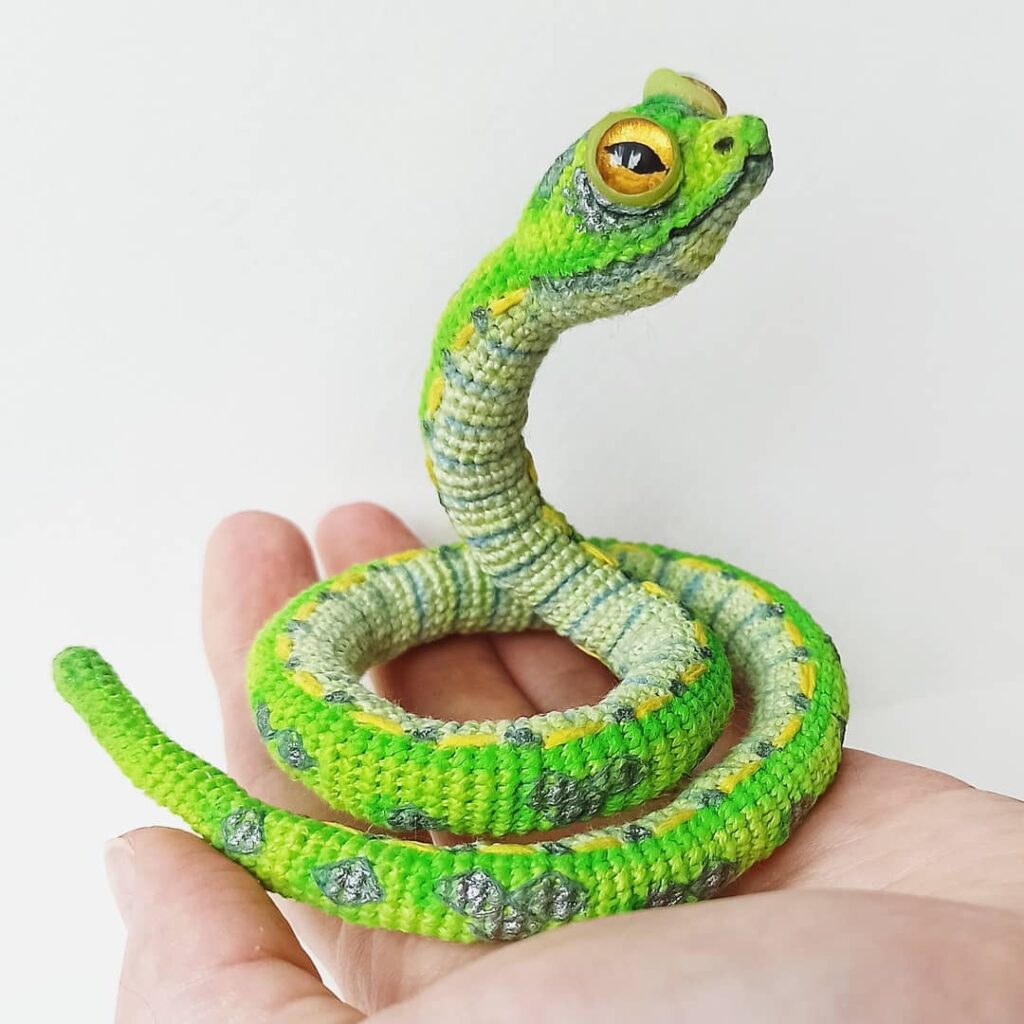
green
cream
orange
yarn needle
6mm safety eyes
black embroidery thread
fiber fill
(optional)polyester pellets/beads
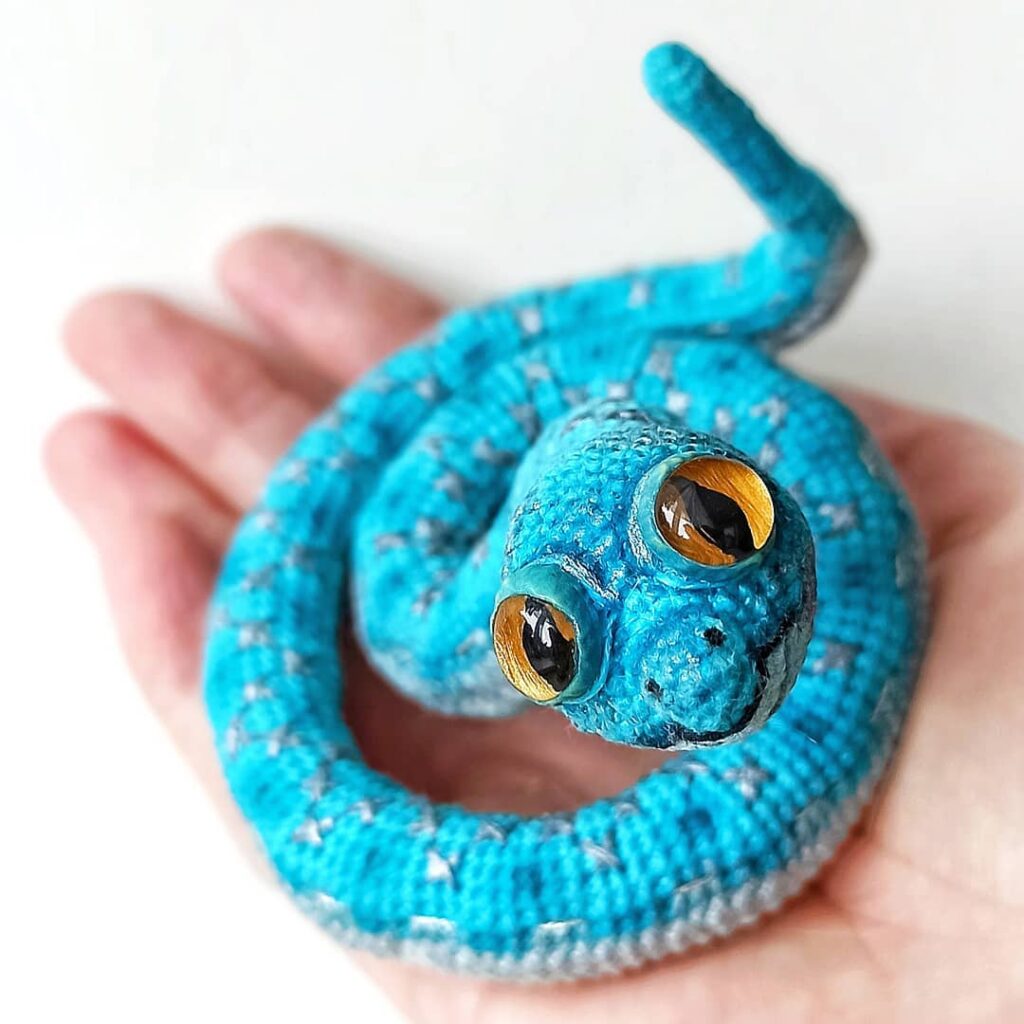
Head
Rnd 1: 6sc into magic ring
Rnd 2: 2sc into each st [12]
Rnd 3: (sc, inc) repeat around [18]
Rnd 4: sc around [18]
Rnd 5: (2sc, inc) repeat around [24]
Rnd 6: (3sc, inc) repeat around [30]
Rnd 7-10: sc around [30]
Rnd 11: (3sc, dec) repeat around [24]
Rnd 12: (2sc, dec) repeat around [18]
Stuff the head with fiber fill and place the eyes and backings at this point. If you wait until later, the opening of the head will be too small to manipulate the eyes well. Thread your embroidery thread onto your needle and sew the mouth as well, You will want to tie the ends of the mouth inside the head before the opening gets too small.
Rnd 13: (sc, dec) repeat around [12]
Rnd 14: 4sc, dec, 4sc, dec [10]
Fasten off and leave a tail
Body
Be careful and patient when starting at the tip of the tail! It can be a bit hard to handle because there are so few stitches and everything is so tight together. Do it slowly and carefully and everything will turn out right!
with green yarn
Rnd 1: 4 st into magic ring
Rnd 2: sc around [4]
Rnd 3: 3sc, inc [5]
Rnd 4: sc around [5]
Rnd 5: 2sc, inc, 2sc [6]
Rnd 6: 2sc, inc, 2sc, inc [8]
with cream yarn
Rnd 7-8: sc around [8]
with orange yarn
Rnd 9: sc around [8]
Rnd 10: 3sc, inc, 4sc [9]
Rnd 11: sc around [9]
with green yarn
Rnd 12-13: sc around
Rnd 14: 4sc, inc,4sc [10]
Rnd 15: sc around [10]
with cream yarn
2 rounds straight [10]
with orange yarn
3 rounds straight [10]
4 rounds of green yarn
2 rounds of cream yarn
3 rounds of orange yarn
repeat this stripe pattern 7 times
end with 4 rounds of green yarn
Fasten off
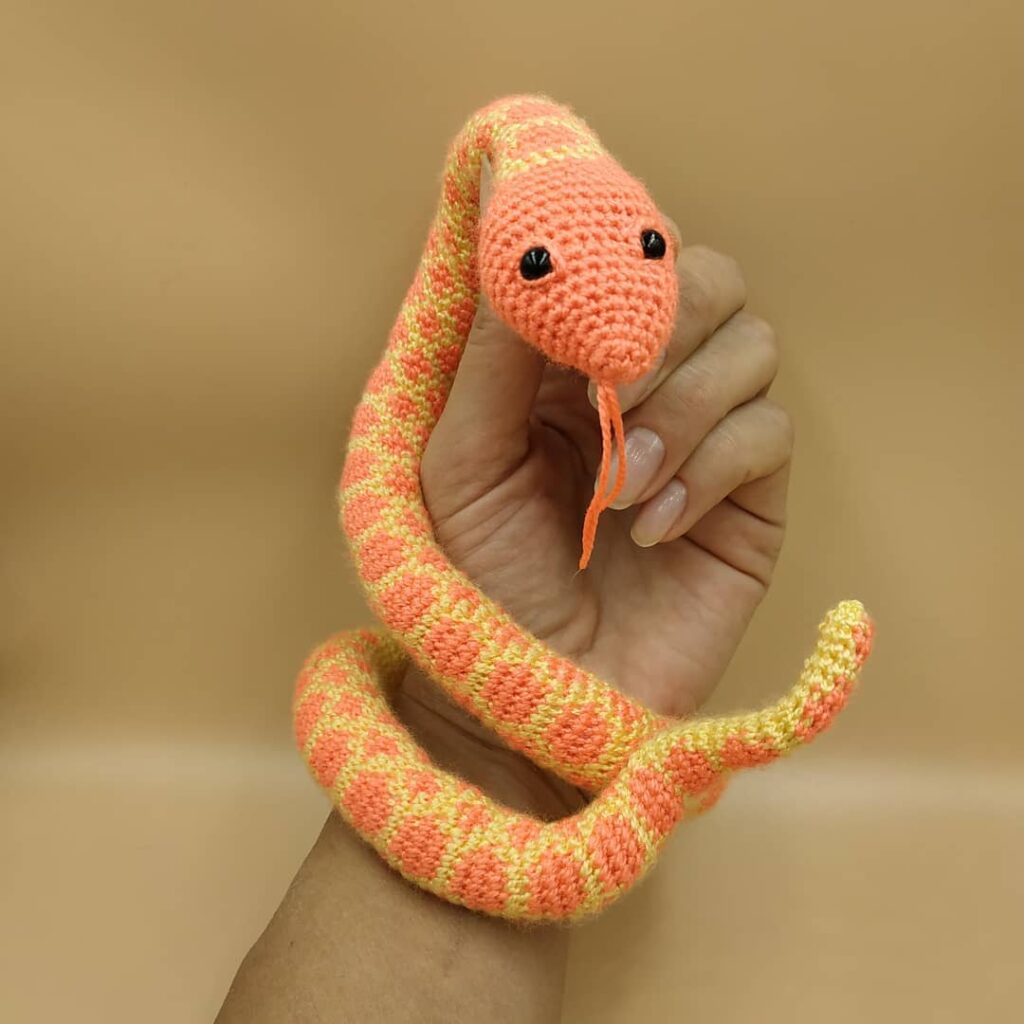
Assembly
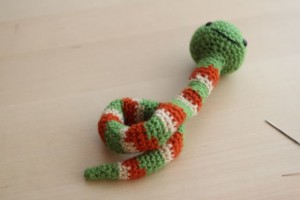
Step 1: Coil the tail end of your snake like this
Step 2: Put a pin here to keep the body from unraveling
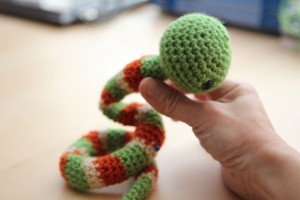
Step 3: Holding your snake’s “neck”, make a bend as shown in the picture. You will be pushing it down into the opening created by the coil you have already made.
Step 4: Push it down all the way until it hits the table. Your snake should be fairly stable now.
You are basically done with your snake! The part of the body that was initially pinned together needs to be sewn together. You can do this discreetly on the inside/underside of the snake. You may also want to pick one other spot, maybe where the back of the “neck” touches the back coil. If you reinforce your snake in those two areas, your little doll should be very stable and stand up nicely on its own!