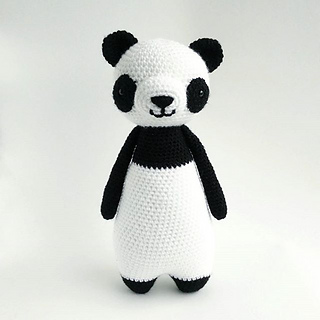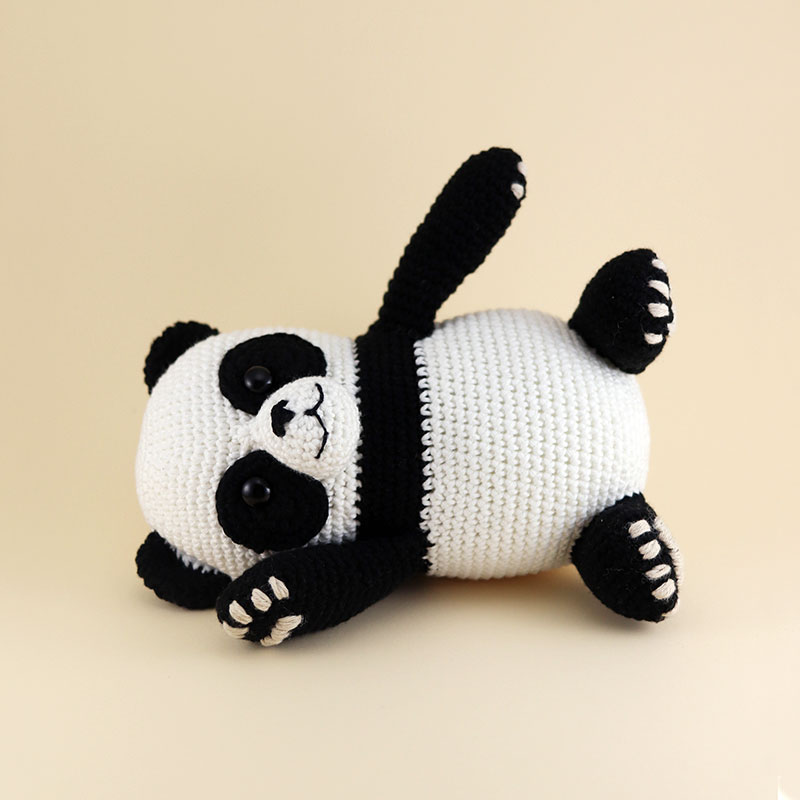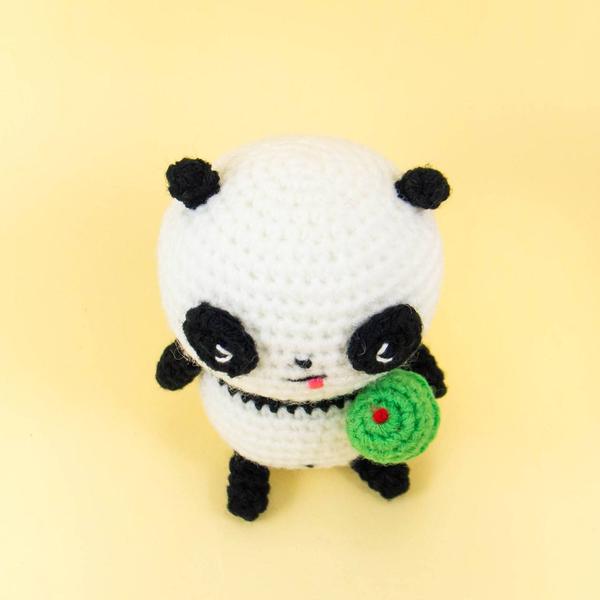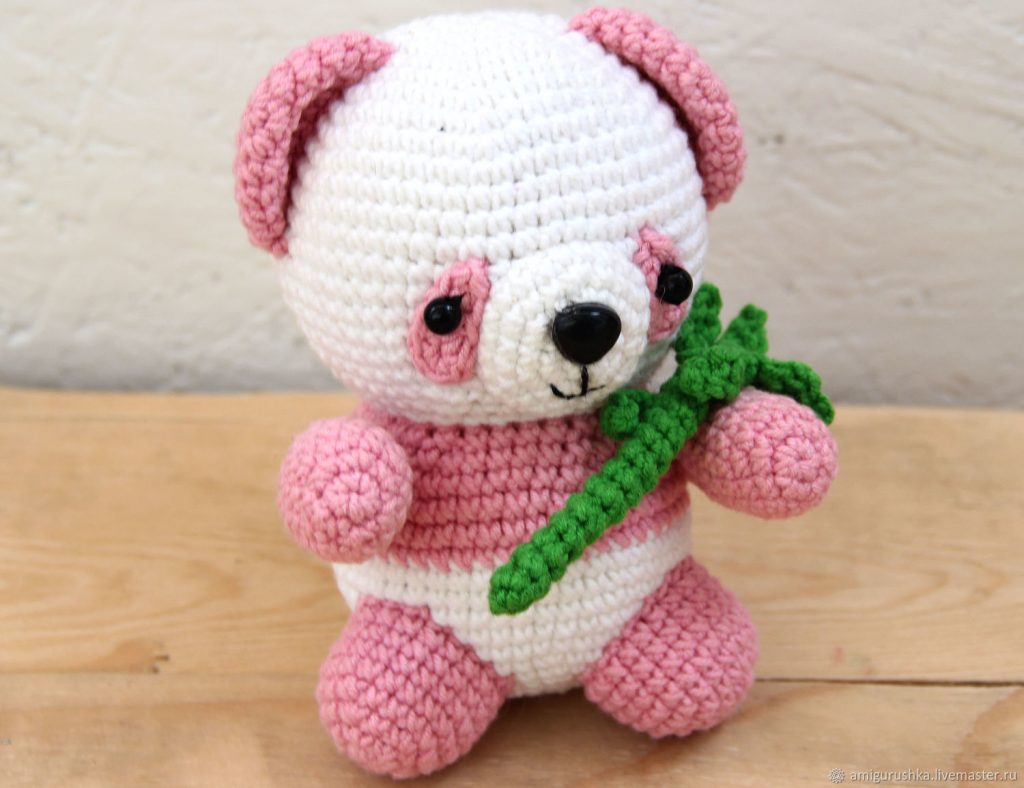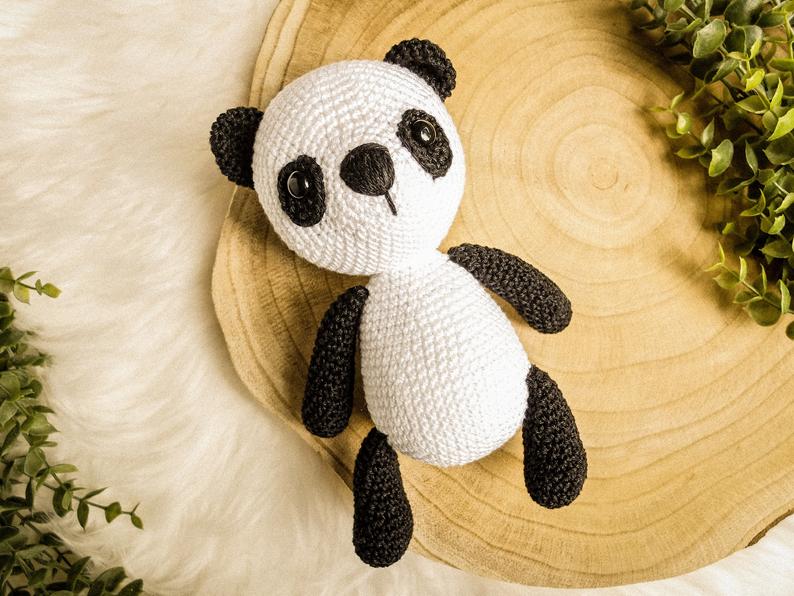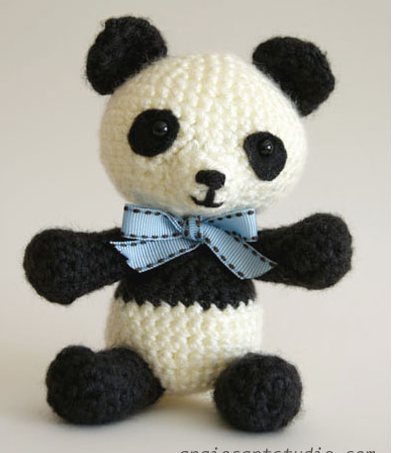
Amigurumi Panda Bear Free Crochet Patterns
Hello dear visitors, I am here again with new amigurumi molds for you. I am sharing amigurumi patterns for you here for free. You can make your children happy by making these patterns. Amigurumi toys are very popular lately and are the most beautiful toys that don’t harm your kids. Your kids will love them. Let’s move on to our pattern and give them this gift.
You will need
Crochet Hook: Size G6 / 4mm
Yarn: any Worsted Weight 4 ply yarn is fine.
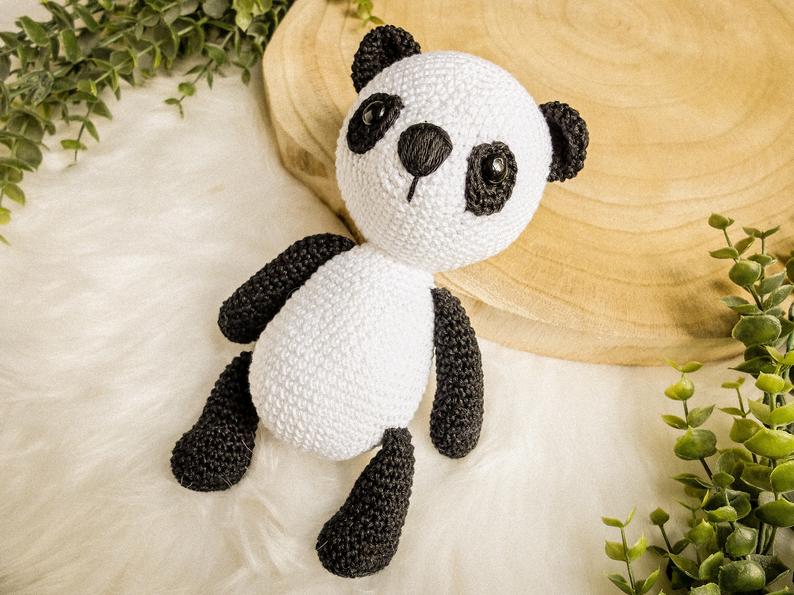
Colors: Off White and Black
Craft Eyes: 6mm Solid Black Plastic Craft Eyes with safety backing
Craft Felt : Black, 2 small patches
Needle and black thread: for sewing on felt patches
Yarn or Tapestry Needle: for sewing parts together
Pins: for holding parts together while you sew
Poly-fil: polyester fiberfill for stuffing
Scissors
Abbreviations
SC = Single Crochet
ST= Stitch
INC = Increase
DEC = Decrease
Note
To change color of the yarn, begin the single crochet with the first color. This should leave you with two loops on your hook. Now grab the second color with the hook and pull it through both loops to complete the stitch. Now continue the next single crochet in the second color.
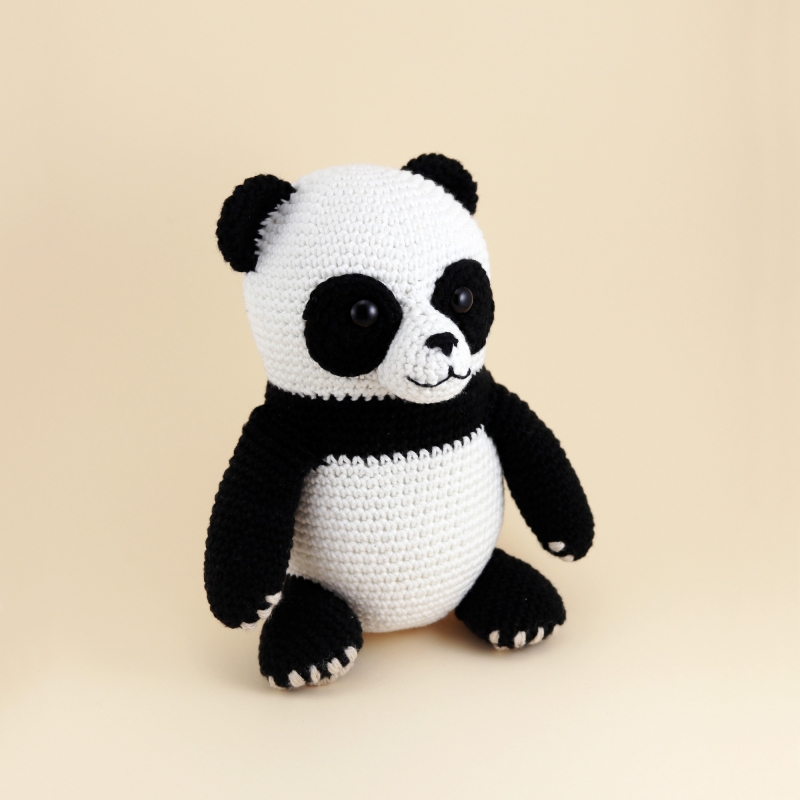
Muzzle
Off White yarn. Start with Chain 2.
R1: 5 SC in second chain from hook (5)
R2: SC 3, INC 2 (7)
R3: INC 1, SC 3, INC 3 (11)
R4: SC 2 (2) Yes, that’s right, this row only has 2 stitches and should finish off at the top of the muzzle. Fasten off leaving a 10 inch (25 cm) tail for sewing on to head.
Because the muzzle is so small, instead of stuffing with poly-fil, I use left over bits of off white yarn. Sew on nose and mouth with black yarn.
Head
Off White yarn. Start with Chain 2
R1: 6 SC in second chain from hook (6)
R2: INC 1 in each ST (12)
R3: * SC 1, INC 1 * repeat 6 times (18)
R4: * SC 2, INC 1 * repeat 6 times (24)
R5: * SC 2, INC 1 * repeat 8 times (32)
R6: SC in each ST (32)
R7: * SC 3, INC 1 * repeat 8 times (40)
R8: SC in each ST (40)
R9: as above (40)
R10: as above (40)
R11: as above (40)
R12: * SC 3, DEC 1 * repeat 8 times (32)
R13: SC in each ST (32)
R14: * SC 2, DEC 1 * repeat 8 times (24)
Insert eyes through the patches of felt by cutting a tiny slit in the felt. Place into position on the head and sew patches onto the head. Fasten on the safety backings.
R15: * SC 1, DEC 1 * repeat 8 times (16)
R16: * SC 2, DEC 1 * repeat 4 times (12)
R17: SC in each ST (12) Fasten off and stuff with poly:fil.
Ears (make 2)
Black yarn. Start with chain 2
R1: 6 SC in second chain from hook (6)
R2: INC 1 in each ST (12)
R3: SC in each ST (12)
R4: as above (12) Fasten off, leave a 6 inch (15 cm) tail for sewing onto head, flatten the ears so that they are in the shape of a half circle and two layers thick, no need to stuff with poly-fil.
Body
Off White yarn. Start with Chain 2.
R1: 5 SC in second chain from hook (5)
R2: INC 1 in each ST (10)
R3: * SC 1, INC 1 * repeat 5 times (15)
R4: INC 1 in each ST (30)
R5: SC in each ST (30)
R6: as above (30)
R7: as above (30)
R8: as above (30)
R9: * SC 4, DEC 1 * repeat 5 times (25)
Change to black yarn
R10: SC in each ST (25)
R11: as above (25)
R12: * SC 3, DEC 1 * repeat 5 times (20)
R13: SC in each ST (20)
R14: *SC 2, DEC 1 * repeat 5 times (15)
R15: SC in each ST (15)
R16: as above (15) Fasten off, leaving a 10 inch (25 cm) tail for sewing onto head, stuff with poly-fil.
Arms (make 2)
Black yarn. Start with Chain 2.
R1: 6 SC in second chain from hook (6)
R2: INC 1 in each ST (12)
R3: SC in each ST (12)
R4: * SC 2, DEC 1 * repeat 3 times (9)
R5: SC in each SC (9)
R6 to R9: as above (9) Fasten off, leaving a 9 inch (20 cm) tail for sewing onto body, stuff with poly-fil.
Legs (make 2)
Black yarn. Start with Chain 2.
R1: 6 SC in second chain from hook
R2: INC 1 in each ST (12)
R3: SC in each ST (12)
R4: SC 3, DEC 1, SC 1, DE1, SC 4 (10)
R5: SC in each ST (10)
R6 to R8: as above (10) Fasten off, leaving a 9 inch (20 cm) tail for sewing onto body, stuff with poly-fil.
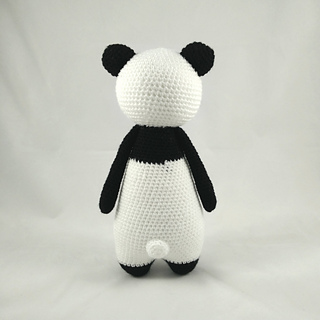
Tail
Black yarn. Start with Chain 2.
R1: 4 SC in second chain from hook. (4)
R2: INC 1 in each ST (8)
R3: SC in each ST (8) Fasten off leaving a 6 inch (15 cm ) tail for sewing onto the back of the body. No need to stuff with poly-fil.
Assembly
Pin the parts in place and sew together with a yarn needle.
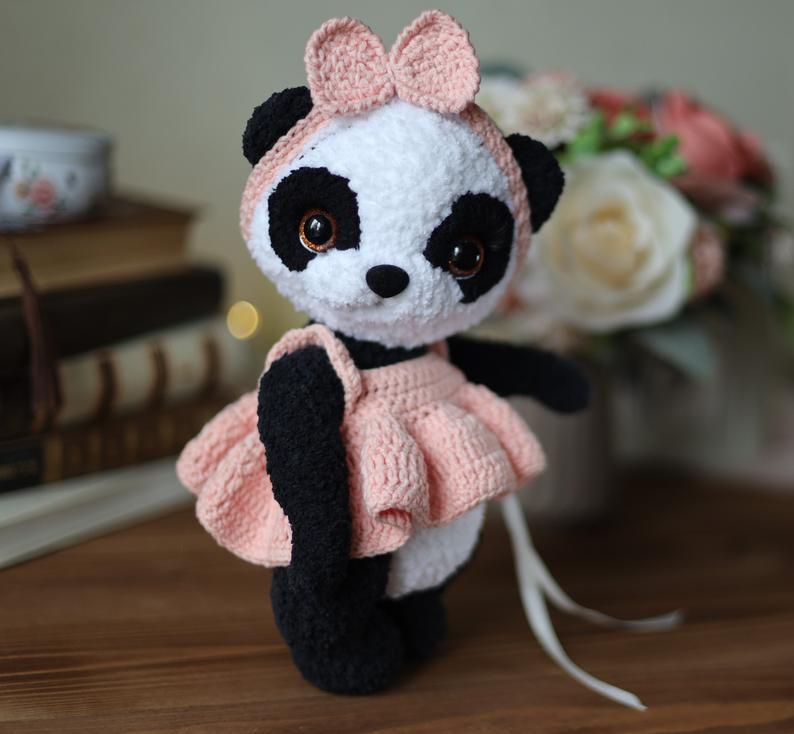
You can decorate him by tying a bow around his neck.