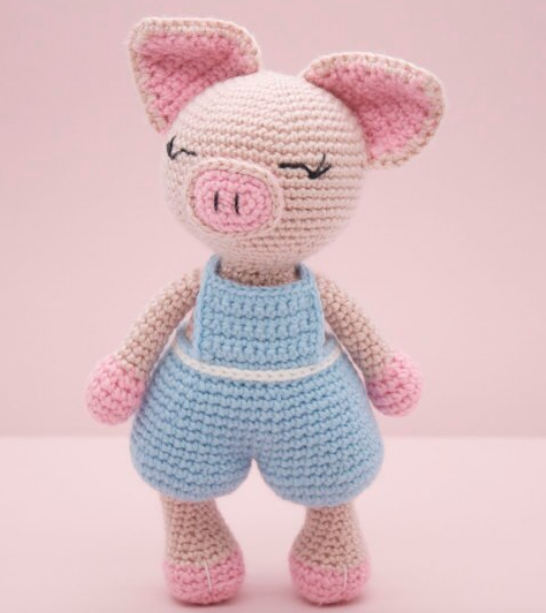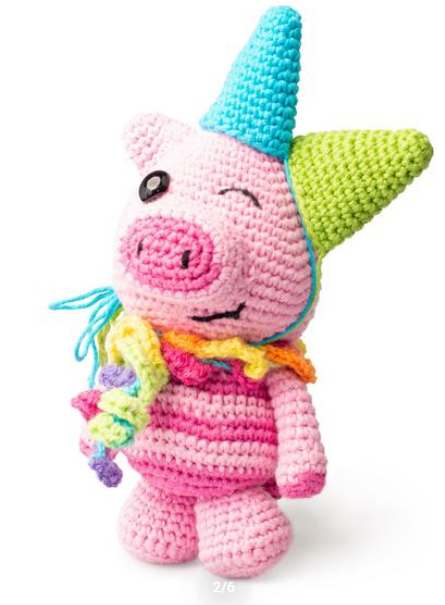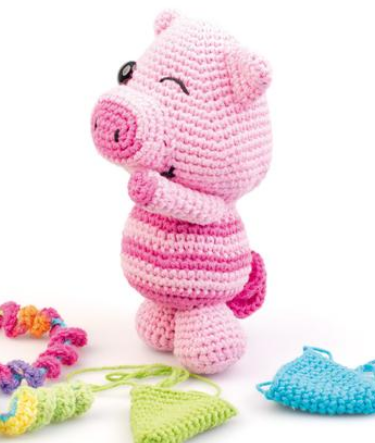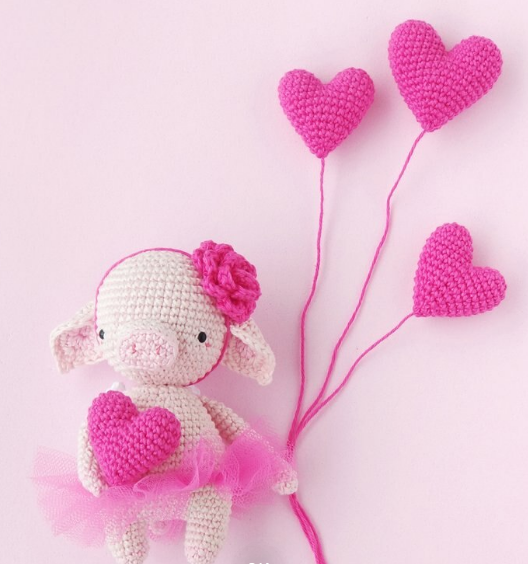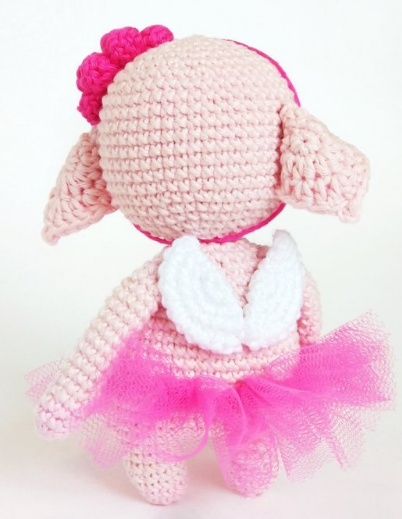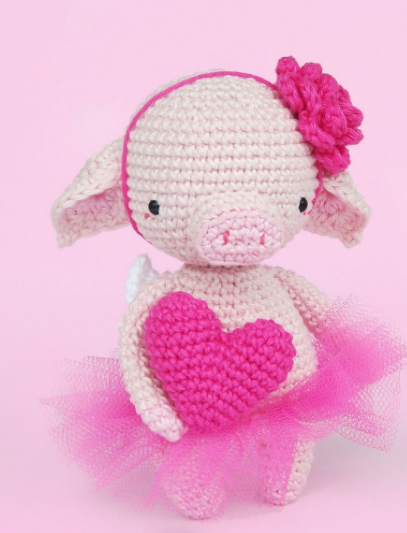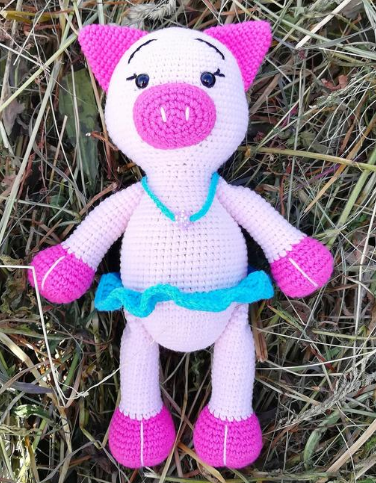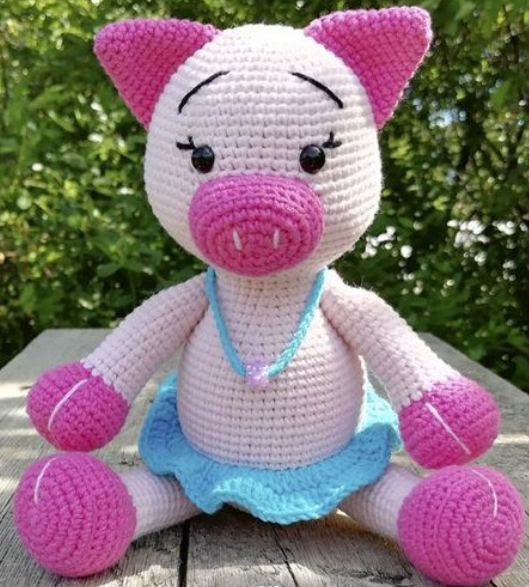
Amigurumi Piglet Free Crochet Patterns
Hello dear visitors, I am here again with new amigurumi molds for you. I am sharing amigurumi patterns for you here for free. You can make your children happy by making these patterns. Amigurumi toys are very popular lately and are the most beautiful toys that don’t harm your kids. Your kids will love them. Let’s move on to our pattern and give them this gift.
You will need
3.25mm crochet hook
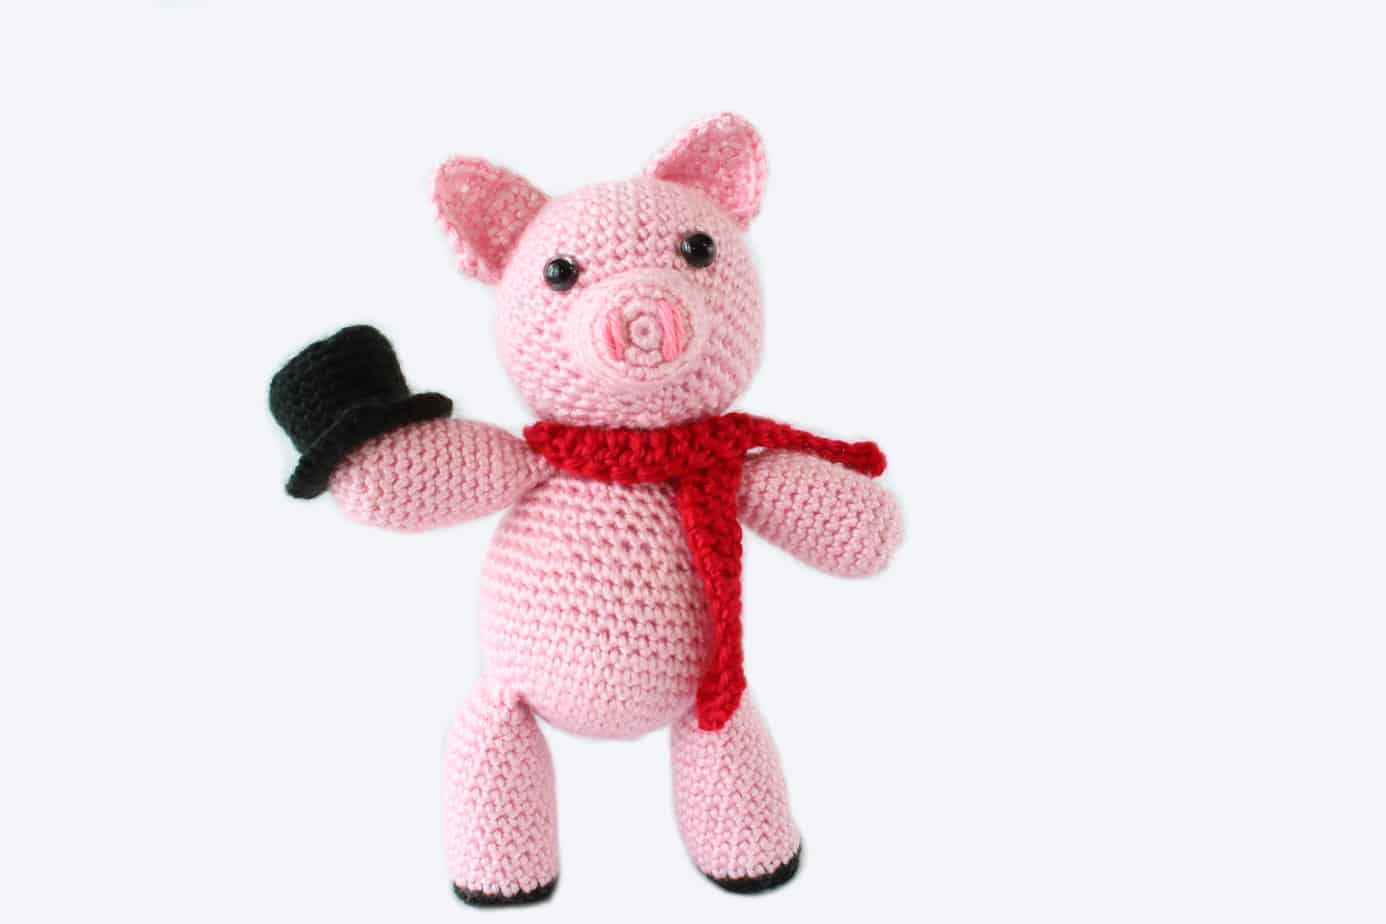
4 worsted weight yarn – I used Caron Simply Soft in Soft Pink, Black, and Red
polyfill stuffing
8mm safety eyes
tapestry needle
Abbreviations
ch – chain
SC – single crochet
HDC – half double crochet
sl – slip stitch
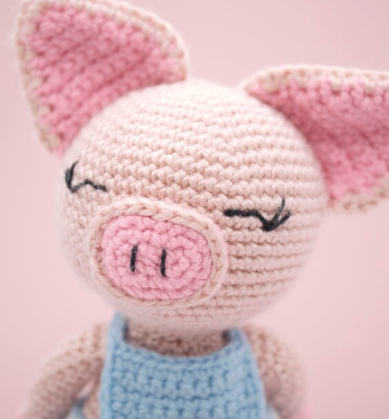
Head
Round 1: With your pink yarn, create a magic loop and work 6 SC into in. Pull the loop closed and use a stitch marker to mark the first space. You’ll be working in continuous rounds for the entire pattern.
Round 2: Inc in each space by working 2 SC into each (12).
Round 3: SC, inc around (18).
Round 4: SC 2, inc around (24).
Round 5: SC 3, inc around (30).
Round 6: SC 4, inc around (36).
Round 7: SC 5, inc around (42).
Rounds 8-16: SC around for 9 rounds.
Insert the eyes on the 5th round from the last increase round and about 5 stitches apart. You can play around with the placement, but once you’re happy with it, secure the backings. Start to add in the stuffing now.
Round 17: SC 5, dec around (36).
Round 18: SC 4, dec around (30).
Round 19: SC 3, dec around (24).
Round 20: SC 2, dec around (18). Finish adding stuffing.
Round 21: SC, dec around (12).
Round 22: Decrease around (6). Then cut the yarn and thread tail through a tapestry needle. Run the needle under the front loops of each stitch and secure yarn. Weave in the end.
Snout
Round 1: With pink, create a magic loop and work 6 SC into in. Pull the loop closed and use a stitch marker to mark the first space.
Round 2: Inc in each space by working 2 SC into each (12).
Round 3: SC, inc around (18).
Round 4: SC around through BLO for 1 round.
Rounds 5-6: SC around for 2 rounds. BO and leave a long tail for sewing the snout onto the face.
Body
Round 1: With pink yarn, create a magic loop and work 6 SC into in. Pull the loop closed and use a stitch marker to mark the first space.
Round 2: Inc in each space by working 2 SC into each (12).
Round 3: SC, inc around (18).
Round 4: SC 2, inc around (24).
Round 5: SC 3, inc around (30).
Round 6: SC 4, inc around (36).
Round 7: SC 5, inc around (42).
Rounds 8-16: SC around for 9 rounds. Start to add the stuffing now.
Round 17: SC 5, dec around (36).
Round 18: SC around.
Round 19: SC 4, dec around (30).
Round 20: SC around.
Round 21: SC 3, dec around (24).
Round 22: SC around.
Round 23: SC 2, dec around (18).
Round 24: SC around. Finish stuffing and then BO, leaving a long tail to sew the body to the head.
Legs (Make 2)
Round 1: With black yarn, create a magic loop and work 6 SC into in. Pull the loop closed and use a stitch marker to mark the first space.
Round 2: Inc in each space by working 2 SC into each (12).
Round 3: SC, inc around (18).
Round 4: SC around through BLO for 1 round.
Rounds 5-18: Switch to the pink yarn and SC around for 14 rounds. And then BO, leaving a long tail.
Arms (Make 2)
Round 1: With pink, create a magic loop and work 6 SC into in. Pull the loop closed and use a stitch marker to mark the first space.
Round 2: Inc in each space by working 2 SC into each (12).
Round 3: SC, inc around (18).
Rounds 4-13: SC around for 10 rounds.
Round 14: SC 2, dec around (12).
Rounds 15-16: SC around for 2 rounds and then BO, leaving a long tail.
Tail
Every amigurumi piglet needs a curly tail!
Row 1: With pink, chain 9. Turn and work 3 HDC into each space. BO, leaving a tail for sewing.
Ears (Make 2)
Row 1: With pink yarn, chain 6. Turn and SC in each space starting with the second space from the hook (5).
Row 2: SC along the row.
Row 3: Decrease, SC 1, decrease (3).
Row 4: SC along.
Row 5: Decrease, SC (2).
Row 6: Decrease. Work 1 round of SC around the ear to smooth out the edges.
Top Hat
Round 1: With black yarn, create a magic loop and work 6 SC into in. Pull the loop closed and use a stitch marker to mark the first space.
Round 2: Inc in each space by working 2 SC into each (12).
Round 3: SC, inc around (18).
Round 4: SC 2, inc around (24).
Round 5: SC through BLO for 1 round.
Rounds 6-13: SC for 8 rounds (24).
Round 14: SC through FLO for 1 round.
Round 15: SC for 1 round (24).
Round 16: SC 3, inc around (30). BO and weave in the end.
Scarf
Row 1: With red, chain 46. Turn and DC into each space. BO, and weave in the ends.
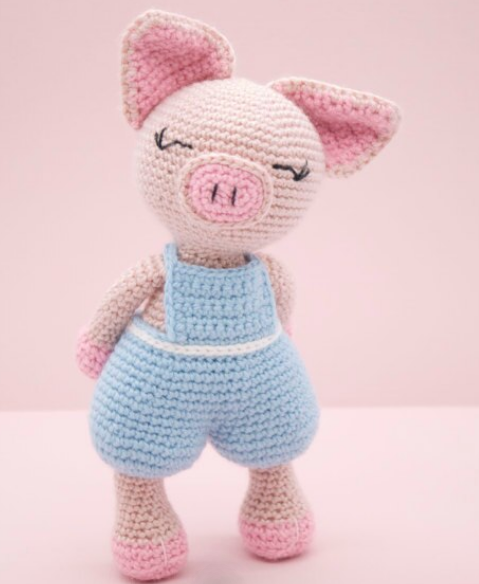
Assembly
*Start by aligning the snout onto the face and adding a small amount of stuffing into it. Then, using the tail end of the yarn and a tapestry needle, whipstitch it into place.
*Position the ears to the top of the head and sew them into place as well. It helps to use pins to hold them in place as you do this. Next, sew the body onto the head, making sure to place it so it doesn’t wobble. Then, use pins to decide the position of the arms and legs, and once you’re happy with it, sew them into place as well using the long tail ends we left.
*Finally, use the end of the tail to sew the tail onto the body. You can choose whether to sew the top hat into place or leave it off. I chose to leave the hat and scarf as separate accessories. Finally, weave in all the loose ends and trim any excess yarn.