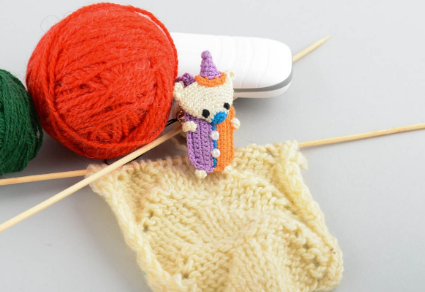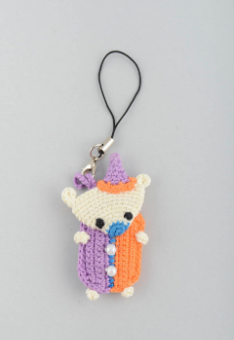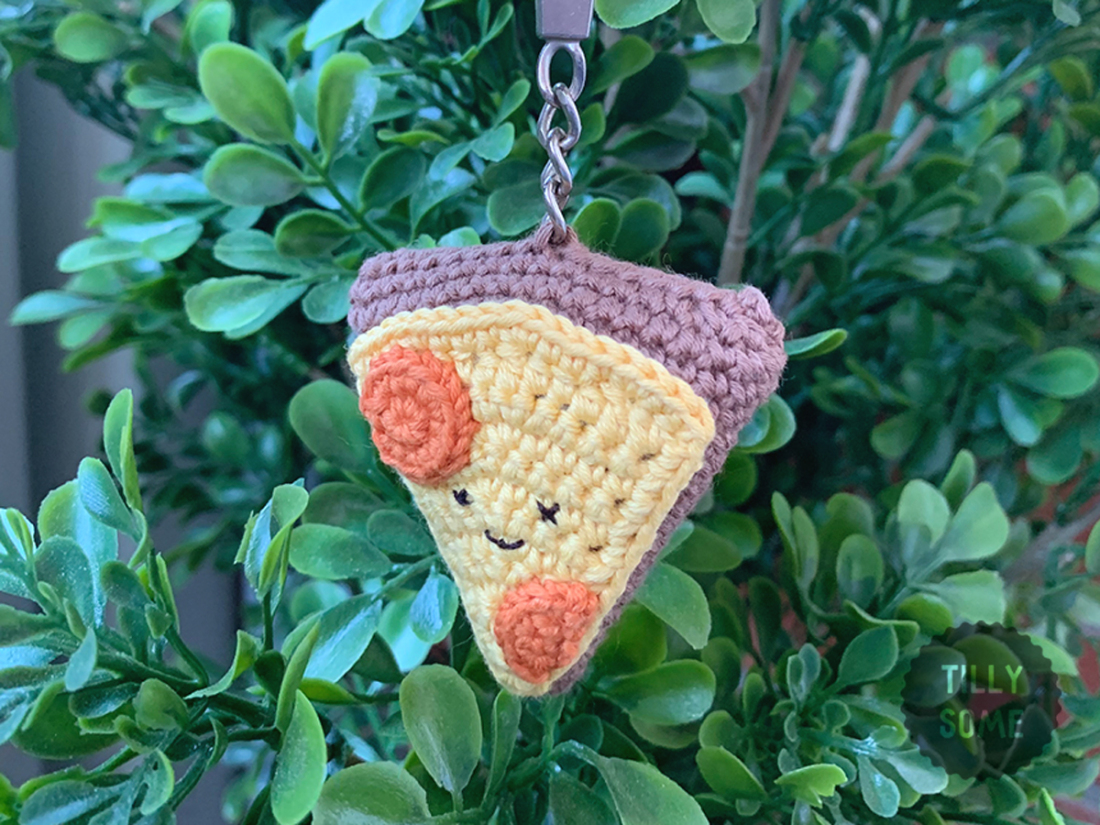
Amigurumi Pizza Slice Keychain Free Crochet Patterns
Hello dear visitors, I am here again with new amigurumi molds for you. I am sharing amigurumi patterns for you here for free. You can make your children happy by making these patterns. Amigurumi toys are very popular lately and are the most beautiful toys that don’t harm your kids. Your kids will love them. Let’s move on to our pattern and give them this gift.
You will need
— sport/fine weight yarn;
— 2.00 mm crochet hook;
— Some brown/black floss for eyes and mouth;
— Soft stuffing;
— Yarn needle, sewing needle, pins/stitchmarkers, scissors;
If you prefer to work continuously, you should use a stitch marker.
Yarn and colors:
Brown: (weight specified by the brand: sport/fine)
Yellow: (weight specified by the brand: fingering/superfine)
Orange: (weight specified by the brand: fingering/superfine)
Note
You can use this pattern to make larger or smaller toy by using finer or bulkier yarn.
Don’t forget to choose the right hook size (I recommend you to pick crochet hook one size smaller than suggested on your yarn label, so you will get more tightly fabric).
Abbreviations
mr = magic ring
ch = chain(s)
rnd(s) = round(s)
sc = single crochet
hdc = half double crochet
dc = double crochet
sl st = slip stitch
tog = together
sc2tog = sc next 2 stitches together
[ ] × … = repeat instructions in brackets … times
(…) = total amount of stitches in round
Dough
with brown yarn
Start with mr
1 rnd: 6 sc into the magic ring (6)
2 rnd: 1 sc in each next sc (6)
3 rnd: [1 sc in next sc, 2 sc in next sc] × 3 (9)
4 rnd: [1 sc in next 2 sc, 2 sc in next sc] × 3 (12)
5 rnd: 1 sc in each next sc (12)
6 rnd: [1 sc in next 3 sc, 2 sc in next sc] × 3 (15)
7 rnd: [1 sc in next 4 sc, 2 sc in next sc] × 3 (18)
8 rnd: 1 sc in each next sc (18)
9 rnd: [1 sc in next 5 sc, 2 sc in next sc] × 3 (21)
10 rnd: [1 sc in next 6 sc, 2 sc in next sc] × 3 (24)
11 rnd: 1 sc in each next sc (24)
12 rnd: [1 sc in next 7 sc, 2 sc in next sc] × 3 (27)
13 rnd: [1 sc in next 8 sc, 2 sc in next sc] × 3 (30)
14 rnd: 1 sc in each next sc (30)
15 rnd: [1 sc in next 9 sc, 2 sc in next sc] × 3 (33)
16 rnd: [1 sc in next 10 sc, 2 sc in next sc] × 3 (36)
17–18 rnds: 1 sc in each next sc (36)
19 rnd: [sc2tog, sc2tog, 1 sc in next 14 sc] × 2 (32)
Stuff the piece and sew sides stitch by stitch. Fasten off and leave a weave in tail.
Pepperoni
with orange yarn
Start with mr
1 rnd: 6 sc into the magic ring (6)
2 rnd: 2 sc in each next sc (12)
Leave a long tail for sewing. Weave in only the tail that left at the beginning
Half-pepperoni
with orange yarn
Start with mr
1 row: 3 sc into the magic ring, 1 ch, turn (3)
2 row: 2 sc in each next sc (6)
Leave a long tail for sewing. Weave in only the tail that left at the beginning
Cheese
with yellow yarn
Start with 2-ch
1 row: 2 sc in the 2nd ch from hook, 1 ch, turn (2)
2 row: 2 sc in next sc, 1 sc in next sc, 1 ch, turn (3)
3 row: 1 sc in next sc, 2 sc in next sc, 1 sc in last sc, 1 ch, turn (4)
4 row: 1 sc in next 2 sc, 2 sc in next sc, 1 sc in last sc, 1 ch, turn (5)
5 row: 1 sc in next 3 sc, 2 sc in next sc, 1 sc in last sc, 1 ch, turn (6)
6 row: 1 sc in next 4 sc, 2 sc in next sc, 1 sc in last sc, 1 ch, turn (7)
7 row: 1 sc in next 5 sc, 2 sc in next sc, 1 sc in last sc, 1 ch, turn (8)
8 row: 1 sc in next 6 sc, 2 sc in next sc, 1 sc in last sc, 1 ch, turn (9)
9 row: 1 sc in next 7 sc, 2 sc in next sc, 1 sc in last sc, 1 ch, turn (10)
10 row: 1 sc in next 8 sc, 2 sc in next sc, 1 sc in last sc, 1 ch, turn (11)
11 row: 1 sc in next 9 sc, 2 sc in next sc, 1 sc in last sc, 1 ch, turn (12)
12 row: 1 sc and 1 hdc in first sc, 1 dc in next sc, 1 hdc in next sc,
[1 sc in next sc, 1 hdc in next sc, 1 dc in next sc, 1 hdc in next sc] × 2,
3 sc in the last sc (14)
Do not turn.
13 row: sc the piece around (continue working from the end of 12th row: make 1 sx in every row’s edge, 3 sc at the bottom’s point ch and also I recommend to make 2 sc in each one dc at the top).
Leave a long tail for sewing. Weave in only the tail that left at the beginning
Sewing
Sew both pepperoni pieces to the cheese) Fasten off and weave in tails.
Sew eyes and mouth with a floss.
Place the cheese on the dough and fix it with pins or stitchmarkers. I recommend you to sew the top part through the 12th row — that way you’ll get a little ridge. Fasten off and weave in all tails.
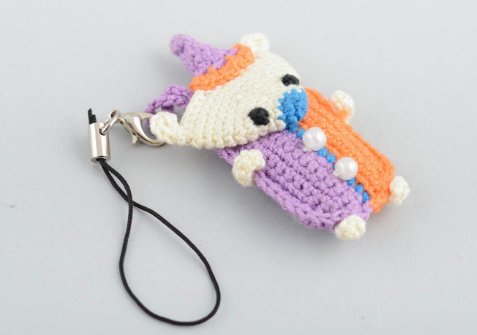
All you need to do to finish your keaychain is to add some ring and/or metal chain to the top of your pizza slice